
How to use EPYC Cloud Resources and create a VPS on it.
EPYC Cloud Resources
Create multiple Cloud Servers on a resource pack. Powered by EPYC Rome or Milan CPUs/Enterprise NVMe 4.0 RAID-10 drives/10Gbps Network Port. One backup/snapshot for each Cloud Server is included free of charge.
Steps to Utilize EPYC Cloud Resources
1. First, log in to your Virtfusion dashboard
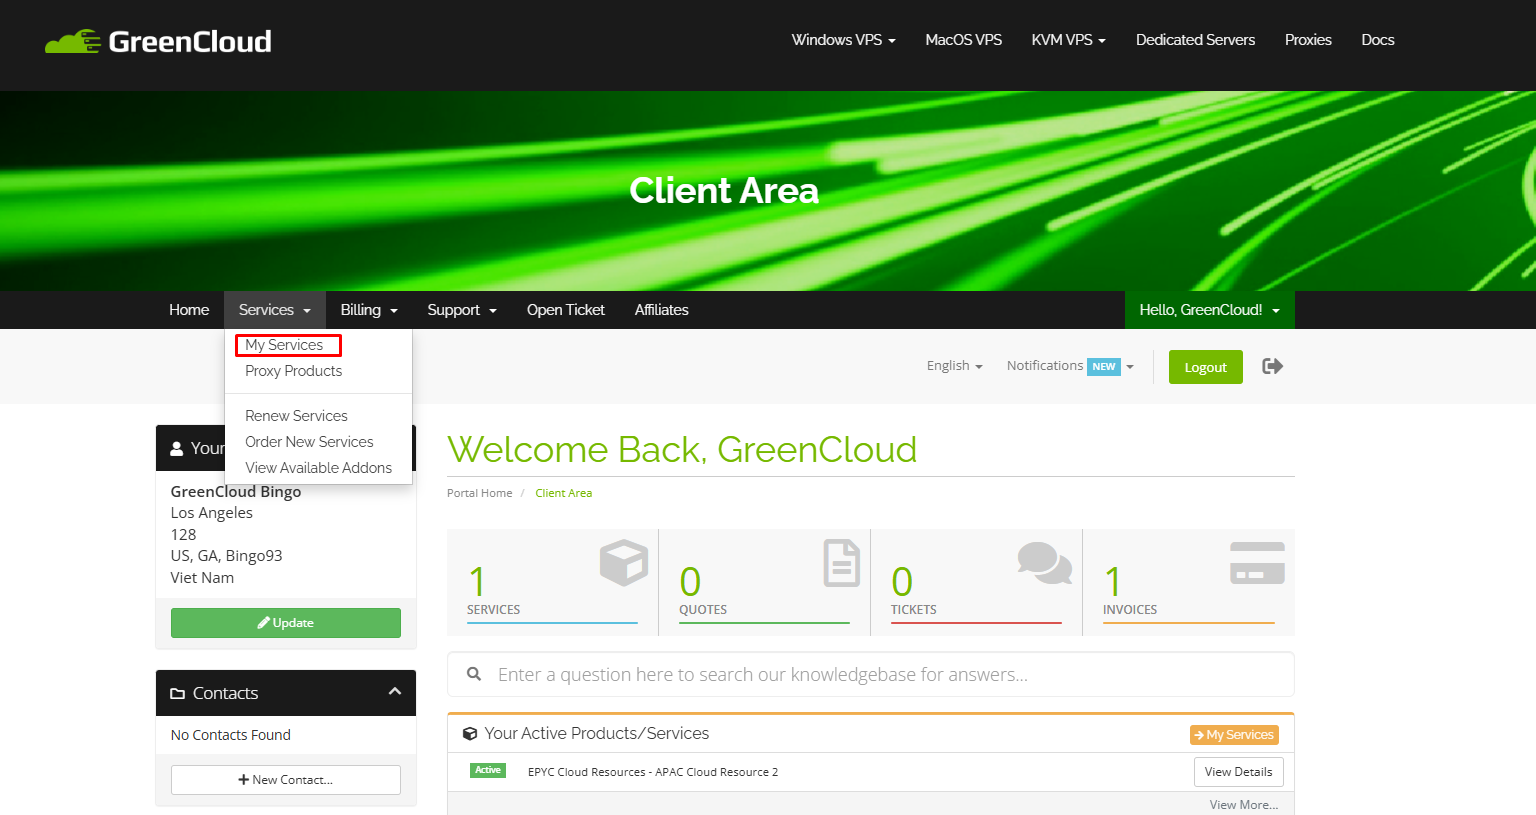
- Open a web browser and navigate to the Client Area login page.
- Click on Services > My Services

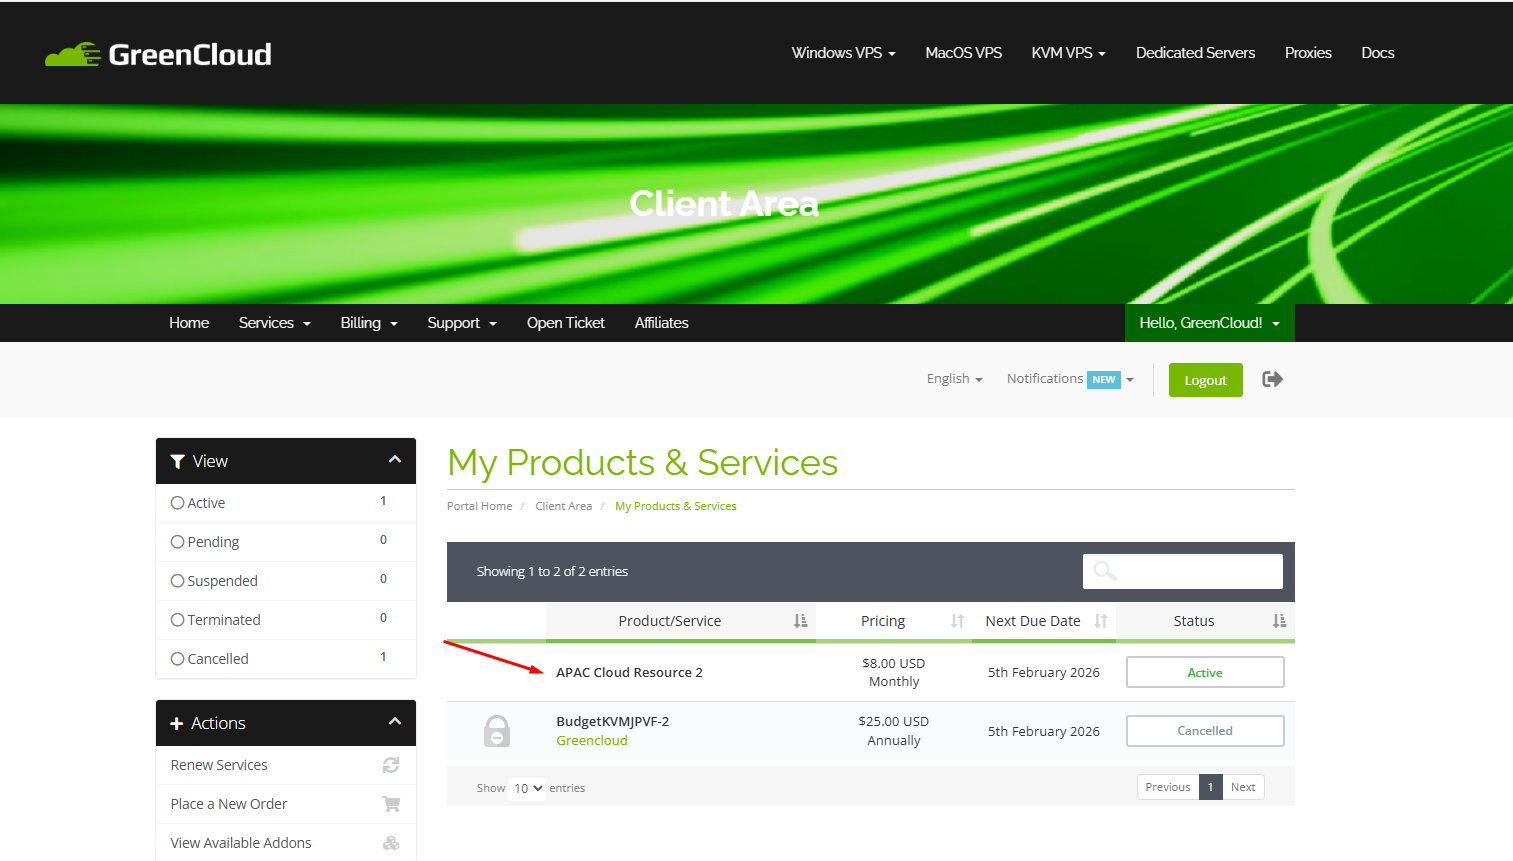
- Find the product or service you wish to VNC and click.

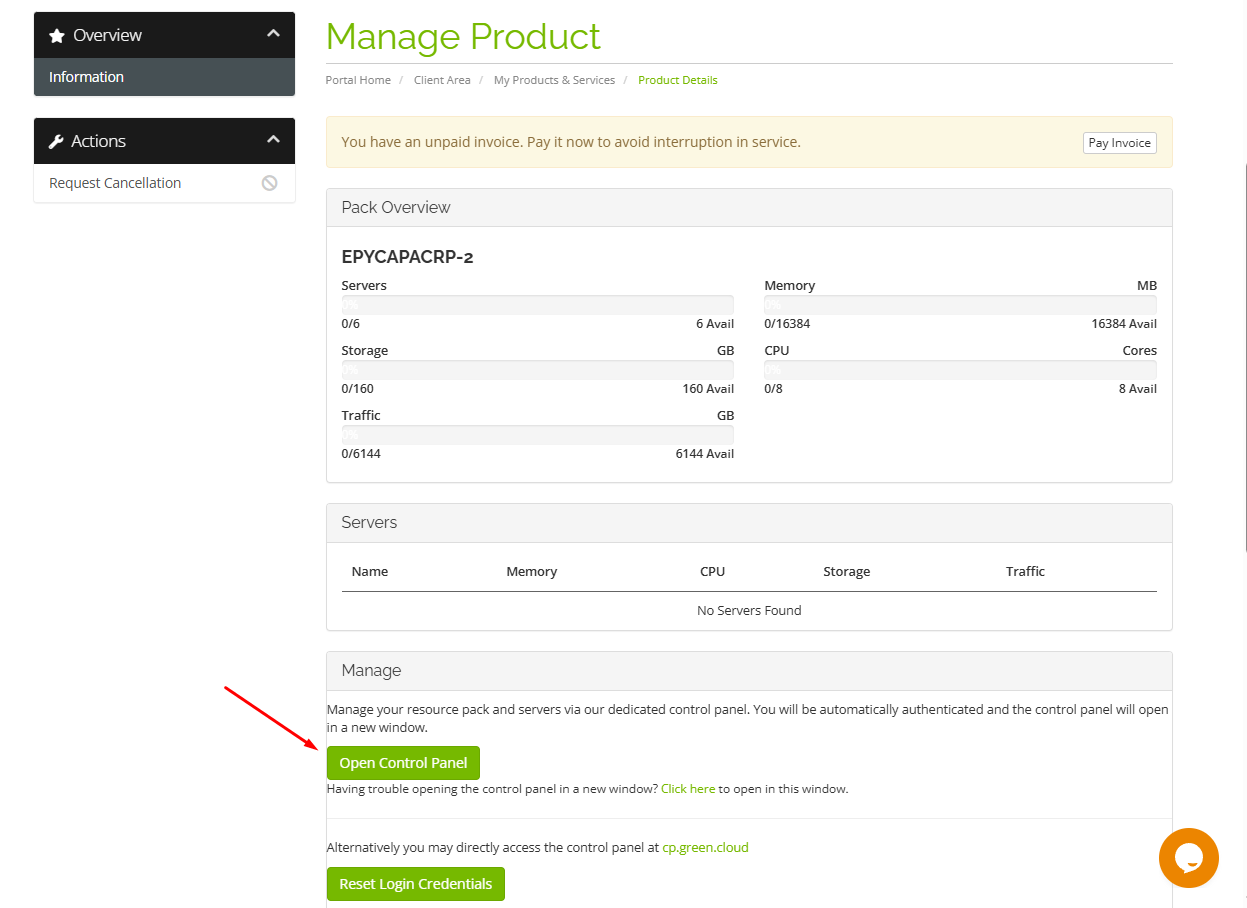
- Click on OPEN CONTROL PANEL

2. Create your VPS on cloud resources.
- After accessing the Control Panel, click on “Create Server.”
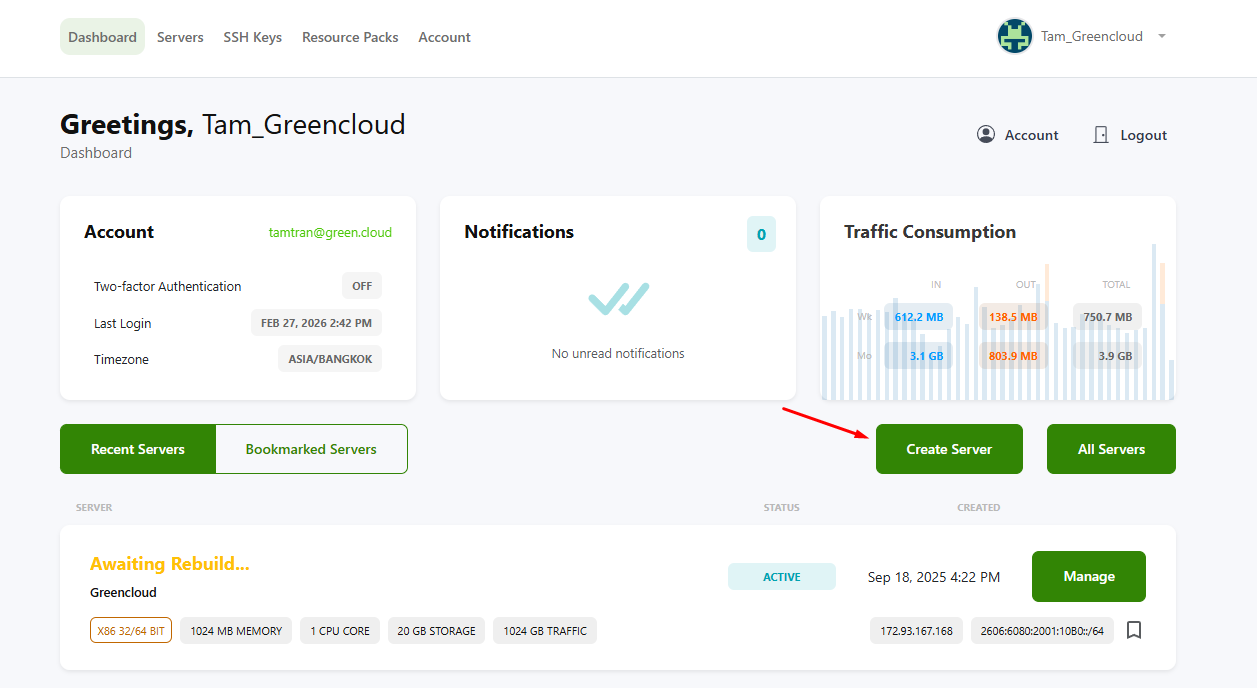
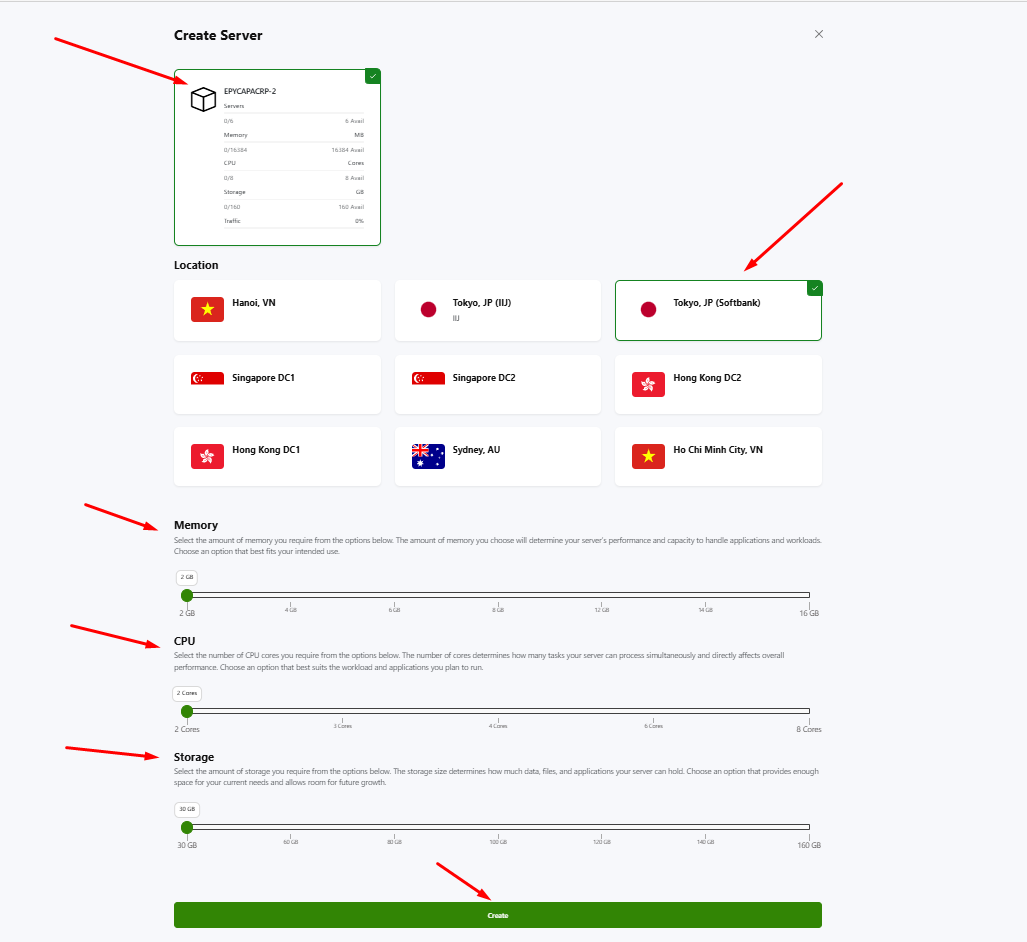
Next, click on your VPS plan. This will display the locations of your choice, allowing you to select the configuration parameters for RAM, CPU, and storage. Then, click create to set up the VPS you want.
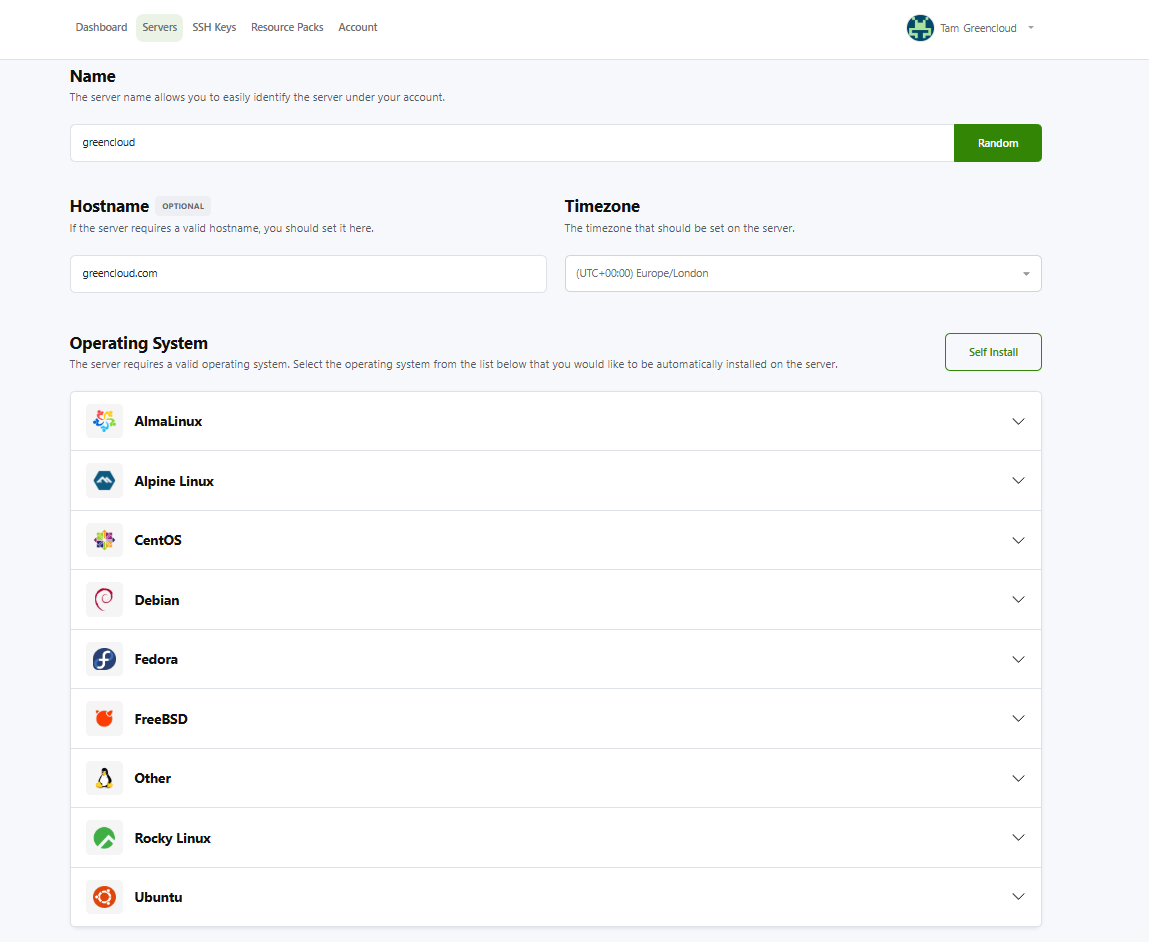
Next, you’ll be directed to the OS settings page. Enter your name, hostname, and select the operating system you want. Finally, click on “Install” to install the VPS.
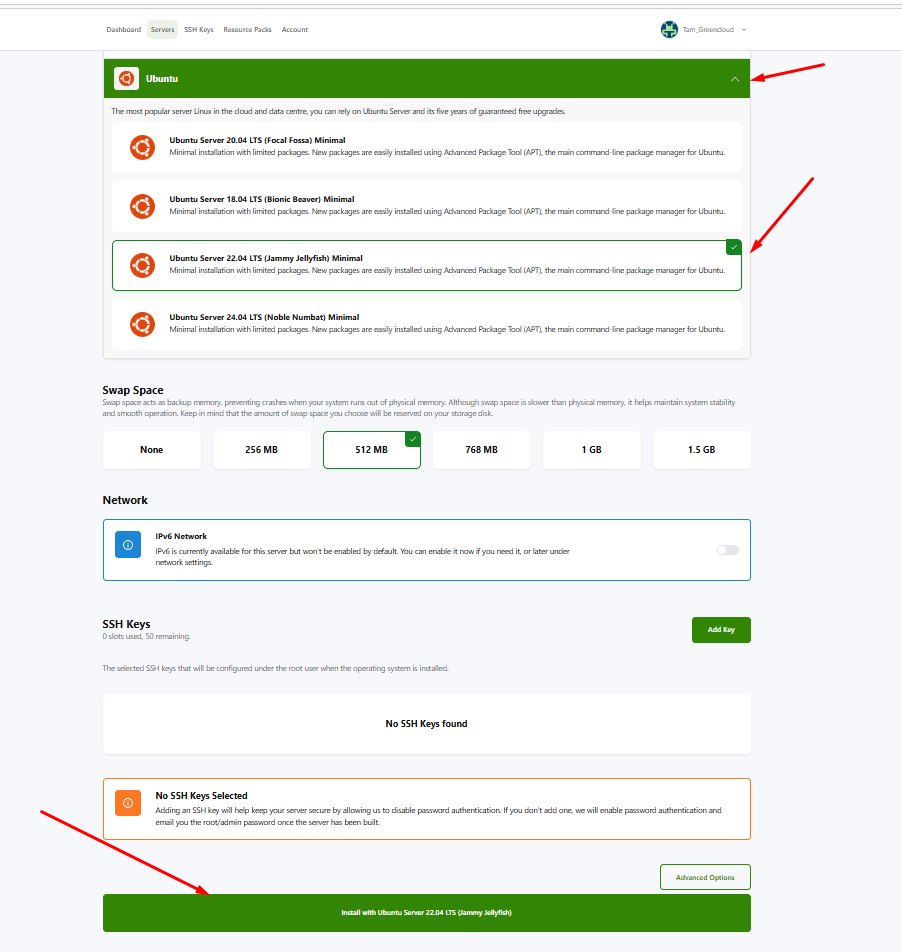
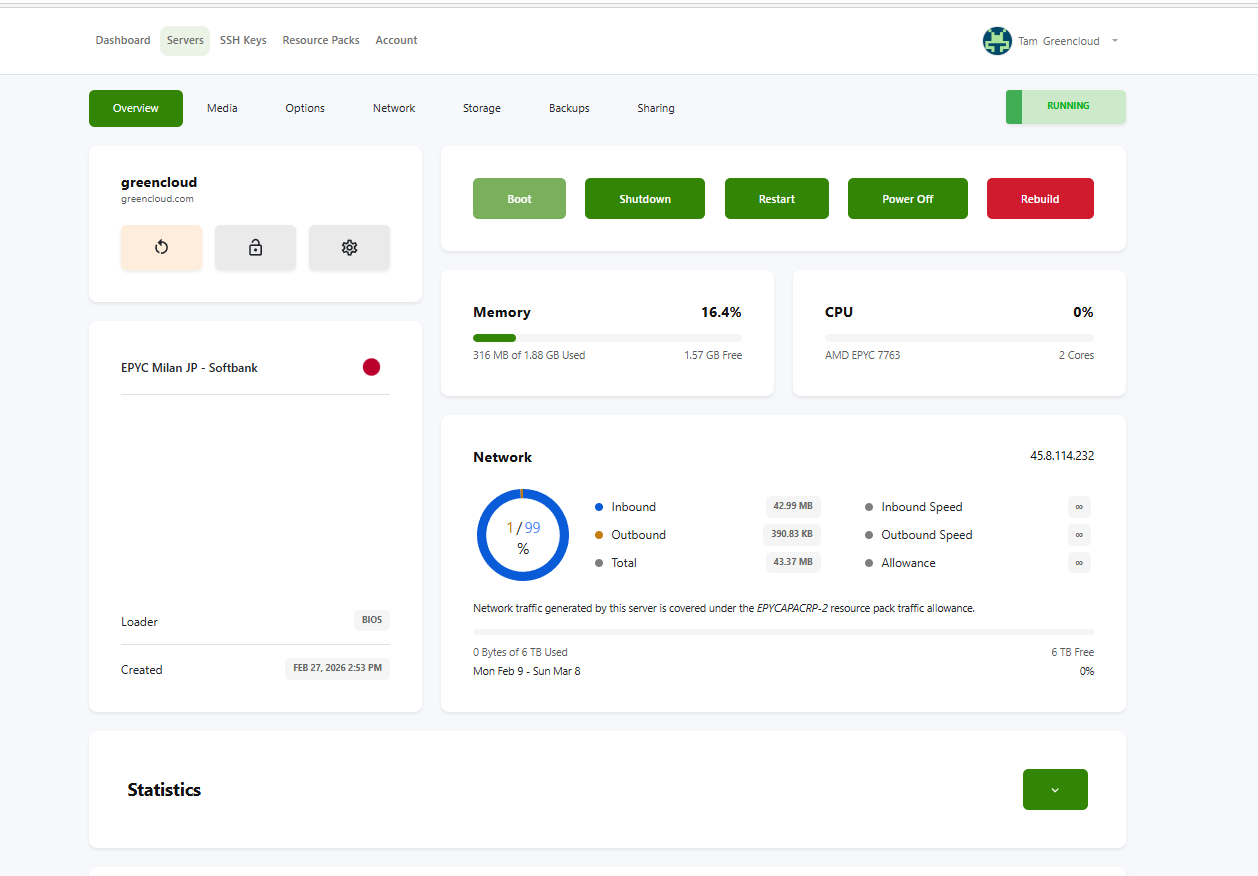
Please wait a few minutes for the VPS installation to complete. Your password and VPS information will be sent to your email. You can view the management screen below once the VPS installation process is complete.
In this article, we have guided you on how to use and install the OS on the EPYC Cloud Resources package. We hope you succeed!
