
How to Install GlassFish Application Server on Debian 12
GlassFish is a free and open-source implementation of the Java EE Platform developed by Eclipse. It’s the world’s first implementation of the Java EE platform, providing a lightweight application server and allowing you to deploy multiple Java-based applications. GlassFish supports multiple types of Java application technologies such as Enterprise JavaBeans, JPA, JavaServer Faces, JMS, and many more.
GlassFish is one of the best choices for developers to develop and deploy Java-based applications. It allows developers to develop enterprise applications in a convenient way and with a scalable architecture. The GlassFish project was originally started by Sun Microsystems. It comes with two different free licenses: the Common Development and Distribution License and the GNU General Public License.
In this guide, you will install GlassFish Application Server on Debian 12 step by step. You will also configure Nginx as a reverse proxy for your GlassFish installation.
Prerequisistes
To begin the process, ensure you have the following:
- A Debian 12 server with at least 4GB of RAM.
- A non-root user with sudo privileges.
Change hostname
hostnamectl set-hostname greencloud.com
echo 'greencloud.com' > /etc/hostname

cat > /etc/hosts <<'EOF'
127.0.0.1 localhost
127.0.1.1 greencloud.com
::1 localhost ip6-localhost ip6-loopback
ff02::1 ip6-allnodes
ff02::2 ip6-allrouters
EOF
Installing Java OpenJDK
GlassFish is an application server for deploying Java applications. To install GlassFish, you must install Java first on your Debian system. At this time, the Debian repository provides Java OpenJDK 17, which is compatible with the latest version of GlassFish.
apt update
Once the repository is updated, install the default-jdk package by executing the command below. By installing the default-jdk package, you will install Java OpenJDK 17.
apt install default-jdk
Type y to proceed with the installation.
After the installation is finished, verify your Java version using the command below. You should see that Java OpenJDK 17 is installed.
java -version

Setting Up System
After installing Java OpenJDK, the next step is to set up your Debian system by installing additional packages such as wget and unzip, creating a new glassfish system user, and configuring the JAVA_HOME environment variable.
To start, you will install the unzip and wget packages by executing the following apt command.
apt install unzip wget -y
Now, run the command below to create a new system user, glassfish. This user will be used to run your GlassFish installation, which will be located in the /opt/glassfish directory.
useradd -M -d /opt/glassfish -U -s /bin/false glassfish
Next, create a new bash script /etc/profile.d/java.sh using the following nano editor command.
nano /etc/profile.d/java.sh
Add the following configuration to set up the JAVA_HOME environment variable and add the Java binary path to the system PATH.
export JAVA_HOME=/usr/lib/jvm/java-17-openjdk-amd64
export PATH=$PATH:$JAVA_HOME/bin
Save and close the file when you’re done.
Now load the new environment variable within /etc/profile.d/java.sh using the source command below.
source /etc/profile.d/java.sh
Lastly, execute the following command to verify the system PATH and JAVA_HOME environment variables.
echo $JAVA_HOME
echo $PATH
If everything goes well, you should see that the JAVA_HOME path is configured to the directory /usr/lib/jvm/java-17-openjdk-amd64, and the Java bin directory is added to the system PATH.

Downloading GlassFish Binary Package
With the Java OpenJDK installed and your Debian system ready, you can now download and install GlassFish. Before going further, check the GlassFish download page to get the latest version of GlassFish. At this time, the latest version of GlassFish is v7.0.10.
Go to the /tmp directory and download the GlassFish binary package via the wget command below. Once the download process is finished, you should see the file glassfish-7.0.10.zip.
cd /tmp
wget https://download.eclipse.org/ee4j/glassfish/glassfish-7.0.10.zip
Extract the glassfish-7.0.10.zip file to the /opt directory via the unzip command below. The GlassFish package will be extracted to the /opt/glassfish7 directory.
unzip glassfish-7.0.10.zip -d /opt
Lastly, rename the extracted directory from /opt/glassfish7 to /opt/glassfish. Then, change the ownership of the /opt/glassfish directory to user glassfish.
mv /opt/glassfish7 /opt/glassfish
chown -R glassfish:glassfish /opt/glassfish
Running GlassFish as a Systemd Service
After downloading the GlassFish binary package, you will create a new systemd service file that will be used to run GlassFish. This allows you to manage GlassFish via the systemctl utility and run GlassFish in the background as a systemd service.
To run GlassFish as a systemd service, run the following nano editor command to create a new file /etc/systemd/system/glassfish.service.
nano /etc/systemd/system/glassfish.service
Insert the following configuration into the file.
[Unit]
Description = GlassFish Server v7
After = syslog.target network.target

[Service]
User=glassfish
ExecStart=/opt/glassfish/bin/asadmin start-domain
ExecReload=/opt/glassfish/bin/asadmin restart-domain
ExecStop=/opt/glassfish/bin/asadmin stop-domain
Type = forking

[Install]
WantedBy = multi-user.target
Save and close it when you’re done.
Now, run the following systemctl command to reload the systemd manager and apply the changes.
systemctl daemon-reload
With the systemd manager reloaded, start and enable the GlassFish service using the following command.
systemctl start glassfish
systemctl enable glassfish
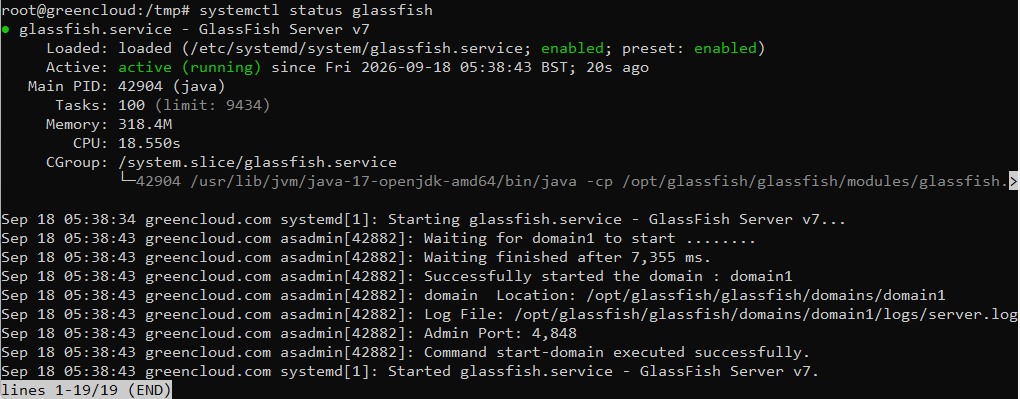
Lastly, verify the GlassFish service status using the command below.
systemctl status glassfish
If everything goes well, you should see the GlassFish status as active (running), and it is enabled.
Setting up User and Securing GlassFish Administration
At this point, GlassFish is up and running. Now you will configure the GlassFish installation by changing the default password for the Admin Console and enabling the Secure Admin. These can be done via the asadmin command that is available in the /opt/glassfish/bin directory.
Execute the asadmin command line below to change the admin password for your GlassFish installation.
sudo -u glassfish /opt/glassfish/bin/asadmin --port 4848 change-admin-password
During the process, you will be asked the following:
- Input the default admin user for GlassFish.
- Press ENTER when asked for the password. The default admin user for GlassFish comes without a password.
- Now input the new admin password for GlassFish and repeat.
When the process is complete, you should get a message like the following:

Next, run the asadmin command below to enable secure admin on your GlassFish installation.
Essentially, Secure Admin enables secure communications via SSL between the domain administration server (DAS), remote instances, and administration clients, including the asadmin utility, the administration console, and REST clients.
sudo -u glassfish /opt/glassfish/bin/asadmin --port 4848 enable-secure-admin
Enter your GlassFish admin user and password, then press Enter. When finished, the following output will be displayed.

After the Secure Admin is enabled, run the following command to restart the GlassFish service and apply the changes.
systemctl restart glassfish
Accessing GlassFish Installation
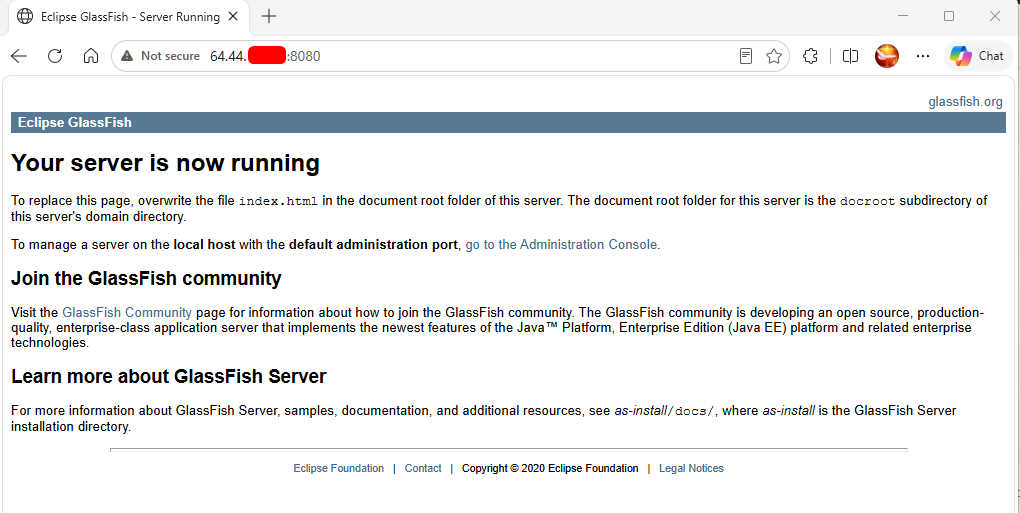
Now, launch your web browser and visit the server IP address followed by port 8080, such as http://64.44.177.21:8080/. If your GlassFish installation is successful, you should get the following page, which confirms that GlassFish is running.
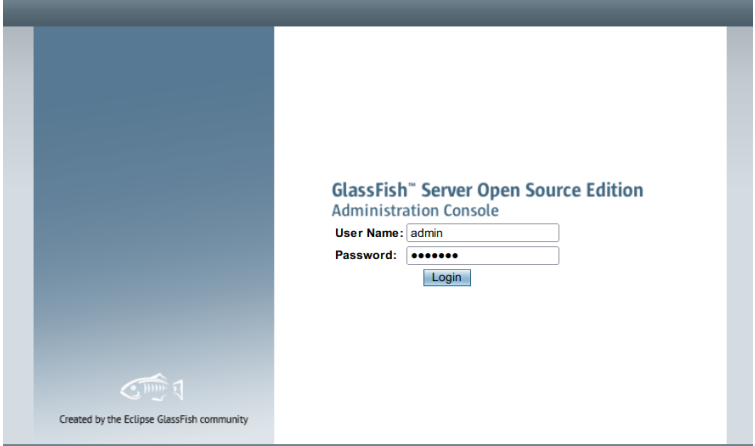
Open a new tab and visit the same server IP address with port 4848 (i.e., https://192.168.5.15:4848/) to access the GlassFish administration page. Accept the SSL/TLS certificates in your web browser, and if successful, you should get the GlassFish administration login page below.
On the login page, enter your admin user and password, then click Login.
If your installation is successful, you should get the GlassFish administration dashboard like the following:
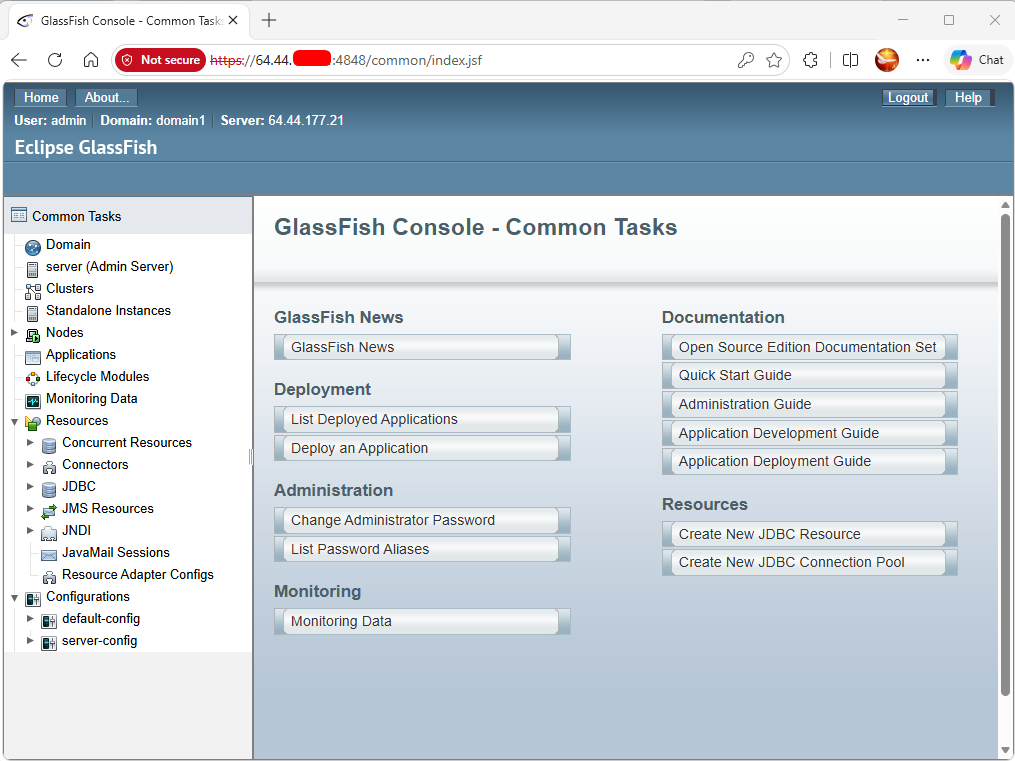
Now click on the Server menu to check the status of your GlassFish installation. In this example, you should see that GlassFish 7.0 is installed with the status Running.
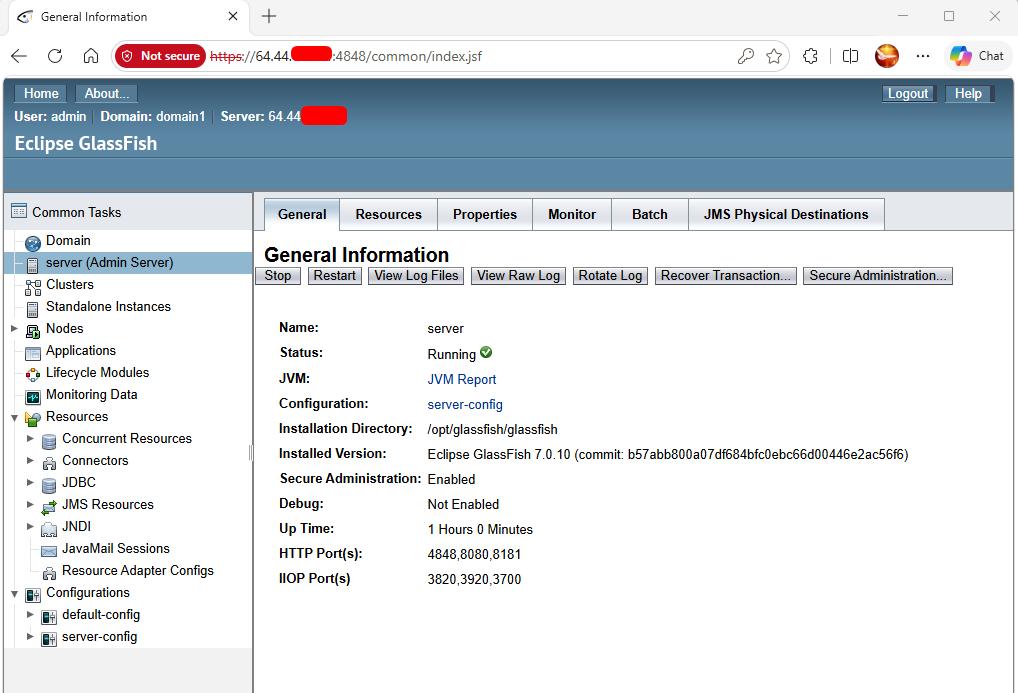
From here, you can now manage your GlassFish application server
Conclusion
In conclusion, you have now successfully installed the GlassFish Application Server on a Debian 12 server, following the step-by-step instructions. You’ve installed GlassFish with Java OpenJDK 17 and also secured GlassFish by changing the default admin password and enabling the Secure Admin. You can now start deploying your application with GlassFish.
