How to Enable Telnet Client in Windows 11 and Server 2022
Telnet is a client/server protocol used to access remote servers. As the name might suggest, Telnet was originally used on terminals that only required a keyboard because everything on the screen was displayed in text, usually from a mainframe computer. The terminal used Telnet to remotely log in to a mainframe server or other computer. But in recent years, Telnet has fallen out of favor because it doesn’t provide a secure way to communicate with remote servers.
Nevertheless, telnet still has its uses today. For example, it can be useful for checking connectivity to a remote server. You can use a Telnet client to try and access a port on a remote server. For example, if you are troubleshooting connectivity issues you can use Telnet to enter some commands and run them on a remote server and the output will be returned to the Telnet client. You can use Telnet for accessing remote servers if using strong authentication and encryption over the network isn’t critical, you might issue some commands to a remote SMTP server to test sending email. Then a message is sent before closing the connection. While Telnet has never been a critical Windows tool, there is a Telnet client built into Windows 11 and Windows Server 2022, although it isn’t enabled by default.
In this article, I will show you how to enable the Telnet client using the GUI and command line.
1. Install the Telnet client using the GUI
In Windows Server 2022
Follow the instructions below to install the Telnet client using Server Manager.
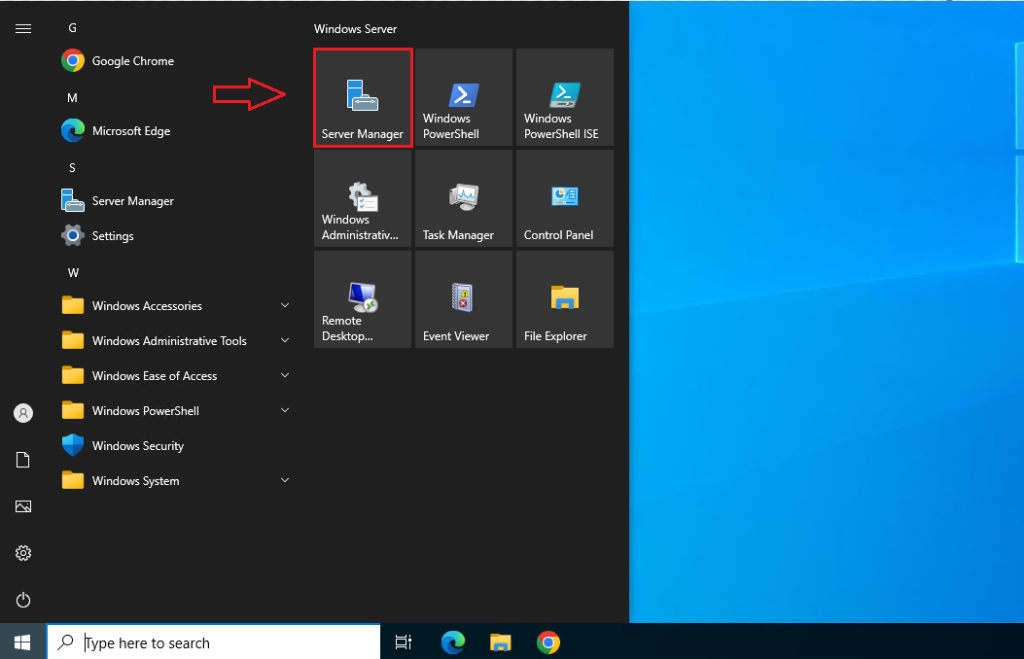
Step 1: Open Server Manager from the Start menu.
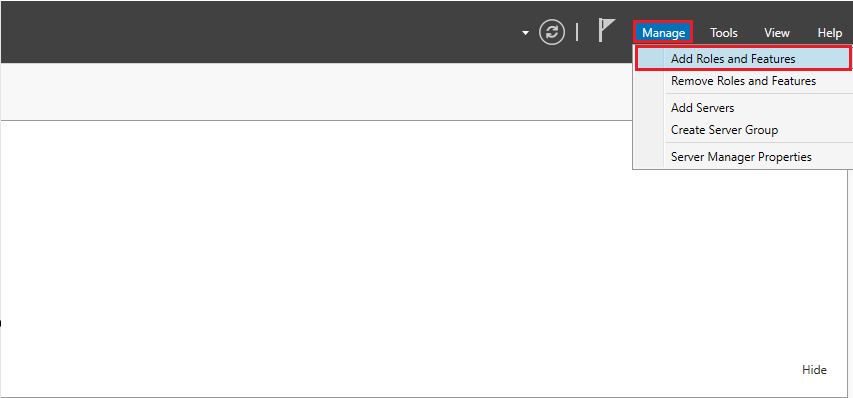
Step 2: Click the Manage menu in the top right corner and then select Add Roles and Features.
Step 3: In the Add Roles and Features Wizard, click Next on the Before you begin -> Click Next on the Select installation type
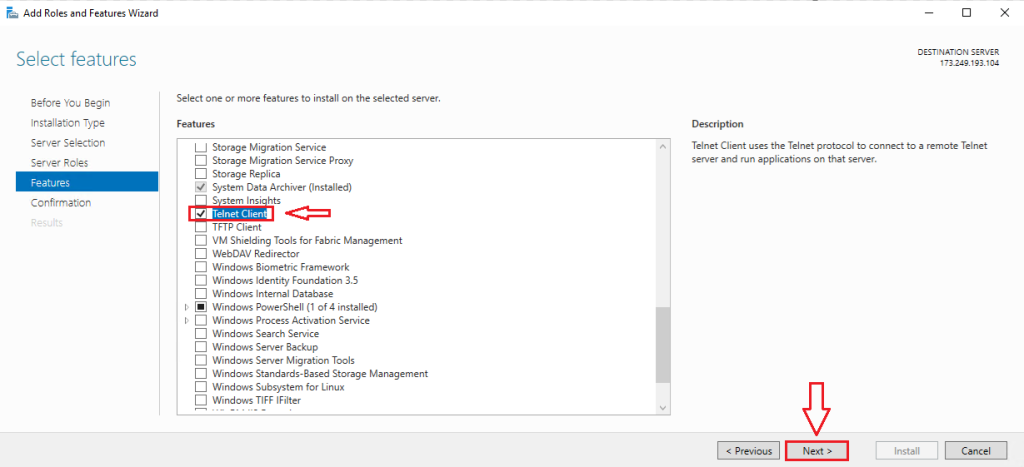
Step 4: On the Select features screen, scroll down the list of available features, check Telnet Client, and click Next
Then click Install on the Confirmation installation selections
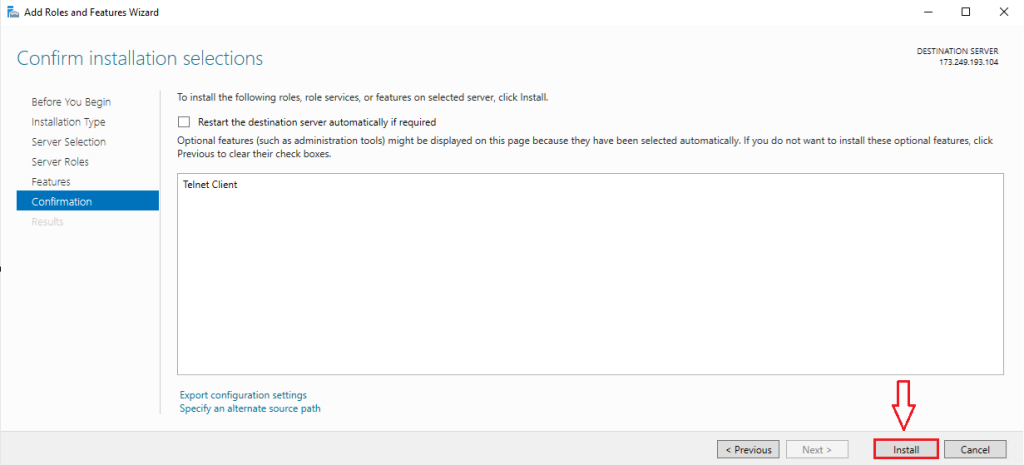
Close the Add Roles and Features Wizard
In Windows 11
The Telnet client is installed using the legacy Control Panel in Windows 11.
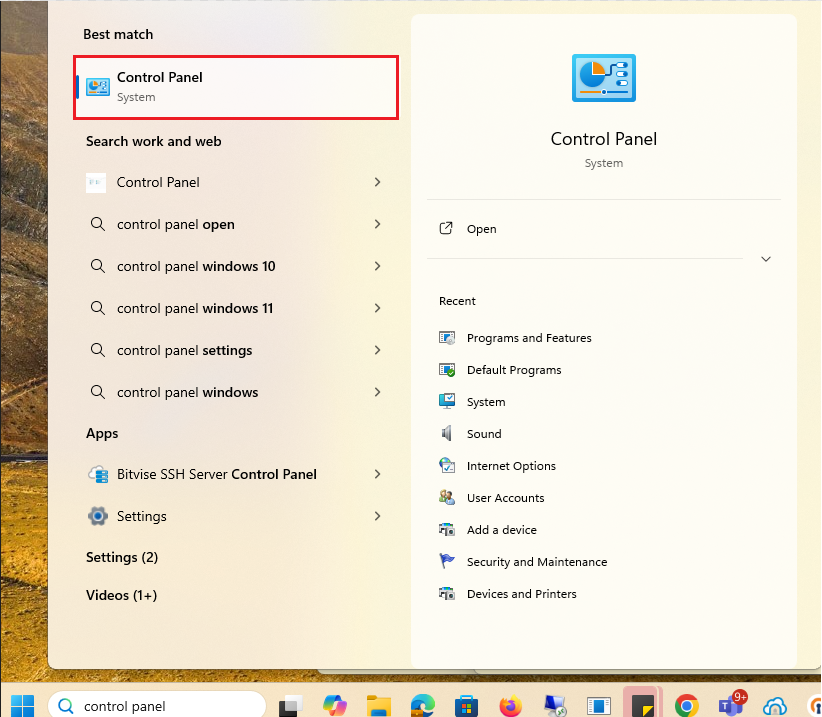
Step 1: Click the Search icon on the taskbar -> Type control panel and then select Control Panel
Step 2: In the Control Panel, click Programs.
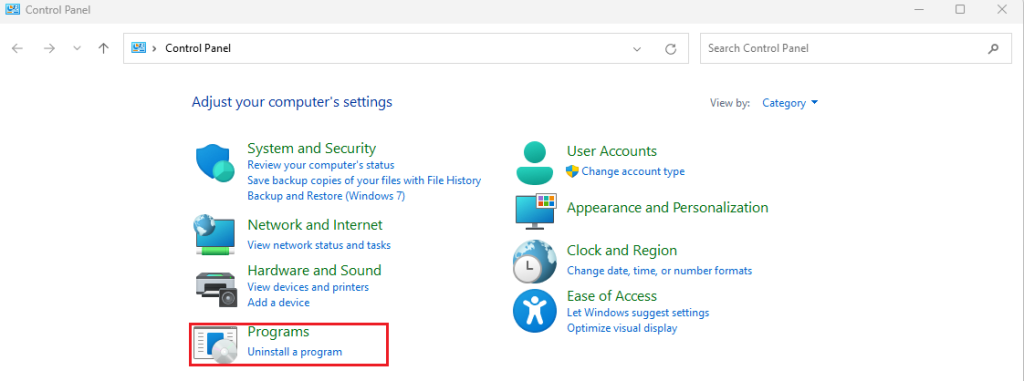
Step 3: Click Turn Windows features on or off under Programs and Features.

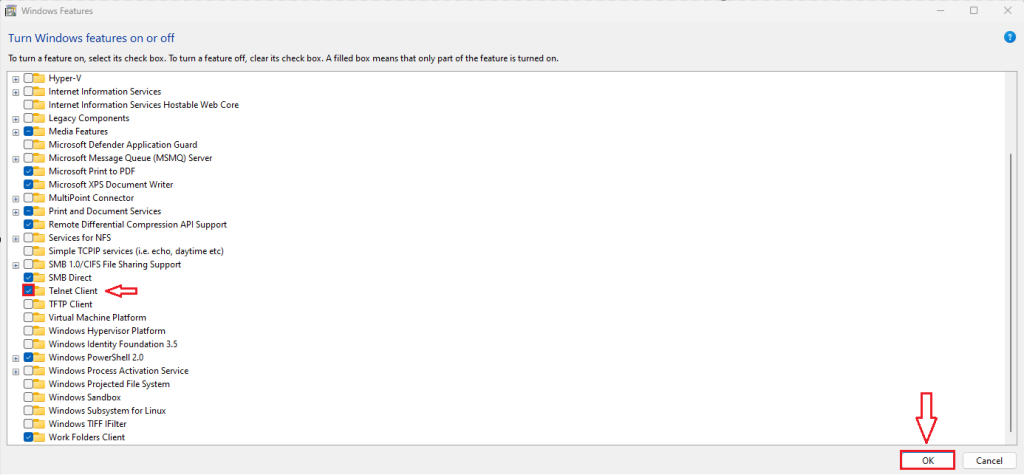
Step 4: In the Windows Features window, scroll down the list of available features, check Telnet Client, and then click OK.
2. Install the Telnet client using the command line
The Telnet client can be installed using PowerShell or the DISM command-line tool. The following methods work in Windows 11 and Windows Server 2022.
Install the Telnet client using DISM
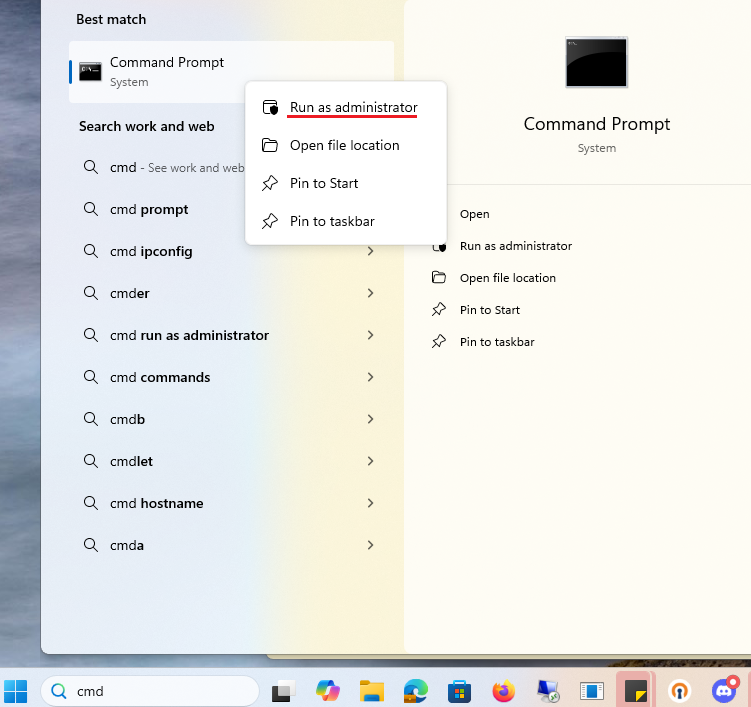
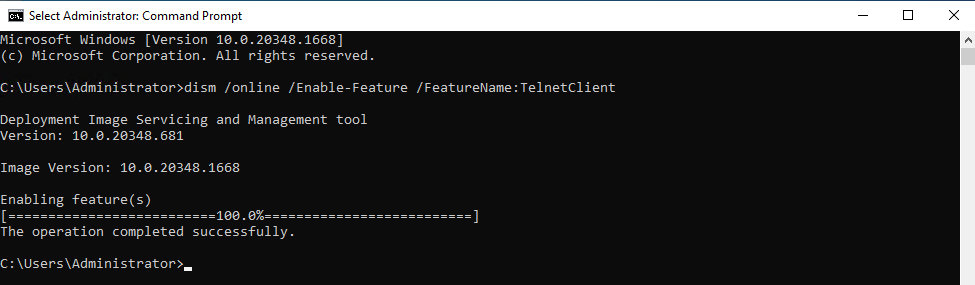
Step 1: Open the Start menu on the taskbar. Type ‘cmd’ and click Run as Administrator to open the command prompt.
Step 2: In the command prompt window, type the command below and press ENTER.
dism /online /Enable-Feature /FeatureName:TelnetClient
Install the Telnet client using PowerShell
Step 1: Open the Start menu on the taskbar. Type ‘powershell’ and click Run as Administrator.
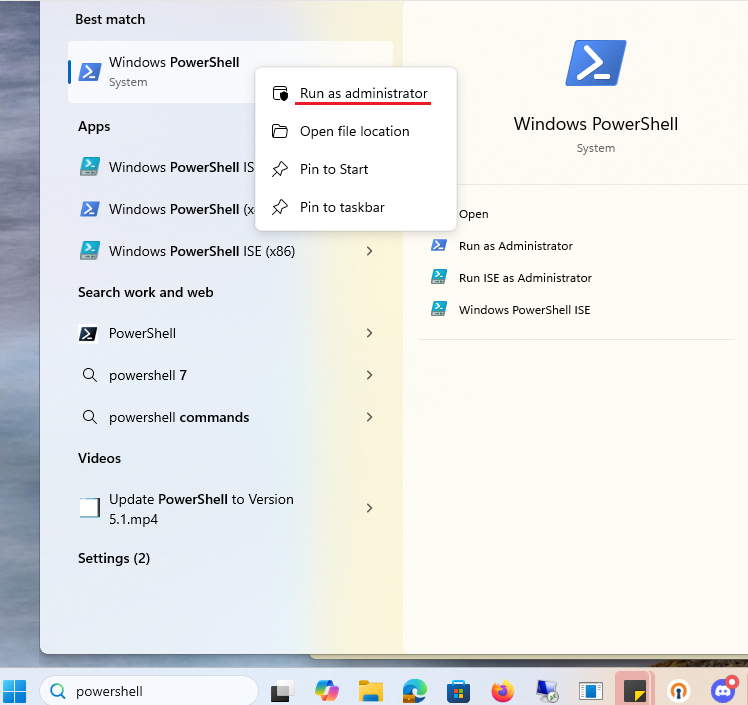
Step 2: In the PowerShell window, type the command below and press ENTER.
Install-WindowsFeature -Name Telnet-Client
Or
Enable-WindowsOptionalFeature -Online -FeatureName TelnetClient

Then perform a restart of your server.
3. How to start the Telnet Client
Once the Telnet Client is installed, you can start it either from the Command Prompt or by using Windows’ search function. If you love Telnet’s text-based command line, you’ll probably prefer using the Command Prompt. If that’s the case, start the Command Prompt, type the command telnet inside it, and press Enter on your keyboard.

The slightly faster way to open the Telnet Client and Command Prompt at the same time is to search for the word telnet.In Windows 11, click the search button on the taskbar and type telnet. Either way, once the search results are displayed, click or tap on the Telnet shortcut.
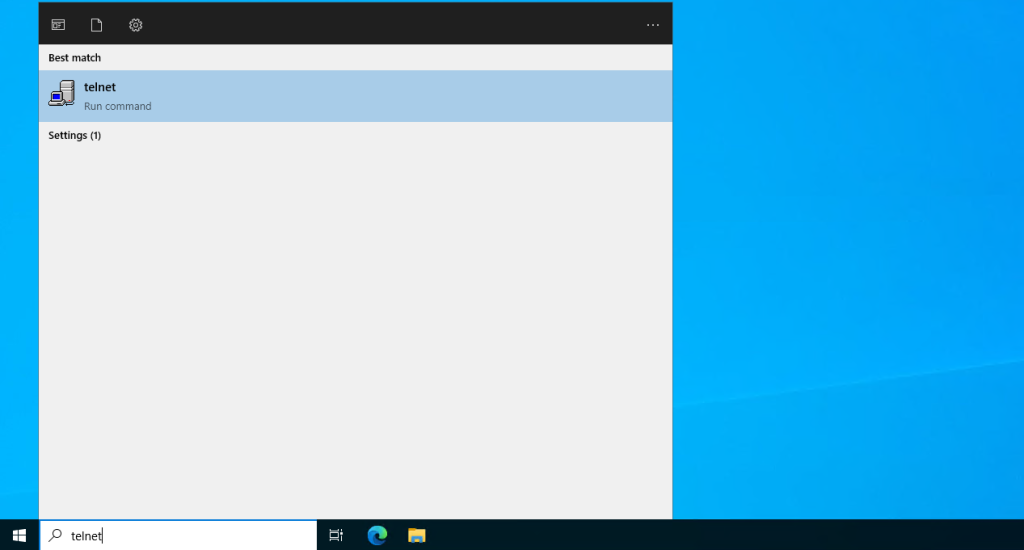
Then, no matter which method you choose, the result is a Command Prompt window running a Telnet session.

When you want to disconnect from a Telnet server, write q (from quit) and press Enter on your keyboard.

Conclusion
We welcome you to follow me on Greencloud. I hope you found this blog post on how to enable Telnet in Windows 11 and Windows Server helpful. If you have any questions, please let me know in the comment session.

