How to enable audio output device on Windows Server 2012 and 2019
Introduction
Sometimes you wish to play audio/video sound from your VPS, but audio is not enabled by default on Windows Server 2012 and 2019. In this article we will guide you through all steps for enabling the audio output from your Windows VPS once you are logged into the VPS via remote desktop.
Enabling Audio on Windows Server 2019
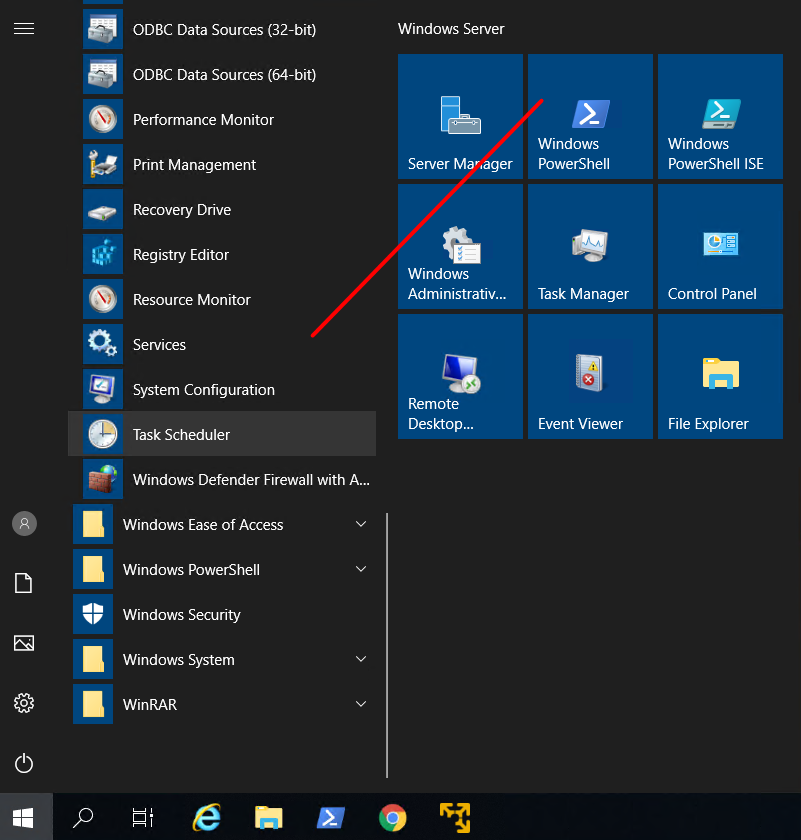
1. First, we need to open Services by going to Start -> Windows Administrative Tools
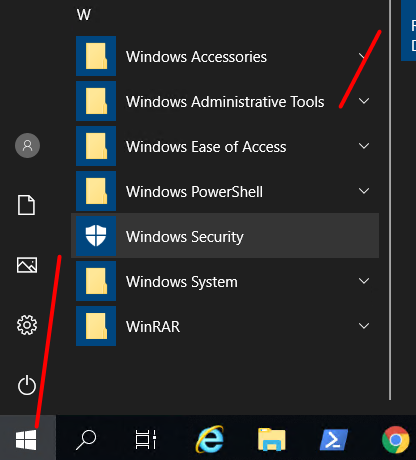
- Then choose Service
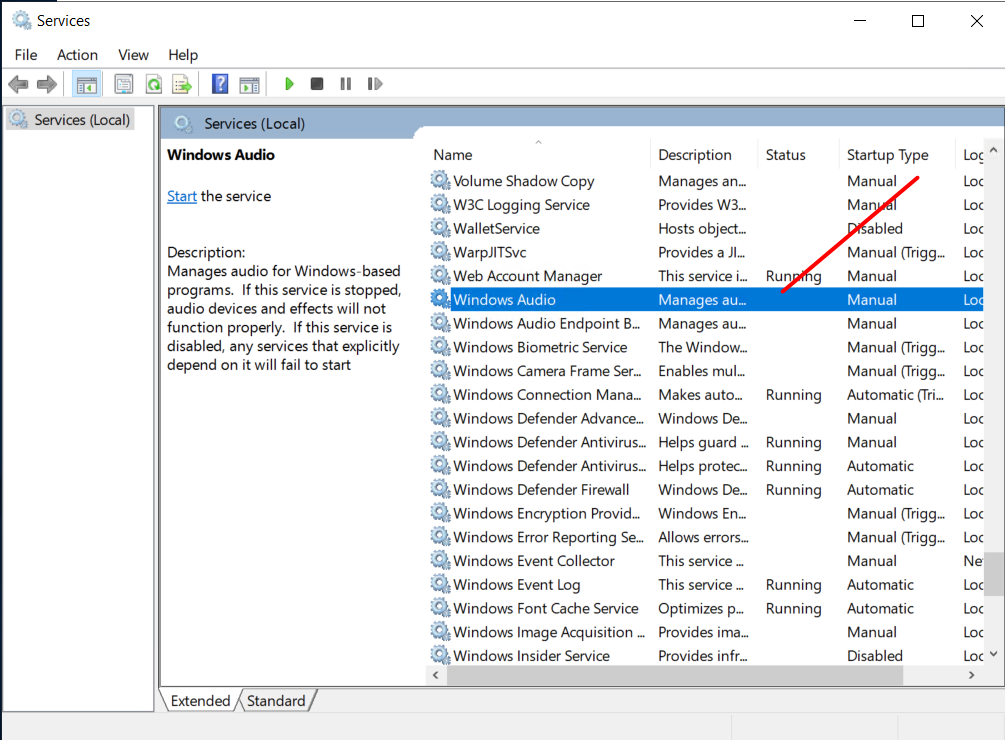
2. In Services, scroll down to find Windows Audio -> right click on it and then select the Properties option.

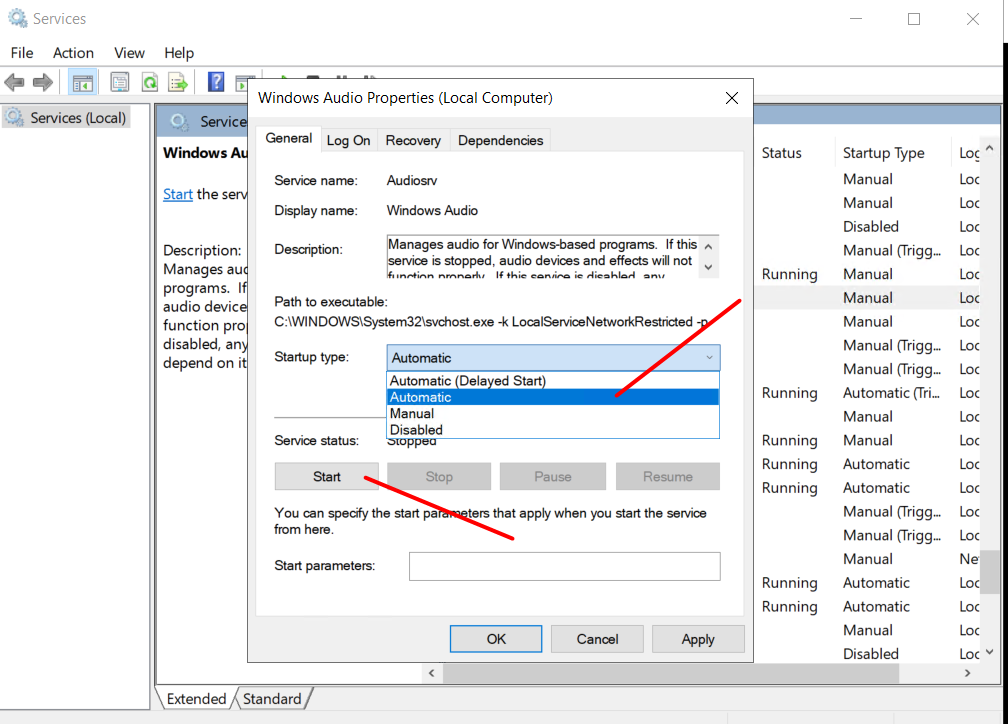
3. At Windows Audio Service Properties, set the Startup type to Automatic and then click on Start under the Service Status. Once done, click OK.
Enabling Audio on Windows Server 2012
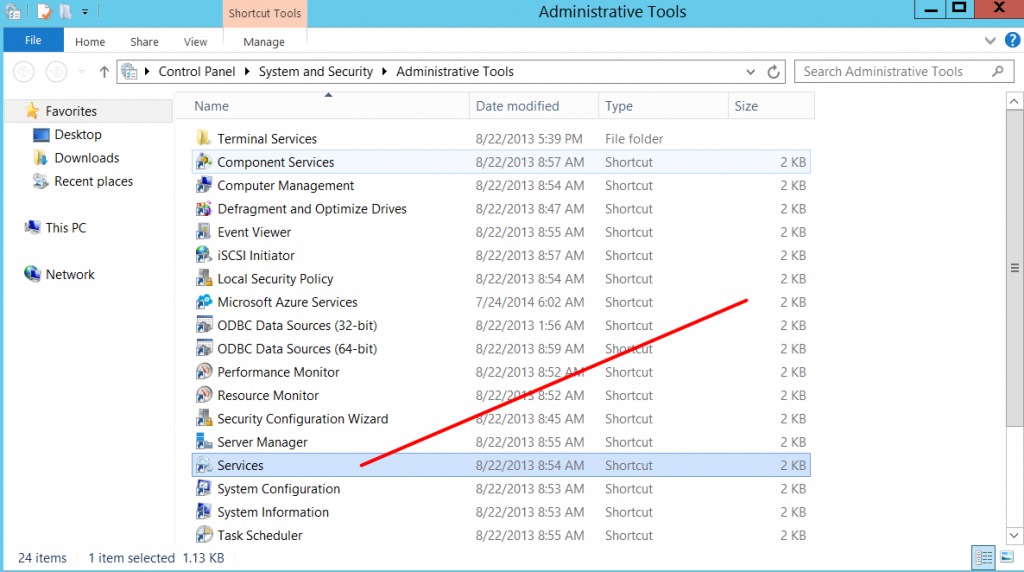
- Open Services by going to Start -> Administrative Tools -> Services
Or you can press Windows key + R -> Type “Services.msc” to open Services
2. In Services, scroll down to find Windows Audio -> right click on it and then select the Properties option.
3. At Windows Audio Service Properties, set the Startup type to Automatic and then click on Start under the Service Status. Once done, click OK.

That’s it! Enjoy the audio on GreenCloudVPS services!

