
How to backup and restore VPS in VirtFusion
Introduction
VirtFusion supports user-level backups. The current implementation supports on-demand and scheduled. Backups are copies of the server’s primary disk. Any additional storage that may be attached, will not be included in the backup. There are 1 slots for backups. We recommend that you power down your server before creating a backup to ensure data consistency on the disk.
Create Backup VPS in VirtFusion
You can go to the Virtfusion Control Panel using the information in the email you have received.
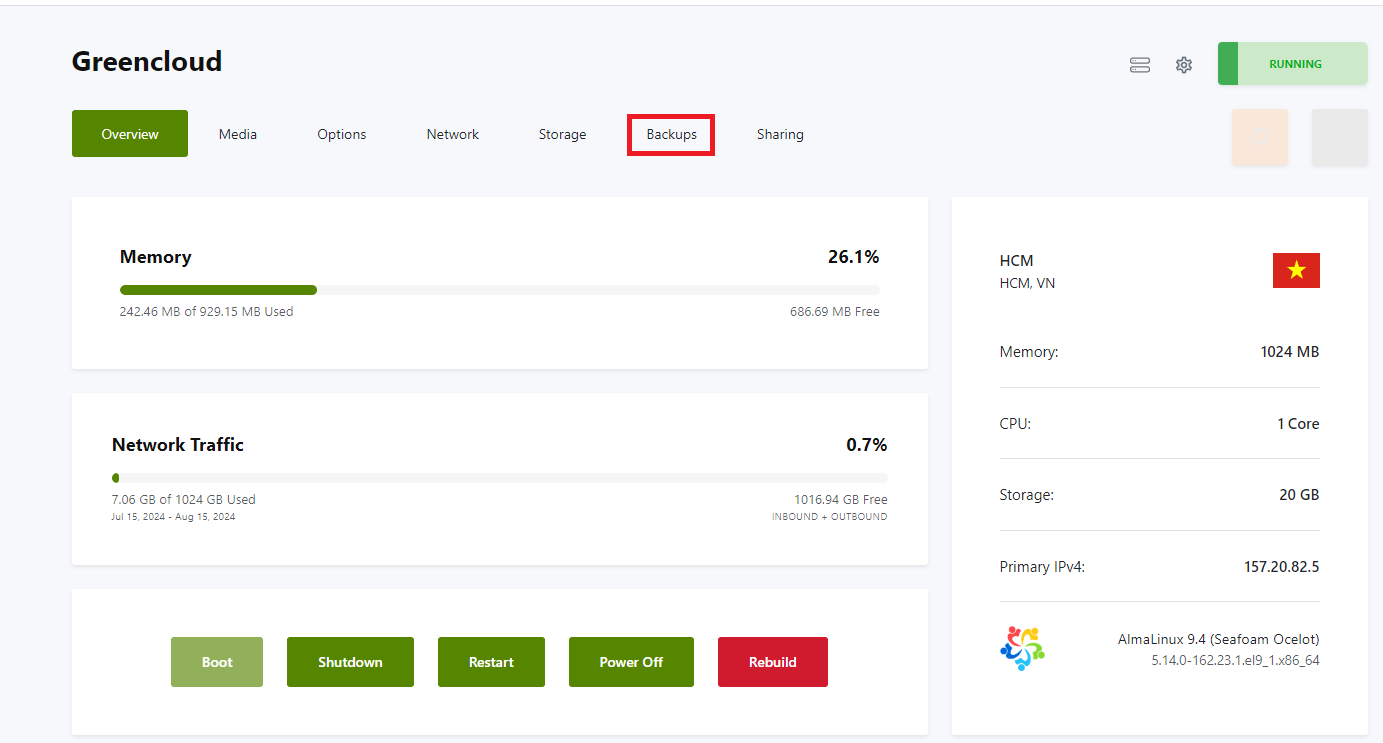
Then you move to the Backups section as shown below:
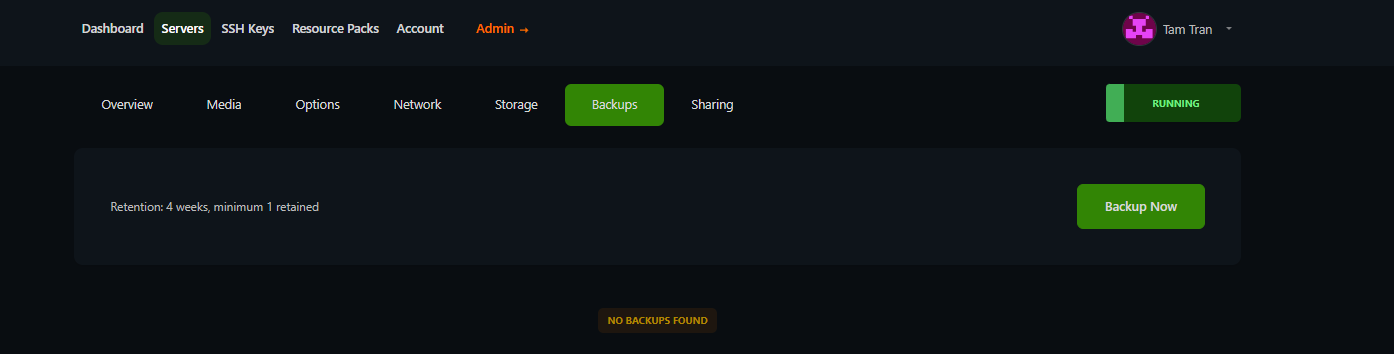
In the Backups section, click Create Backup now.
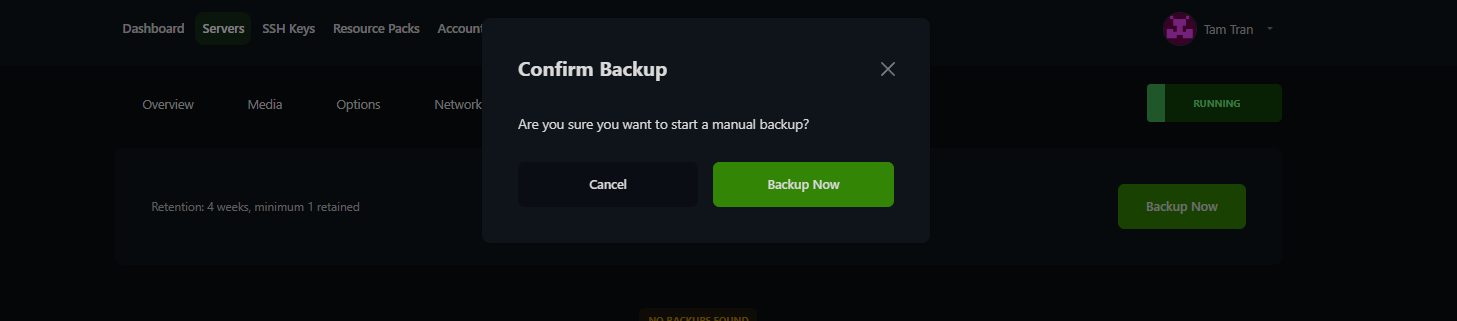
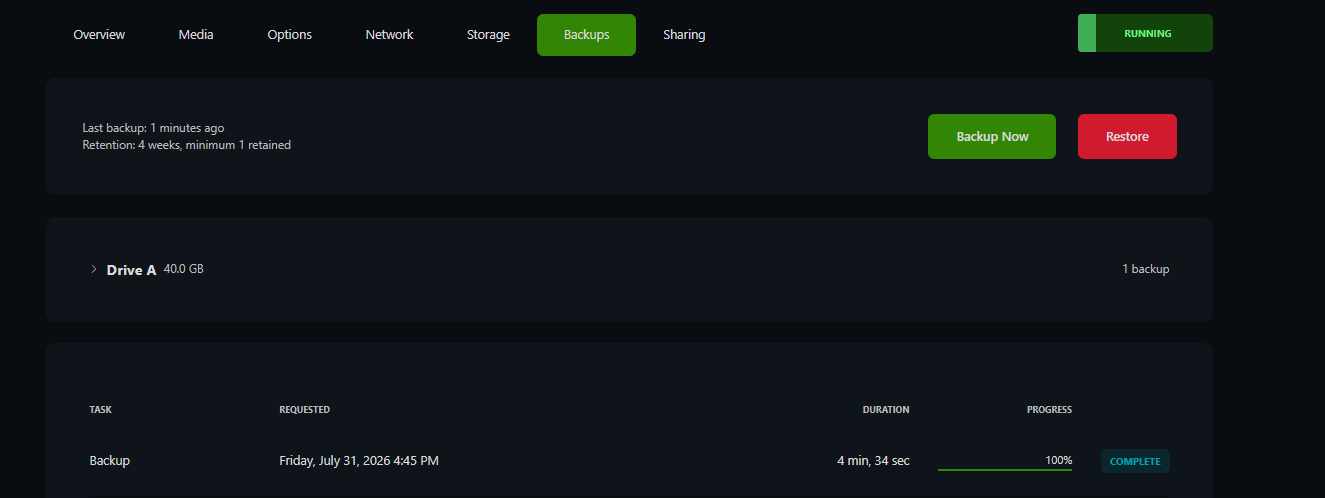
After that, please wait for the backup creation process to complete
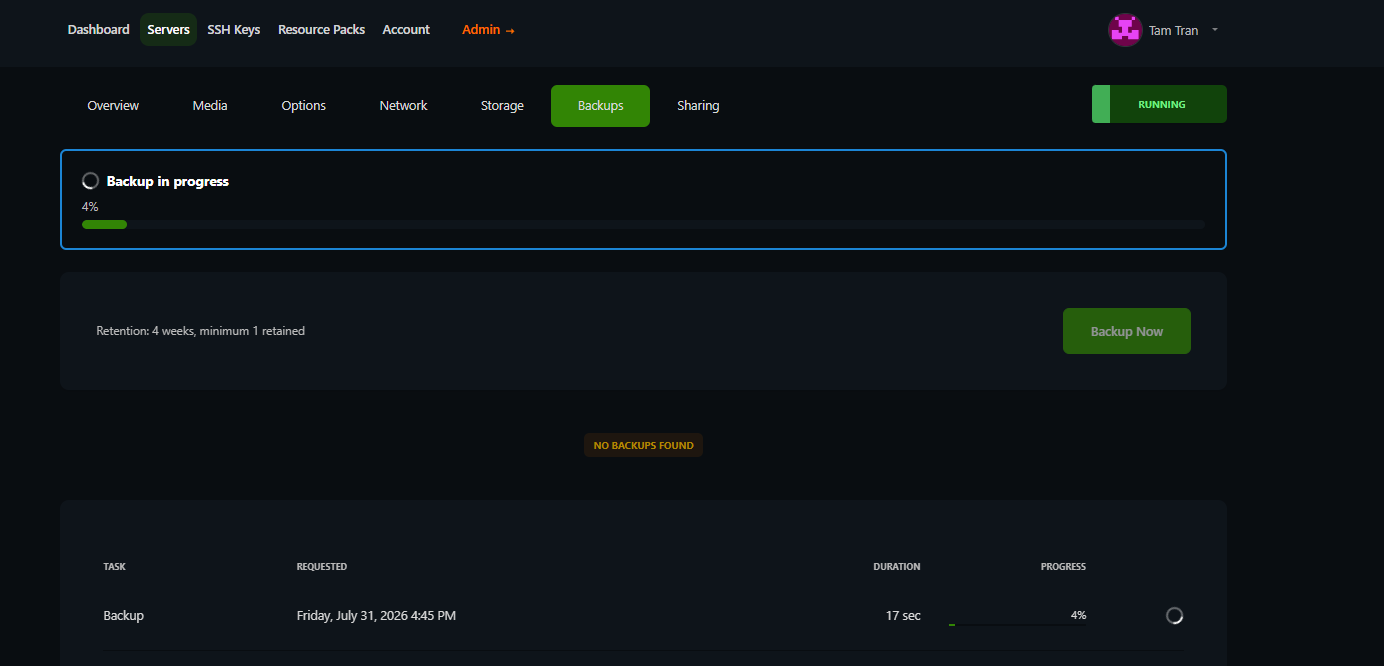
Please note: To use the Scheduled Backup feature, you must purchase our paid Backup add-on service. Once you have purchased the paid VPS backup package, your VPS will automatically back up every 24 hours starting from the time of the first backup. Alternatively, you can use manual backup methods.
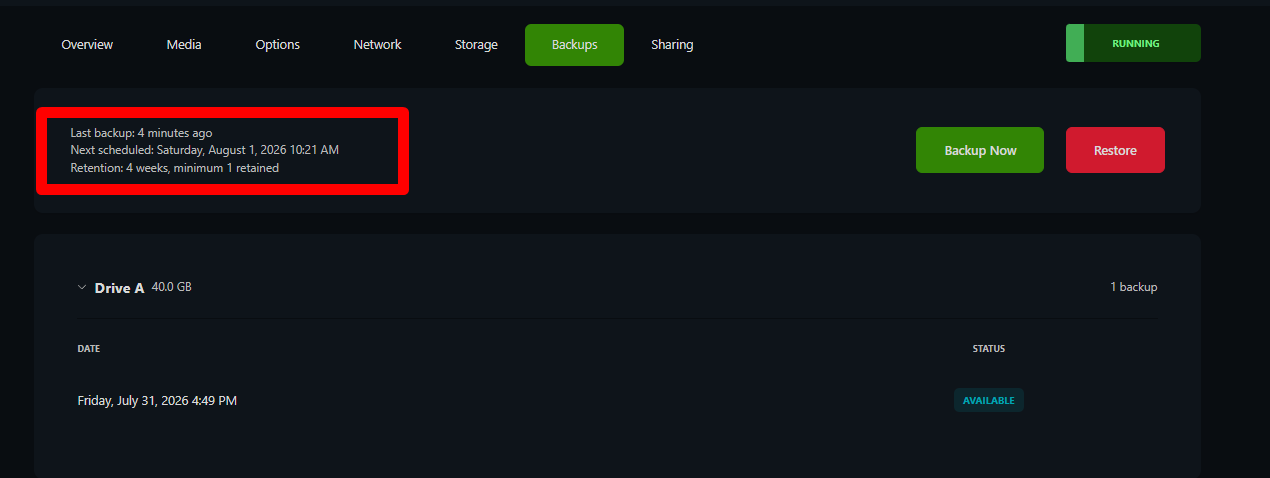
When the backup creation process is complete, you will see the following results:
Restore VPS from the created backup
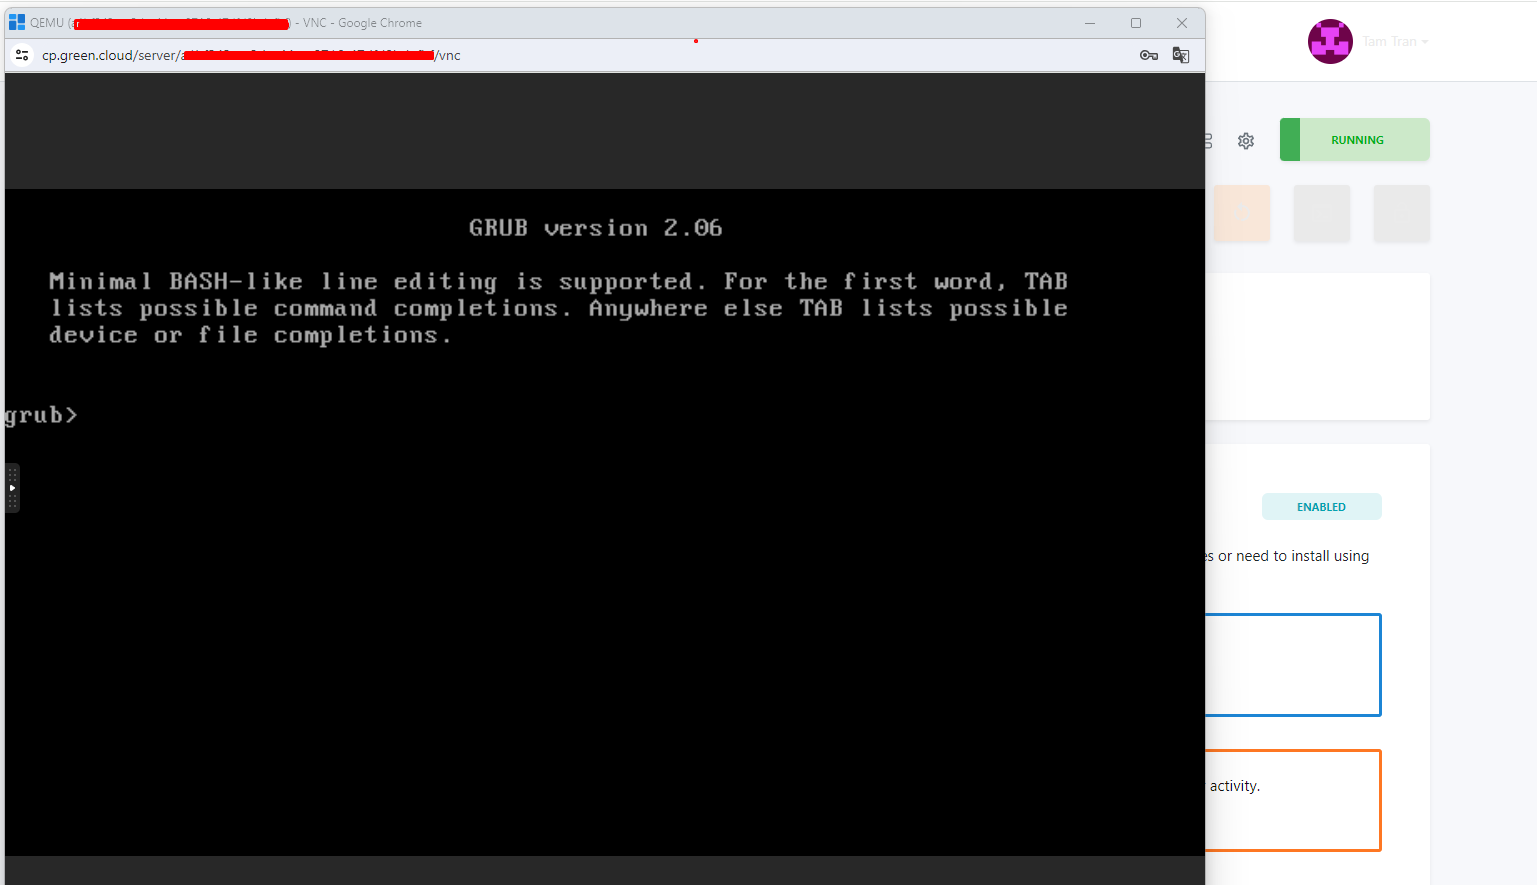
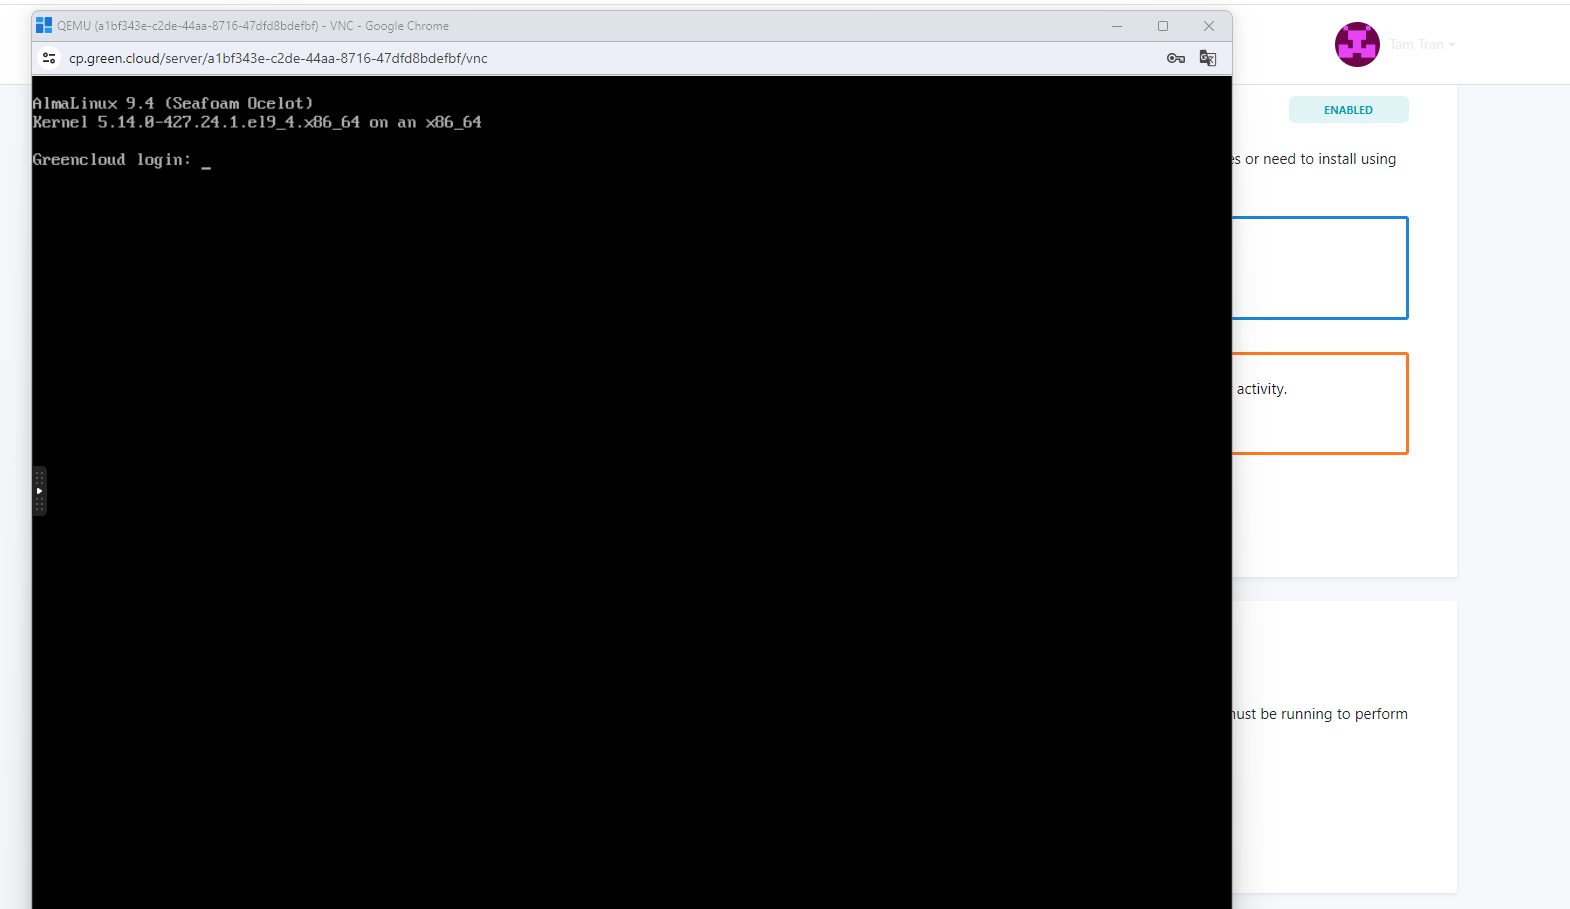
You can check the VPS status via VNC. This is the OS image when it fails
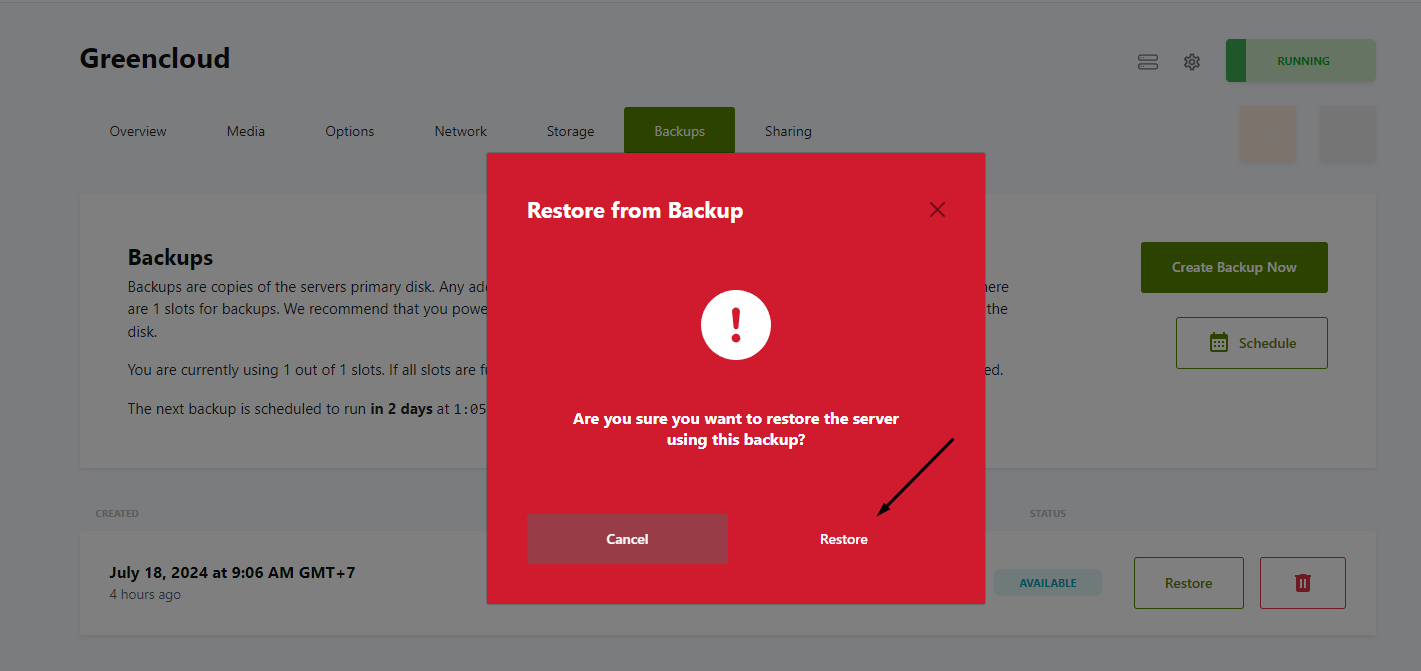
Once you have a backup, you can restore the VPS whenever needed or when the OS fails. You need to click Restore in the backup
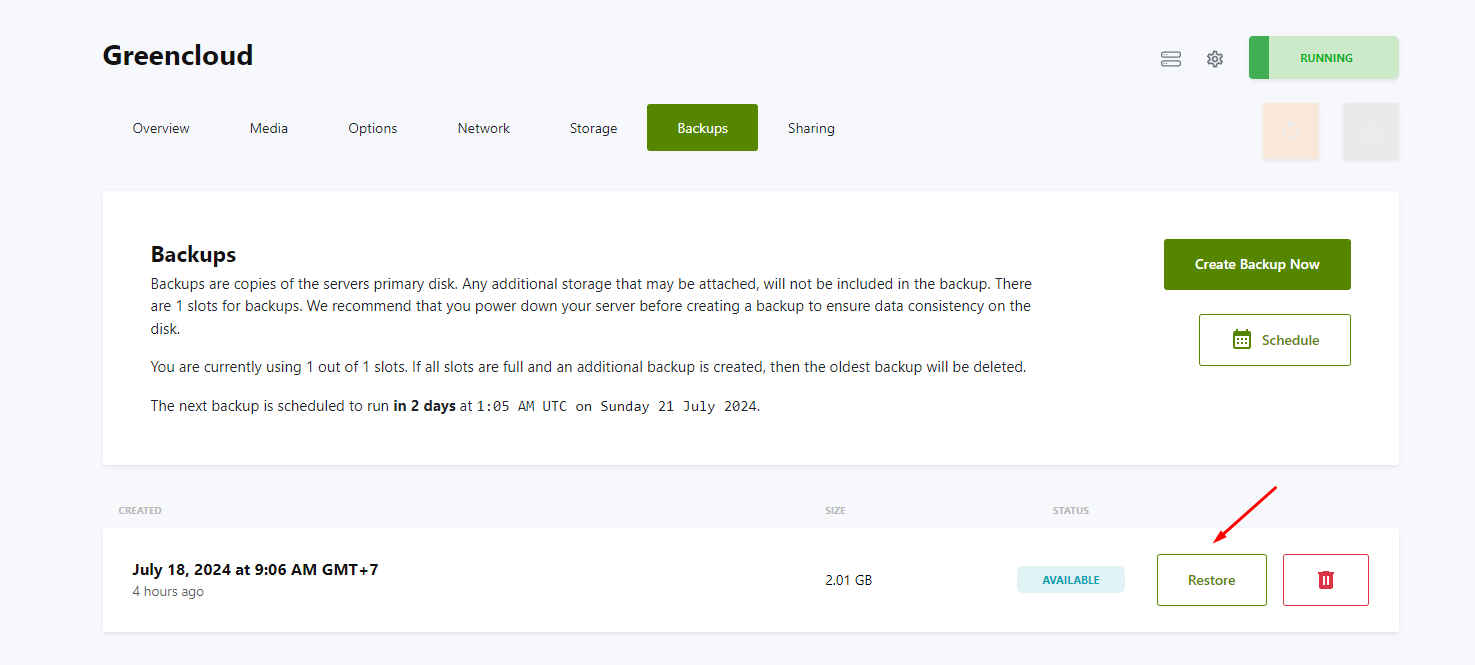
Results of the ongoing restoration process
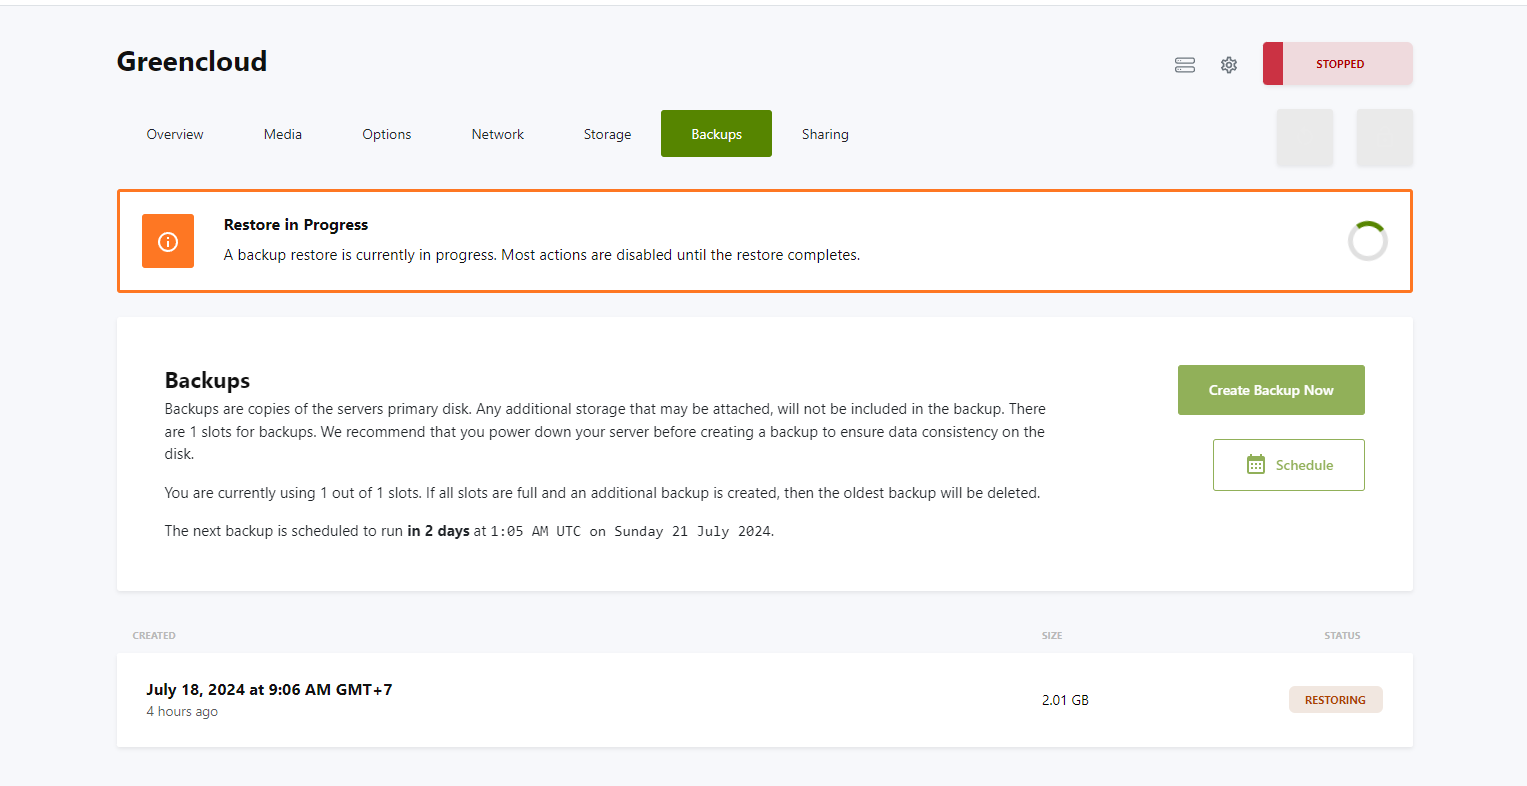
Then please wait until the restore process is complete. Your VPS will be restored to a state when creating a backup
Conclusion
Through this article, we have guided you to create a backup and restore your VPS. Hope you can do it successfully whenever something goes wrong. If there are any issues that you do not understand, please contact Greencloud’s technical team for further support.
