How to Install & Configure KeyCloak on Ubuntu 20.04
Keycloak is a free and open source Identity and Access Management solution by RedHat Community. Its aim is to secure modern applications and services without writing any code. It provides a wide range of features including multifactor authentication, SSO, centralized user management, authentication, authorization, social login, and more. Keycloak allows you to add authentication to applications and secure services with minimum fuss. You don’t need to deal with storing users or authenticating users.
Keycloak provides single sign out, which means users only have to logout once to be logged out of all applications that use Keycloak. Keycloak is an Identity broker as it authenticate users with existing OpenID Connect or SAML 2.0 Identity Providers. Other important feature is that Keycloak has built in support to connect to existing LDAP or Active Directory servers.
Install KeyCloak SSO on Ubuntu 20.04
Before starting, it is always recommended to update the system packages to the updated version. Run the following command to update all the packages to the latest version:
apt-get update -y
apt-get upgrade -y
Keycloak is a Java based application. So Java JDK must be installed on your server. If not installed, you can install it using the following command:
apt-get install default-jdk -yOnce Java is installed, you can verify the Java version using the following command:
java --versionYou should see the Java version in the following output:

Next, you will need to download the latest version of Keycloak from the GitHub website. You can use the wget command to download it to your system.
wget https://github.com/keycloak/keycloak/releases/download/15.0.2/keycloak-15.0.2.tar.gzOutput:
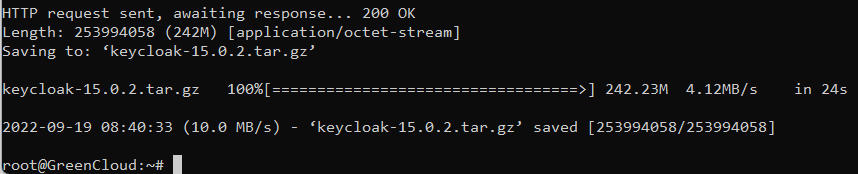
Once the download is completed, extract the downloaded file with the following command:
tar -xvzf keycloak-15.0.2.tar.gzNext, move the extracted directory to the /opt with the following command:
mv keycloak-15.0.2 /opt/keycloakNext, create a dedicated user and group for Keycloak with the following command:
groupadd keycloak

useradd -r -g keycloak -d /opt/keycloak -s /sbin/nologin keycloak
Next, set the ownership of the /opt/keycloak directory to keycloak:
chown -R keycloak: /opt/keycloak

chmod o+x /opt/keycloak/bin/
Configure Keycloak
Next, you will need to create a Keycloak configuration directory and copy the sample configuration file. You can create it inside the /etc directory:
mkdir /etc/keycloak
Next, copy the sample configuration files from the /opt/keycloak directory using the following command:
cp /opt/keycloak/docs/contrib/scripts/systemd/wildfly.conf /etc/keycloak/keycloak.conf

cp /opt/keycloak/docs/contrib/scripts/systemd/launch.sh /opt/keycloak/bin/
Next, set proper ownership using the following command:
chown keycloak: /opt/keycloak/bin/launch.shNext, edit the launch.sh file and define your Keycloak path:
nano /opt/keycloak/bin/launch.shChange the file as shown below:
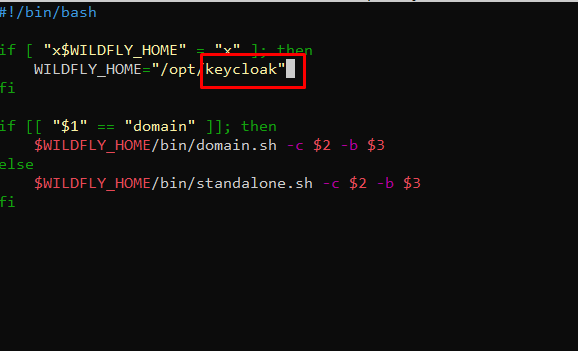
Save and close the file when you are finished.
Next, you will need to create a systemd service file to manage the Keycloak service. You can copy the sample systemd service with the following command:
cp /opt/keycloak/docs/contrib/scripts/systemd/wildfly.service /etc/systemd/system/keycloak.serviceNext, edit the keycloak.service file and define the Keycloak installation path:
nano /etc/systemd/system/keycloak.serviceChange the file as shown below:

Save and close the file then reload the systemd daemon to apply the changes:
systemctl daemon-reloadNext, start the Keycloak service and enable it to start at system reboot:
systemctl start keycloak
systemctl enable keycloak
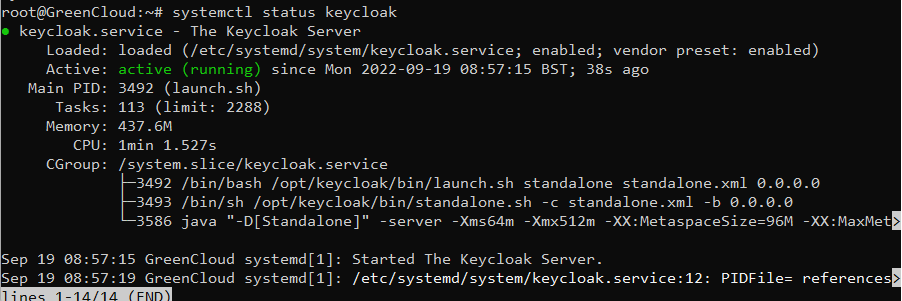
You can check the status of the Keycloak service with the following command:
systemctl status keycloak
You will get the following output:
At this point, the Keycloak server is started and listens on port 8080. You can check it with the following command:
ss -antpl | grep 8080You will get the following output:

You can also check the Keycloak server log using the following command:
tail -f /opt/keycloak/standalone/log/server.logCreate an Admin User for Keycloak
Next, you will need to create an admin user to access the Keycloak web interface. Run the following command to create an admin user:
/opt/keycloak/bin/add-user-keycloak.sh -u adminSet your password as shown below:

Next, restart the Keycloak service to apply the changes:
systemctl restart keycloakNext, you will need to disable the HTTPS for Keycloak. You can disable it with the following command:
/opt/keycloak/bin/kcadm.sh config credentials --server http://localhost:8080/auth --realm master --user adminYou will be asked to provide the admin password as shown below:

Next, run the following command to disable the HTTPS:
/opt/keycloak/bin/kcadm.sh update realms/master -s sslRequired=NONEAccess Keycloak Web Interface
Now, open your web browser and access the Keycloak web interface using the URL http://your-server-ip:8080/auth/admin. You should see the Keycloak login page:
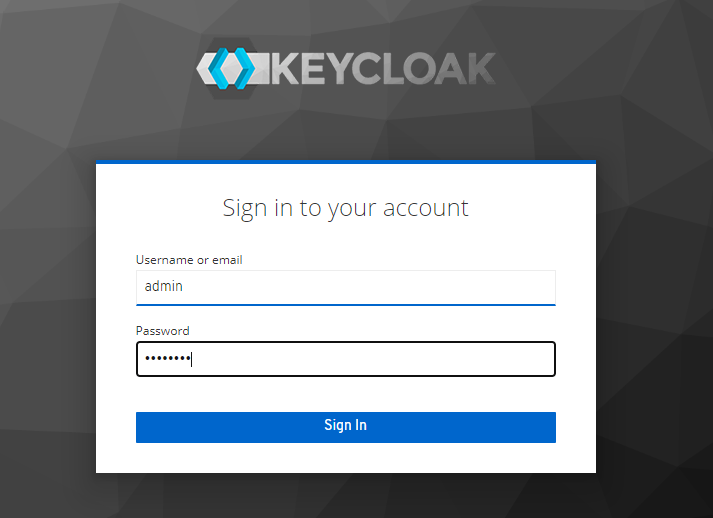
Provide your admin username, password and click on the Sign in button. You should see the Keycloak dashboard on the following screen:

Next, you will need to create a realm to manage your applications. Hover the mouse over the Master in the left panel and click on the Add realm. A realm manages a set of users, credentials, roles, and groups. A user belongs to and logs into a realm.
You should see the following screen:
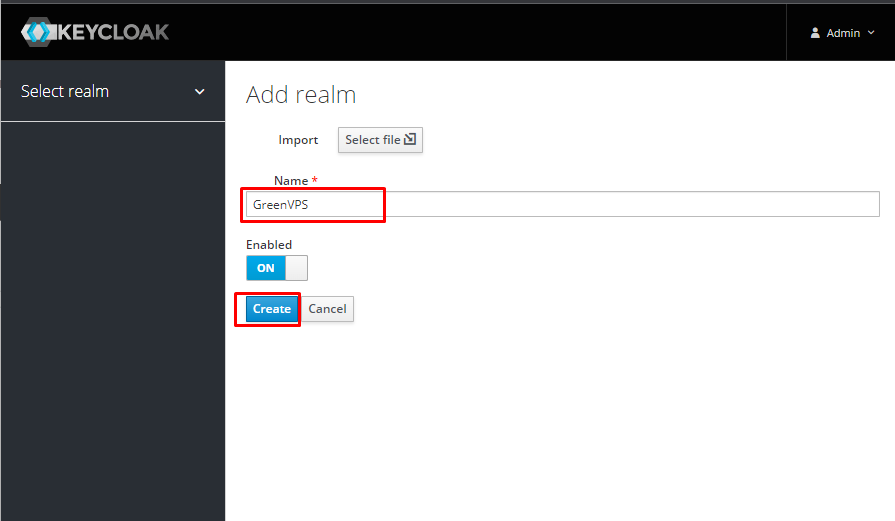
Provide your realm name and click on the Create button to create a realm. You should see the following screen:
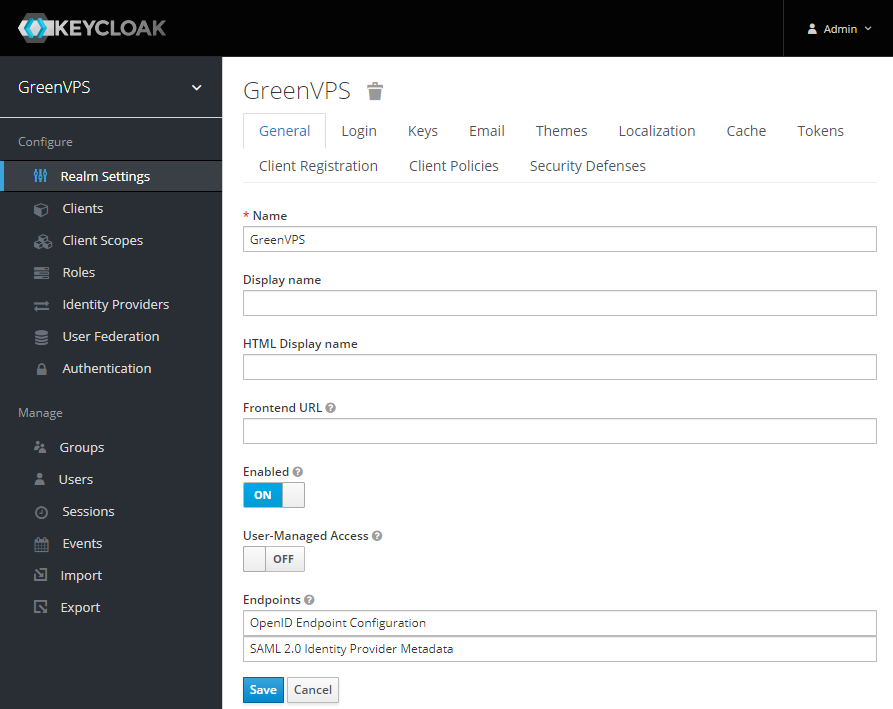
Next, you will need to create a new user for Keycloak. Click on the Manage => Users. You should see the following screen:
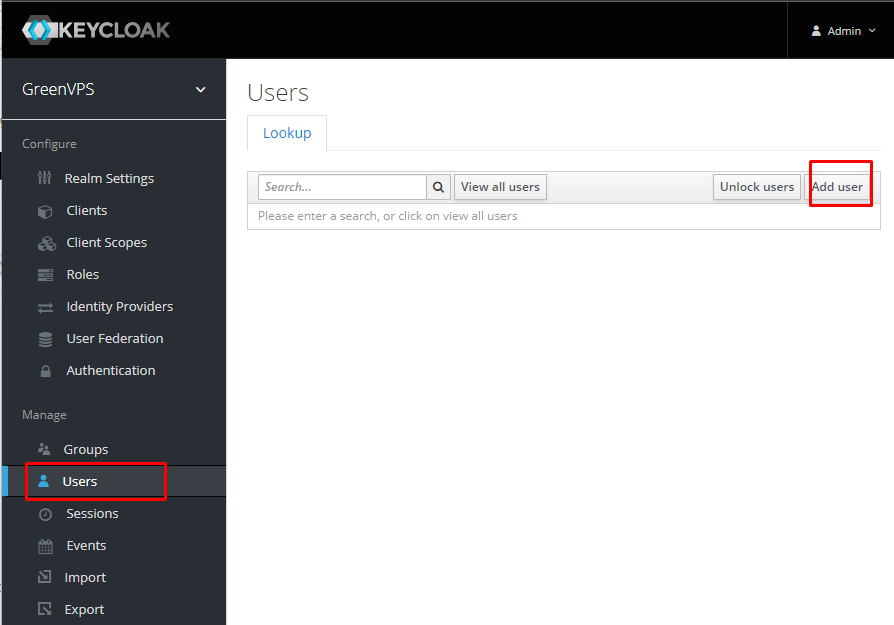
Next, click on the Add User button. You should see the following screen:
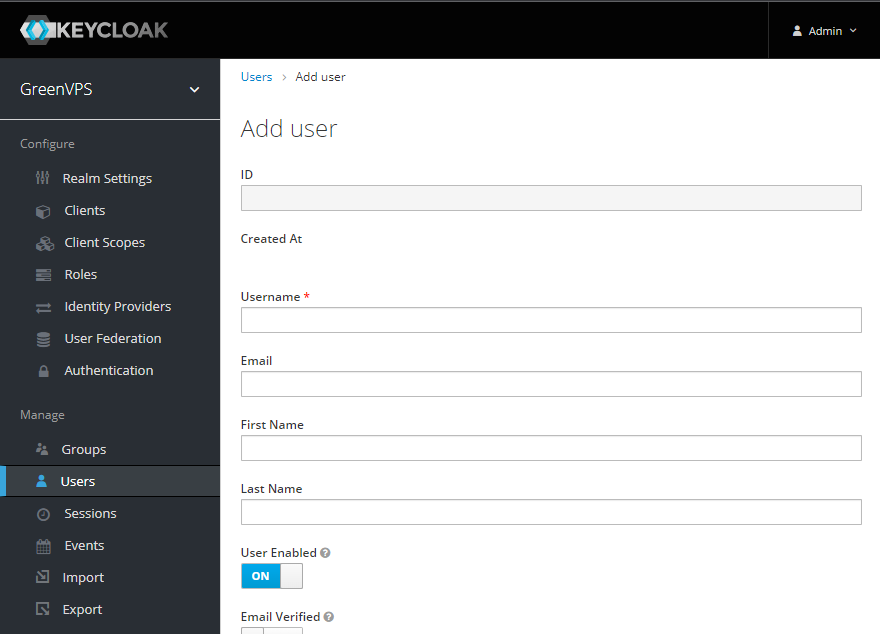
Provide your user information and click on the Save button. Next, click on the Credentials tab and set a password for the users as shown below:
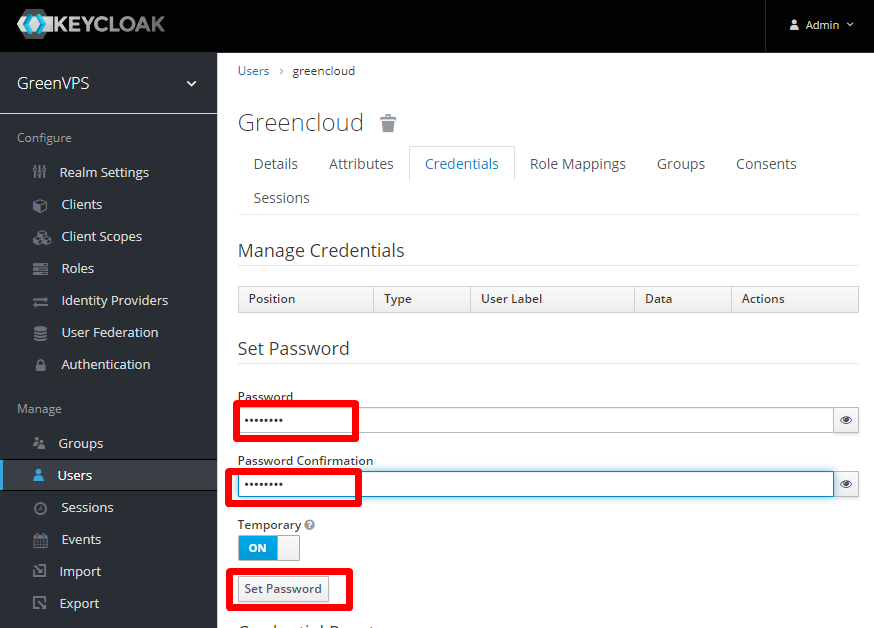
Click on the Set Password to set the password.
Conclusion.
In the above guide, we explained how to install the Keycloak server on Ubuntu 20.04. We also explained how to add a realm and user to the Keycloak server. You can now manage your application’s password with the Keycloak server.

