How to install and Configure Jenkins on Centos 9 stream
I. Introduction
What is Jenkins?
Jenkins is an automation software, open source and written in Java. It is used to perform continuous integration (called CI – Continuous Integration) functionality and build automation tasks.
Jenkins helps automate processes in software development, now referred to as Continuous Integration, and is also used in Continuous Delivery. Jenkins is a servlet-based server software with the support of Apache Tomcat. It supports most of today’s popular source code management software such as Git, Subversion, Mercurial, ClearCase… Jenkins also supports both Shell and Windows Batch scripts, and can also run Apache Ant scripts. , Maven, Gradle… The creator of Jenkins is Kohsuke Kawaguchi. Released under the MIT license, Jenkins is free software.
II. Installation Instructions
Linux
The Jenkins installer is available for several Linux distributions.
- Debian / Ubuntu
- Fedora
- Red Hat / CentOS
Minimum hardware requirements:
- 256 MB RAM
- 1 GB of disk space (although 10 GB is the recommended minimum if running Jenkins as a Docker container)
Recommended hardware configuration:
- 1 GB + RAM
- 50 GB + disk space
Software requirements:
- Java: see the Java Requirements page
- Web browser: see web browser compatibility
To install Jenkins on your CentOS, you can follow the following steps in turn.
Step 1: Setup Jenkins repository
To use this repository, run the following command:
curl https://pkg.jenkins.io/redhat-stable/jenkins.repo > /etc/yum.repos.d/jenkins.repo
If you’ve previously imported the key from Jenkins, the rpm --import will fail because you already have a key. Please ignore that and move on.
yum install epel-release # repository that provides 'daemonize'
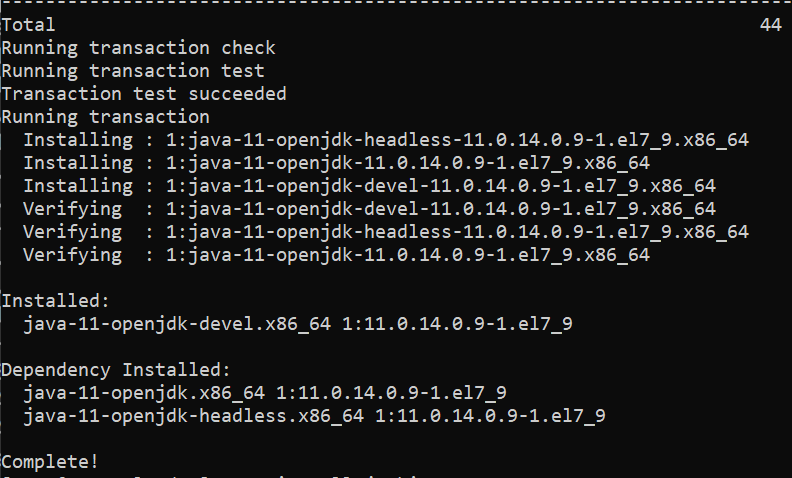
Step 2: Install Java
Jenkins is a Java application, so we need to install Java before installing Jenkins. You run the following command to install the OpenJDK 11 package
dnf -y install java-11-openjdk java-11-openjdk-devel
cat > /etc/profile.d/java.sh <<'EOF'
source /etc/profile.d/java.sh
java --version
Step 3: Install Jenkins
Once the repository is enabled, install the latest stable version of Jenkins with the following command:
rpm --import https://pkg.jenkins.io/redhat-stable/jenkins.io.key
dnf -y install jenkins
vi /etc/sysconfig/jenkins
# line 67 : add IP address Jenkins listens
# * listen all with [0.0.0.0]
JENKINS_LISTEN_ADDRESS="10.0.0.30"
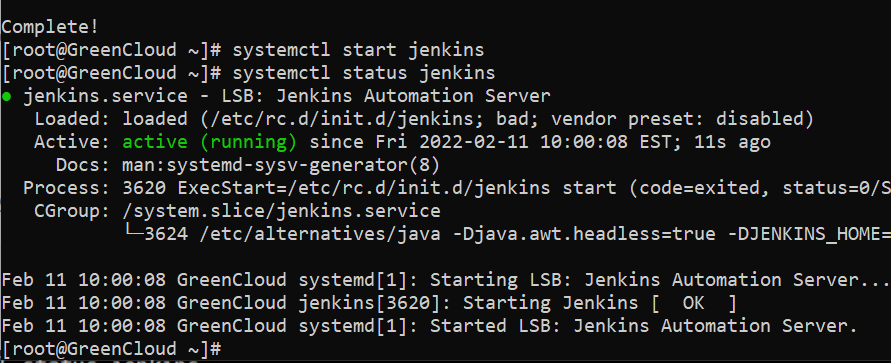
After completing the installation, start the Jenkins service:
systemctl start jenkins
To check if Jenkins has run successfully, use the following command:
systemctl status jenkins
Finally, enable the Jenkins service to start with the system.
systemctl enable jenkins
Step 4: Configure Firewalld
The default port of Jenkins will be 8080, so if your VPS is using Firewall as a firewall, you need to Port with the following commands.
firewall-cmd --add-port=8080/tcp
firewall-cmd --runtime-to-permanent
Step 5: Set up Jenkins
To set up the Jenkins installation, open your browser and enter the IP address and port 8080 as follows.
http://your_ip:8080
A screen similar to the following will appear, prompting you to enter the Administrator password created during the installation process:
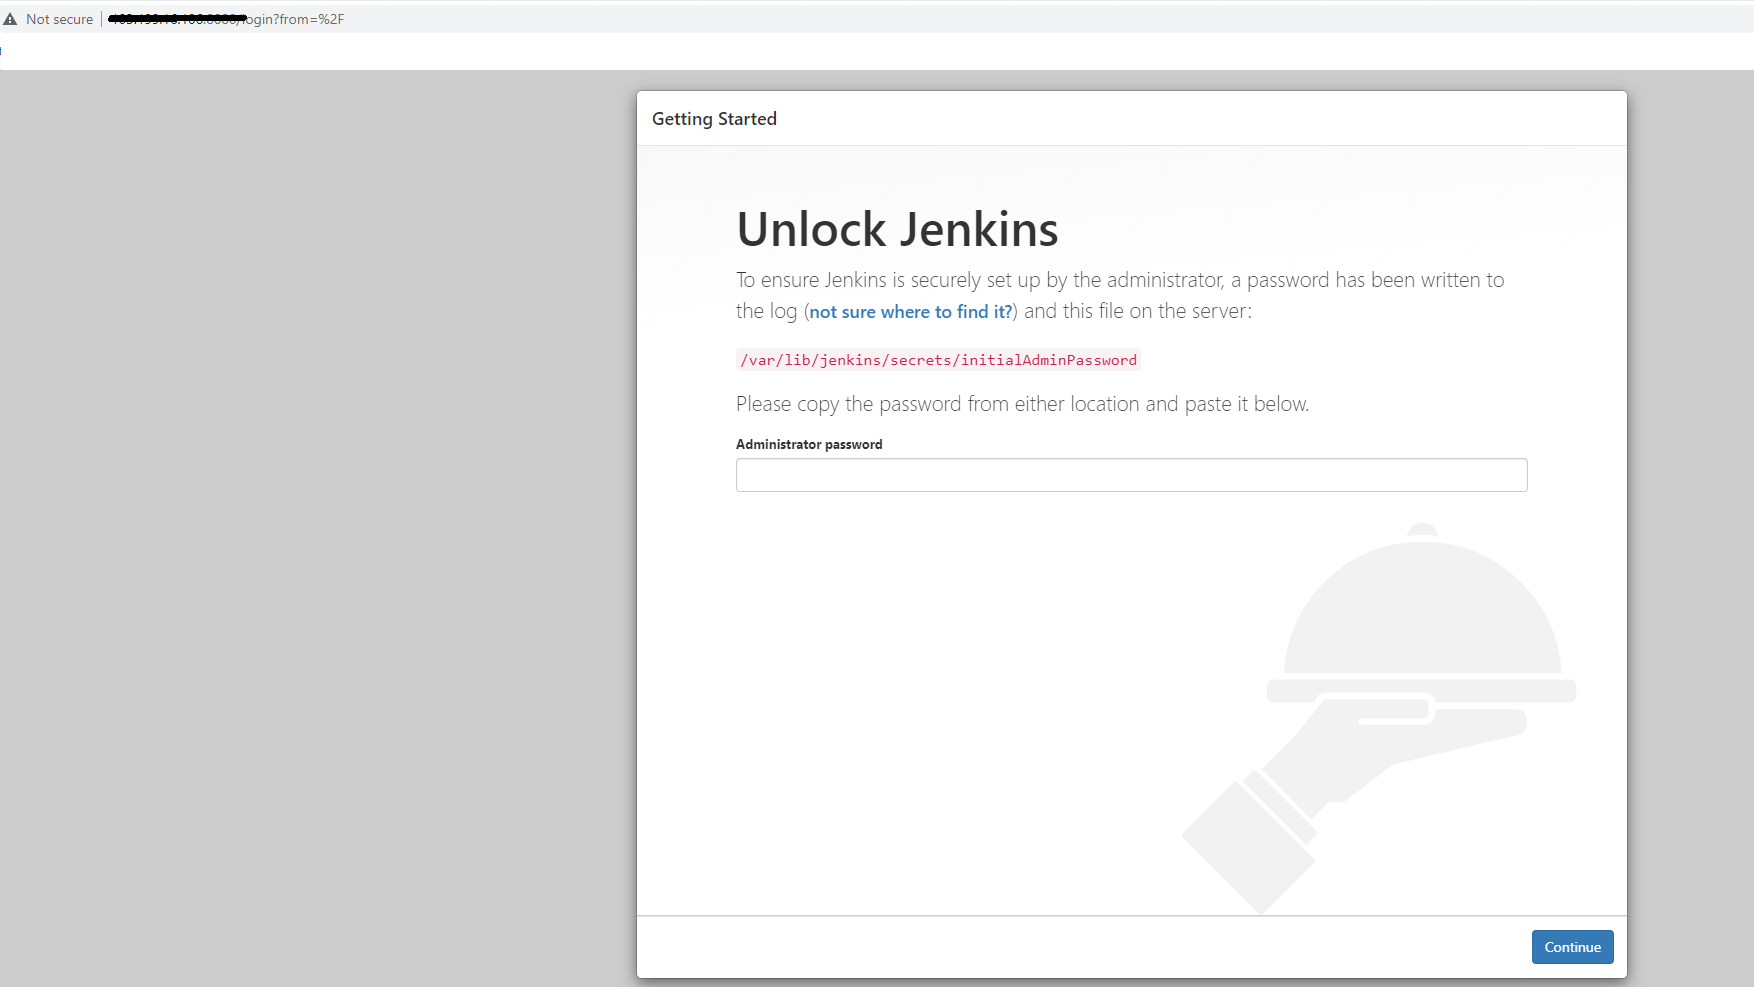
To get the Administrator password, run the following command.
cat /var/lib/jenkins/secrets/initialAdminPassword
You will see a password consisting of letters and numbers as shown below:

You Copy this password and paste it into the Administrator password box and click Continue in the browser to continue the setup steps.

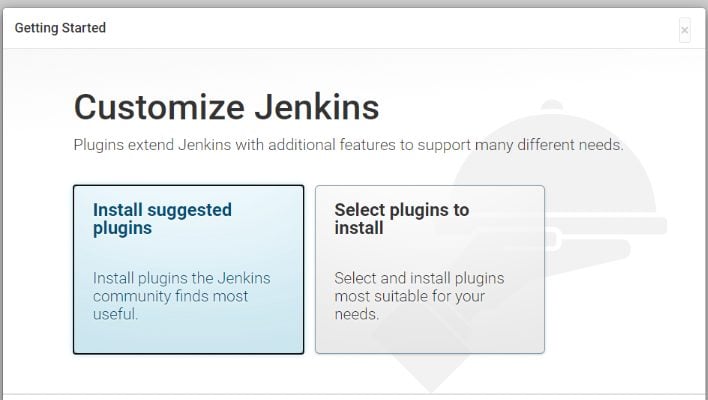
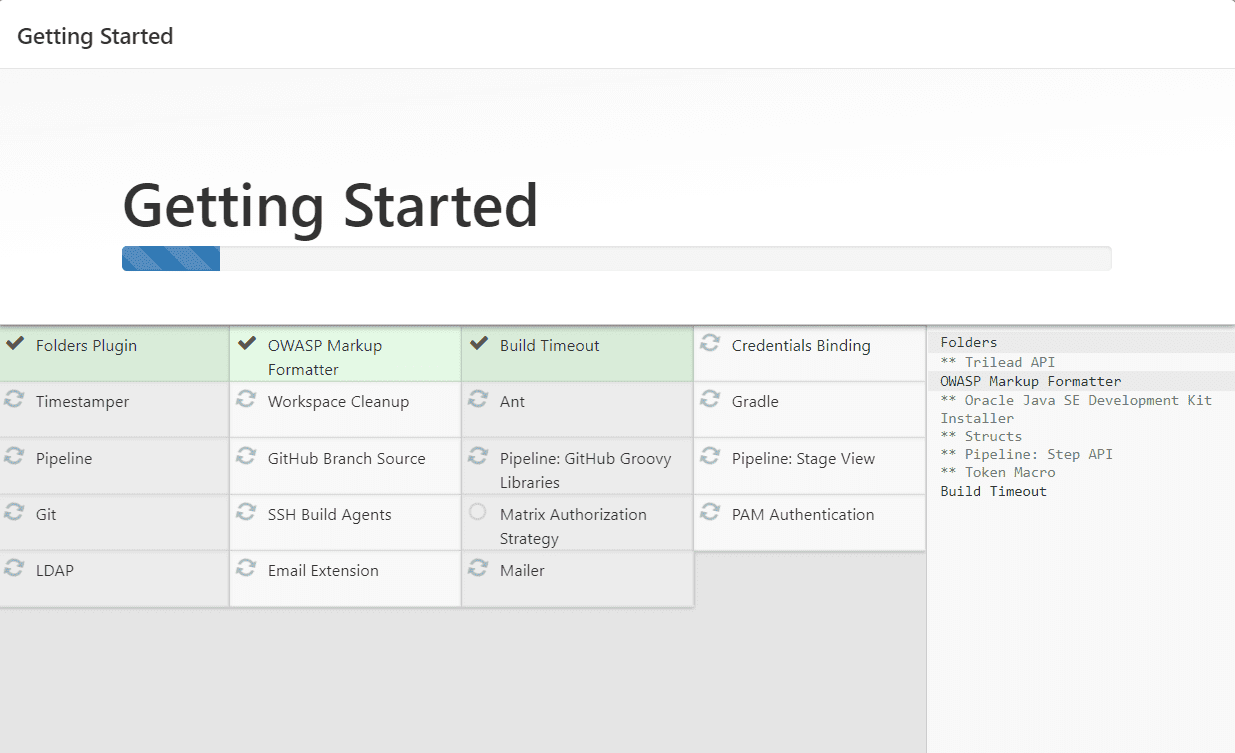
On the next screen, you will be asked if you want to install recommended plugins or choose specific plugins. Click Install suggested plugins and the installation will begin immediately.
You will be prompted to set up an administrative user. Fill in all the required information and click Save and Continue .

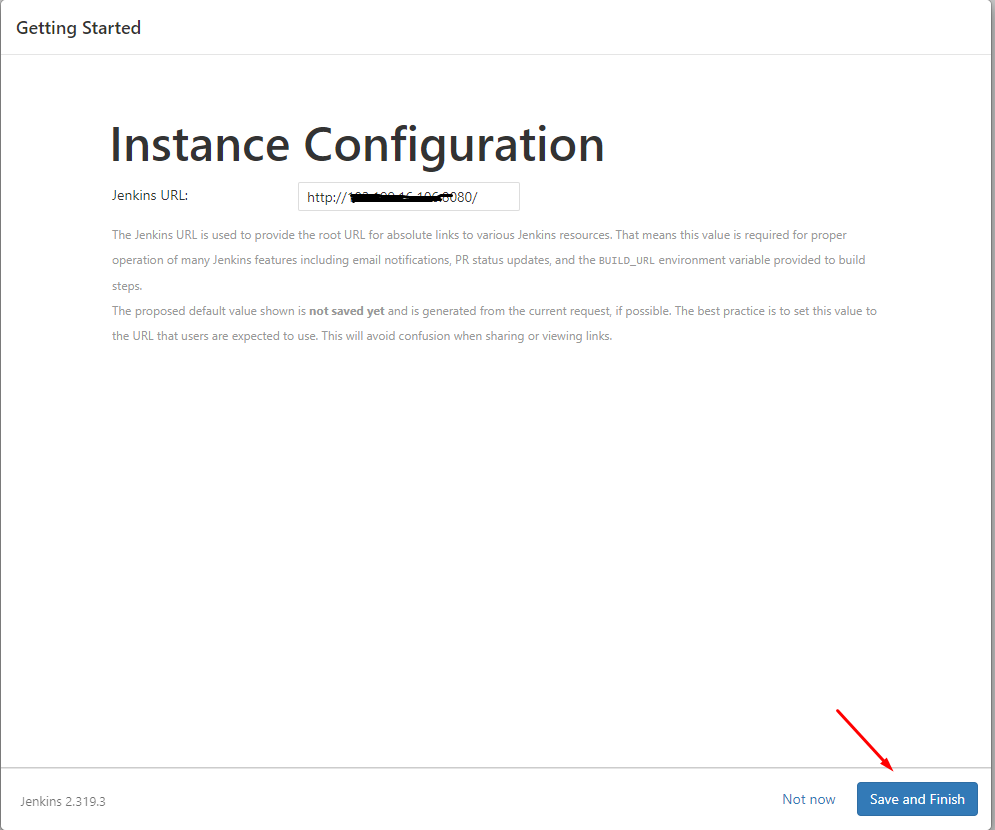
On the next page, you will be asked to set the URL for the Jenkins instance. The URL part will be filled in automatically. To confirm the URL, click the Save and Finish button.
Continue to click Start using Jenkins to complete the setup.

Finally, open Terminal and run the following command to restart Jenkins
systemctl restart jenkins
After restarting Jenkins, go to http://your_ip_or_domain:8080/, login with the admin account you created and you will be redirected to the Jenkins admin page

Successful login you will have the Jenkins interface as shown.

III. Summary
Thus, in this article, We have shown you how to install Jenkins on Centos 7 server complete with just a few simple command lines. Now you can visit the Jenkins documentation page to start discovering how to use and the great features of Jenkins
Hope this article will help you to install it successfully!

