How to install Ntopng on Ubuntu 20.04 LTS
Ntopng is a web based application for network traffic flow monitoring which is actually available as open freeware. It’s an improved innovative Ntop type that displays network usage data, stats and analytics. It works with many computer systems, including Windows, Linux, Mac OS and BSD. Ntopng has enterprise and professional versions with license restrictions, as well as a free open source community edition. In this tutorial, I will show you how to install and configure Ntopng community edition on Ubuntu 20.04.
Installing Ntopng on Ubuntu
1. System update
To ensure that all ntopng dependencies are up to date, execute the command below:
$ apt-get update && apt-get upgrade
2. Add repo ntopng
Ntopng has a number of dependencies on different packages that will be installed on its system. Therefore, install them first using the apt-get query below:
$ apt-get install wget gnupg -y
3. Visit ntop.org Download page to download the Ntopng repository for Ubuntu or use the below command to download ntop repository for Ubuntu 20.04 via command line:
$ wget https://packages.ntop.org/apt/20.04/all/apt-ntop.deb
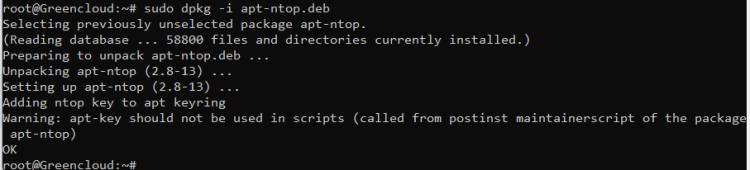
4. Now install the ntop repository using the below command:
$ dpkg -i apt-ntop.deb
5. Once the installation is completed, update the local repository index:
$ apt-get update -y
Now the ntop repository has been added to your system’s local repository.
6. Run the below command to install ntop packages:
$ apt-get install pfring-dkms nprobe ntopng n2disk cento -y
If it prompts for confirmation, hit y and then Enter to confirm. After that, ntop packages will be installed on your system.
Configuring Ntopng
After successfully installing Ntopng, we proceed to execute the following command so that Ntopng can start with the system:
$ systemctl start ntopng && systemctl enable ntopng
Check the status of ntopng:
$ systemctl status ntopng
Now Ntopng has been successfully installed on my system,we configure it by opening the configuration file located in the /etc/ntopng directory, through the GNU Nano editor:
$ nano /etc/ntopng.conf
Modify the configurations as follows:
-G=/var/run/ntopng.pid

-i=<interface_name

-w=3000
You can change the interface name and port for the Ntopng application to suit your needs. In case this,we place according to the network interface card of the VPS : eth0
Save the ntopng.conf file and close it
Then save and restart ntopng to apply the changed configurations above:
$ systemctl restart ntopng
You can use this command to check all existing interfaces of Ntopng server in your system
$ ntopng -h
Launch Web Interface
If you are running a firewall, you will need to open port 3000 for Ntopng:
$ ufw allow 3000
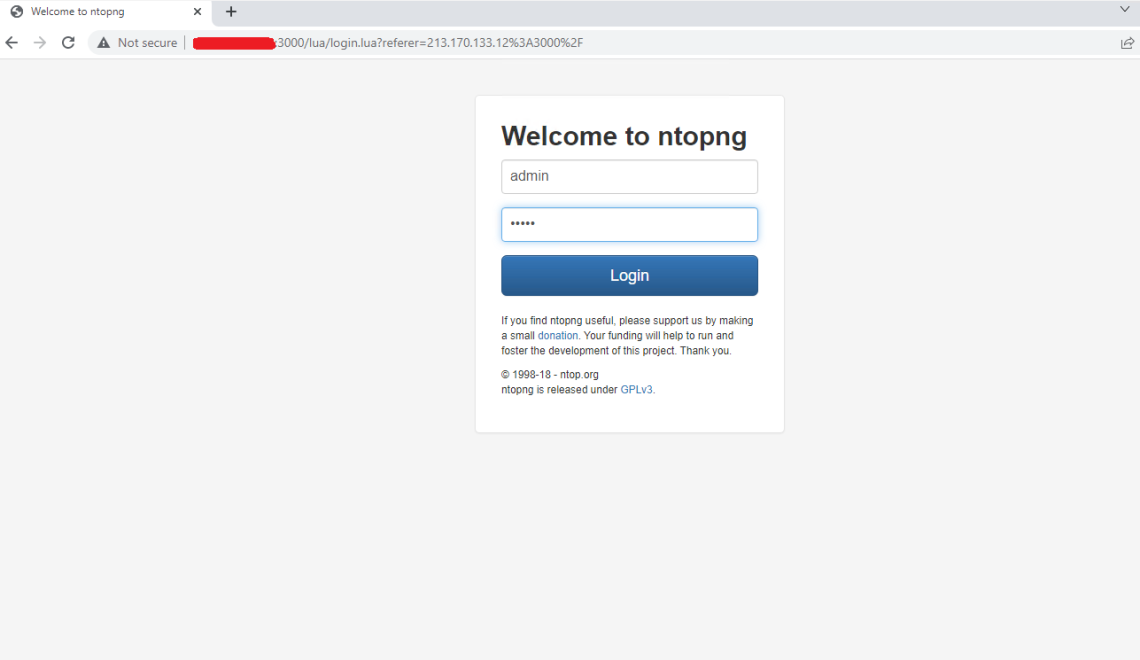
Access with URL information and default Username/Password information is admin/admin:
http://yourserverIP:3000
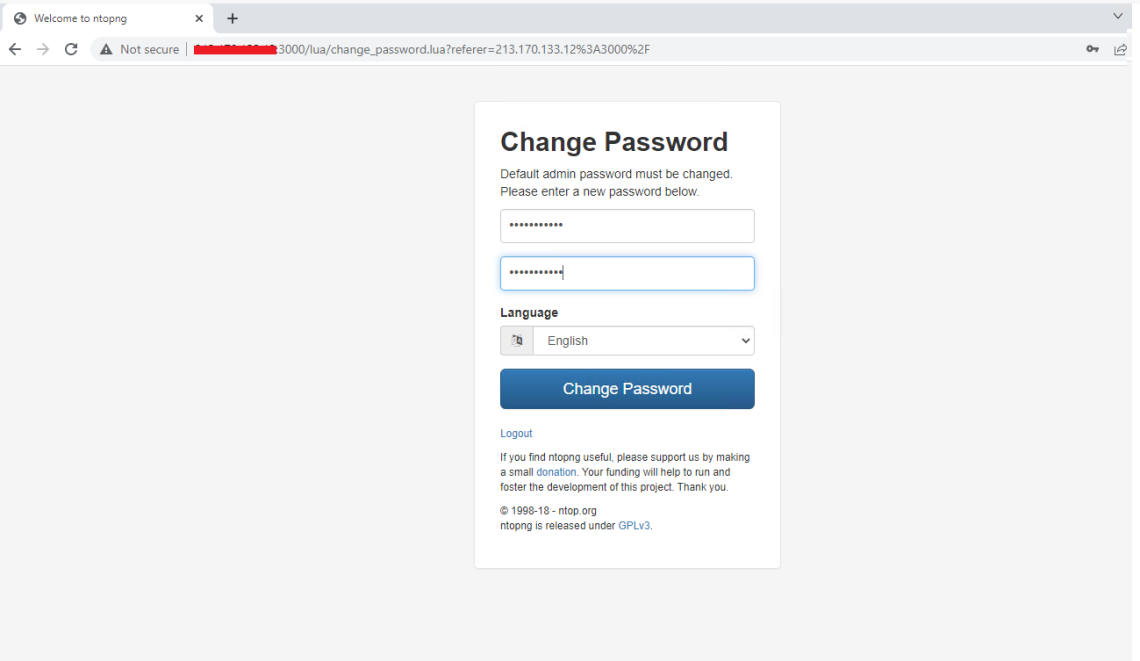
After login, you will be asked to change your password for the admin. Set a password and click Change Password.
Now you will see the following similar ntopng Dashboard.

Uninstall ntopng
In case, you no longer need ntopng and its packages, you can uninstall them as follows:
$ apt remove pfring-dkms nprobe ntopng cento n2disk
Ntopng is an essential application for monitoring and troubleshooting network problems. In this post, we covered how to install Ntopng on Ubuntu OS and access its web interface. We also covered how to remove Ntopng in case you no longer require it.

