How to Setup and Configure NFS Client to Connect to NFS Server on Windows Server 2022
In our previous guide, we installed NFS Server on Windows Server and created a share ready to be connected to. In this guide, we are going to make use of our share and we hope it will be interesting. The procedure is simple and concise and you just need an access to a Windows Server 2022 as Admin user. Here we go!
Step 1: Server Manager
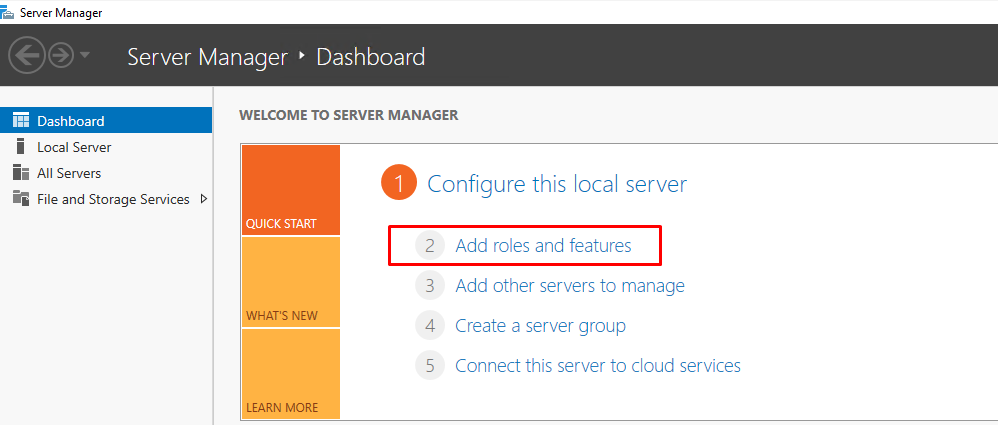
Open Server Manager, click on “Add Roles and Features” and click “Next” on the wizard.
Step 2: Role-based
In the “Select Installation type page“, select “Role-based or feature-based-installation” and click “Next“

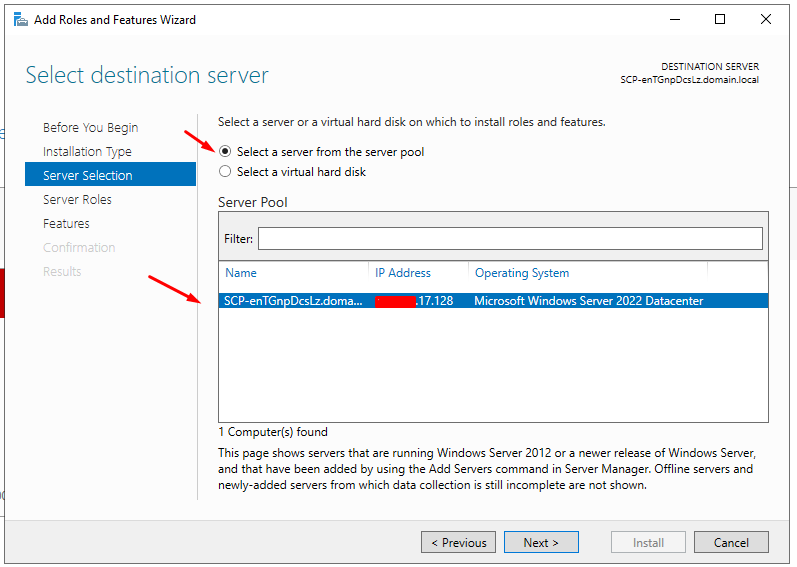
Select the server you will install NFS on and click “Next“.
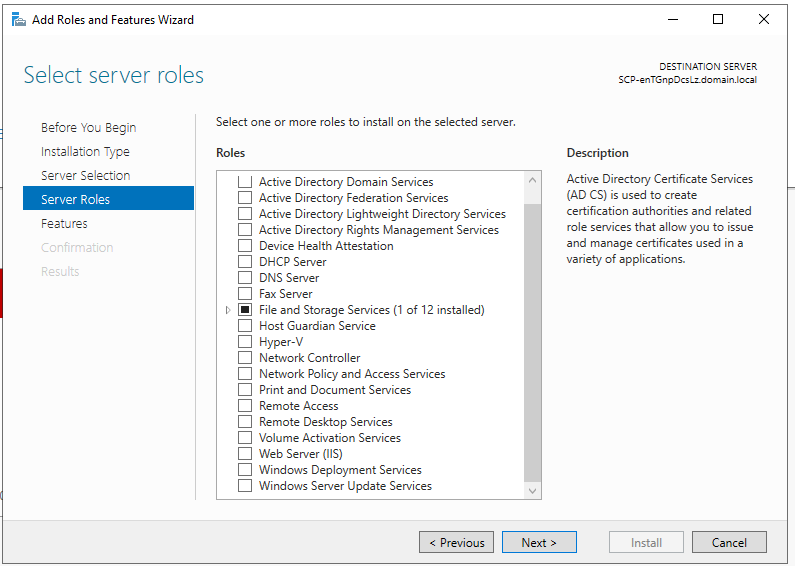
Step 4: Select Server Roles
In this “Select server roles” part, click “Next“.
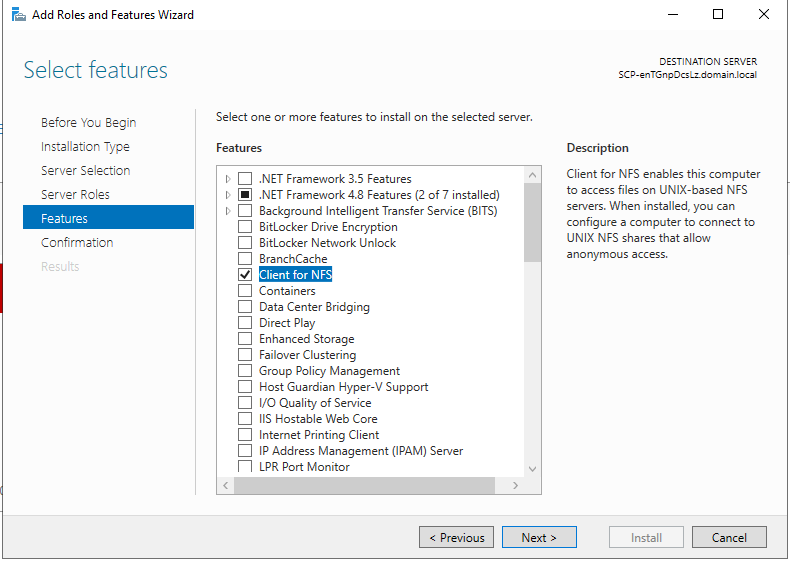
Step 5: Features
In this “Select features” page, check the “Client for NFS” box and click “Next“.
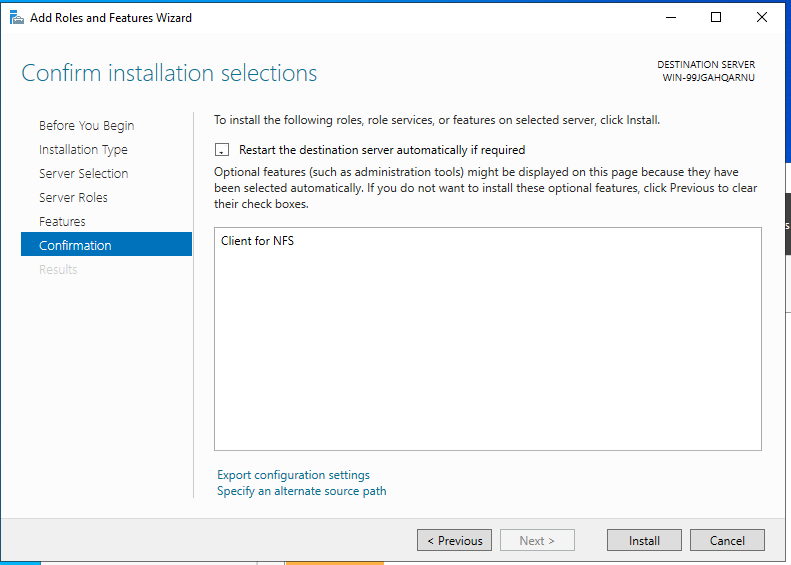
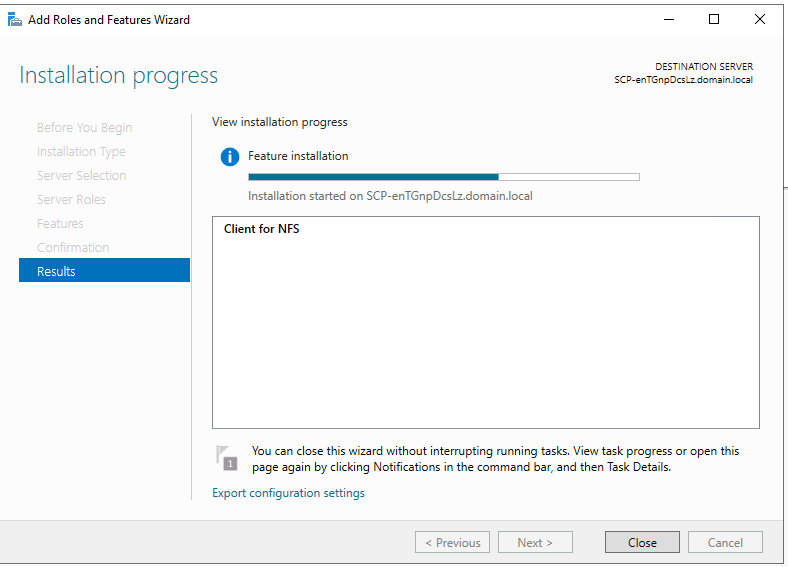
Step 6: Confirm and Install
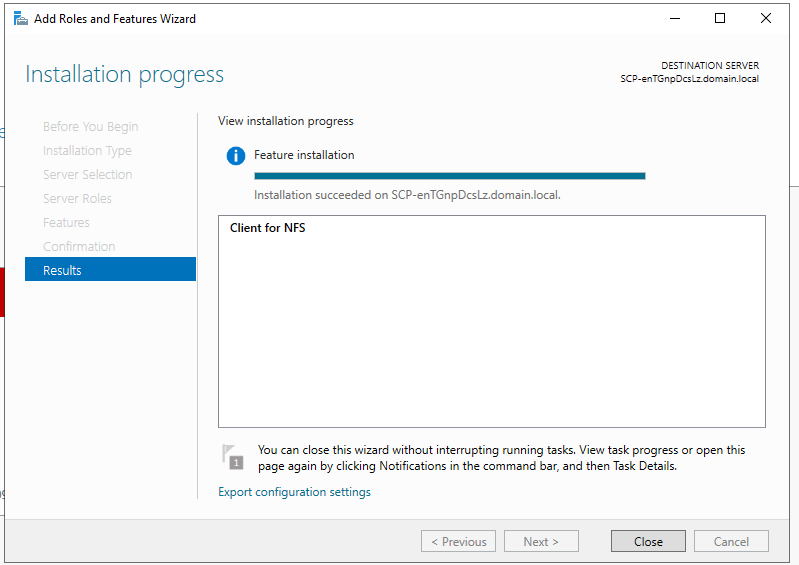
Confirm your installation selections and hit “Install“. Let it finish installing then click “Close” and you will have finished the NFS Client installation process.
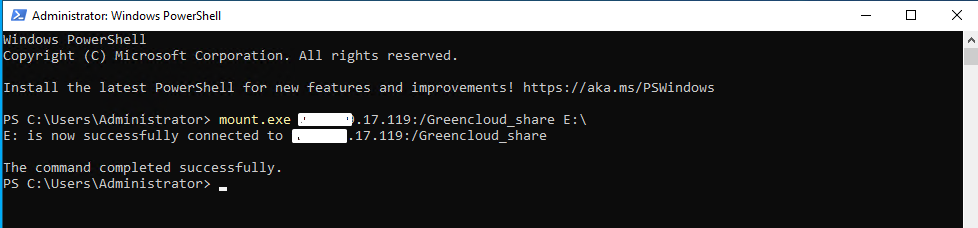
Step 7: Connect to the NFS Server’s Share using umount.exe
Open your Powershell with Administrator privileges and execute the command below. Make sure the drive you are labeling the share with is not used already on the client. Remember; x.x.17.119 is your NFS Server’s IP, /Greencloud_share is the name you gave your Share and E:\ is the label your share will have on your NFS Client as confirmed in step 8.
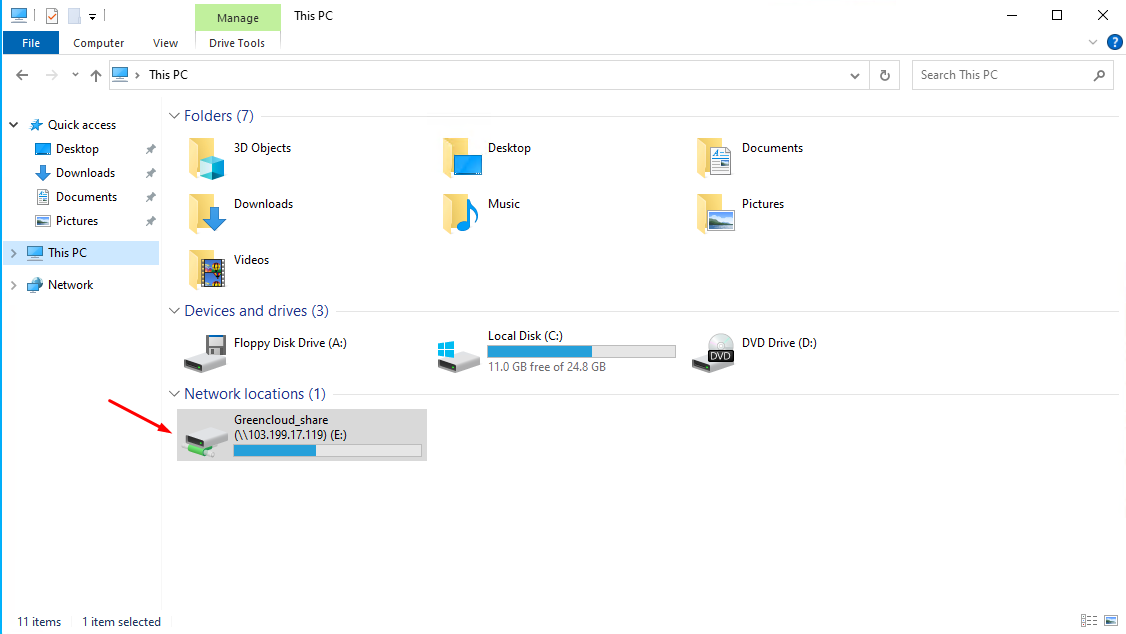
Step 8: Confirm the share in File Manager
Open File Explorer and check if the share was mounted successfully. Play around with the share by adding files and directories whilst confirming they are reflecting in the parent directory.
Conclusion
Now we have successfully married the NFS Server and Client together and we hope everything worked out well on your end. Thank you for reading through and success in your hard work.
