
How to Check Hardware Information on Linux Graphically With Hardinfo
Hardinfo2 (short for “hardware information”) is a system profiler and benchmarking graphical tool for Linux systems that gathers information from both hardware and software and organizes it in an easy-to-use GUI.
Hardinfo2 can show information about these components: CPU, GPU, Motherboard, RAM, Storage, Hard Disk, Printers, Benchmarks, Sound, Network, and USB, as well as some system information like the distribution name, version, and Linux Kernel info.
Besides being able to print hardware information, Hardinfo2 can also create an advanced report from the command line or by clicking the “Generate Report” button in the GUI and save it in either HTML or plain text formats.
The difference between Hardinfo2 and other Linux hardware information tools is that Hardinfo2 presents the information in a well-organized, easier-to-understand format.
How to Install Hardinfo2 in Linux
HardInfo is the most popular graphical application, and it is tested on Ubuntu/Mint, Debian, OpenSUSE, Fedora/CentOS/RHEL, Arch Linux, and Manjaro Linux.
To install hardinfo, go to the hardinfo GitHub releases page and download the corresponding binary (.deb or .rpm) for your Linux distribution and install it using a package manager.
Alternatively, you can build and install hardinfo2 from sources in Debian-based distributions, run:
sudo apt install git cmake build-essential gettext curl
sudo apt install libjson-glib-dev zlib1g-dev libsoup-3.0-dev libgtk-3-dev libglib2.0-dev libqt5opengl5-dev qtbase5-dev
sudo apt install libdecor-0-dev glslang-tools
git clone https://github.com/hardinfo2/hardinfo2
cd hardinfo2
./tools/git_latest_release.sh (Switch to latest stable release, tools/git_unstable_master.sh for developers)
mkdir build
cd build
cmake ..
make package -j (Creates package so you do not pollute your distro and it can be updated by distro releases)
sudo apt install ./hardinfo2_* (Use reinstall instead of install if already installed)
sudo apt install lm-sensors sysbench mesa-utils dmidecode udisks2 xdg-utils iperf3 fwupd x11-xserver-utils vulkan-tools gawk
hardinfo2
To install hardinfo2 in RHEL-based distributions, run:
- NOTE: CentOS 7 needs epel-release and cmake3 instead of cmake – use cmake3 instead of cmake
- NOTE: libdecor.. can be in the CRB repo
sudo yum install epel-release (only CentOS 7)
sudo yum install git cmake gcc gcc-c++ gettext rpmdevtools curl
sudo yum install json-glib-devel zlib-devel libsoup3-devel gtk3-devel qt5-qtbase-devel
sudo yum install libdecor-devel wayland-devel glslang (vulkan for newer distros)
git clone https://github.com/hardinfo2/hardinfo2
cd hardinfo2
./tools/git_latest_release.sh (Switch to latest stable release, tools/git_unstable_master.sh for developers)
mkdir build
cd build
cmake ..
make package -j (Creates package so you do not pollute your distro and it can be updated by distro releases)
sudo yum install ./hardinfo2-* (Use reinstall instead of install if already installed)
sudo yum install lm_sensors sysbench glx-utils dmidecode udisks2 xdg-utils iperf3 fwupd xrandr vulkan-tools gawk
hardinfo2
How to Use HardInfo in Linux
To use Hardinfo to check Linux hardware, launch the app. You can launch the app by searching for “Hardinfo” in your app menu. Or, press Alt + F2 on the keyboard to open up the quick launcher, then write hardinfo in the launch box.
Once the Hardinfo app is open, allow the app to scan your hardware. It won’t take too long. When the scan is complete, locate the “Generate Report” button and click on it.
After selecting the “Generate Report” button, a pop-up window will appear on the screen. By default, “Computer”, “Devices”, “Network”, and “Benchmarks” are selected. Deselect any items you do not wish to include in the report. Then, click on the “Generate” button.
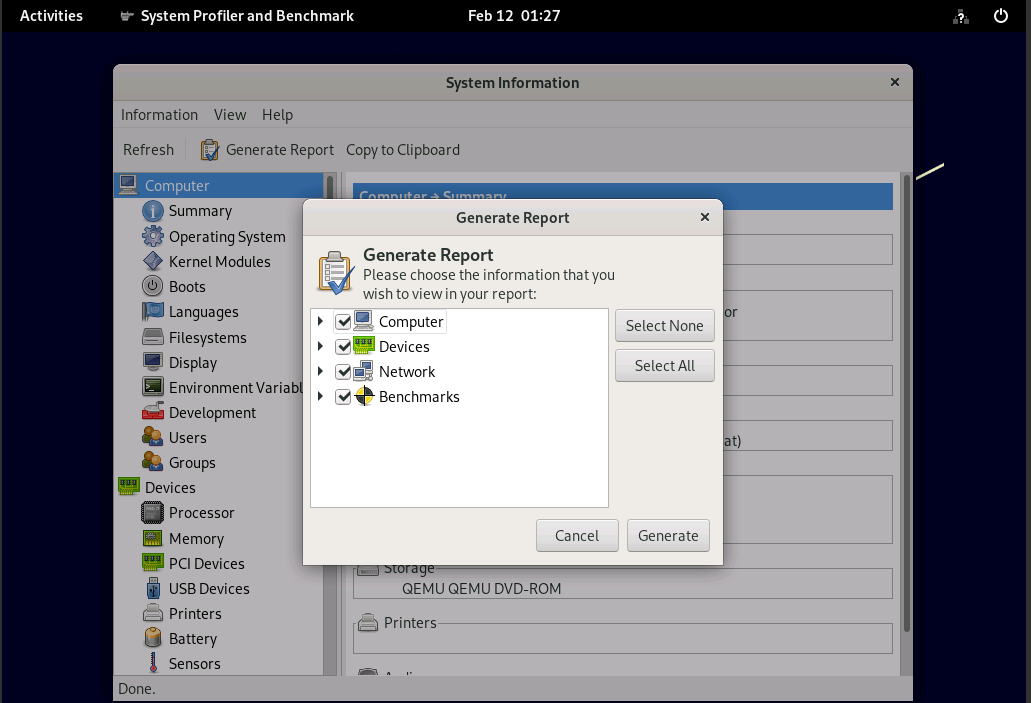
When the “Generate” button is selected, a pop-up window will appear. In the pop-up window, use the browser to save the report file to your computer.
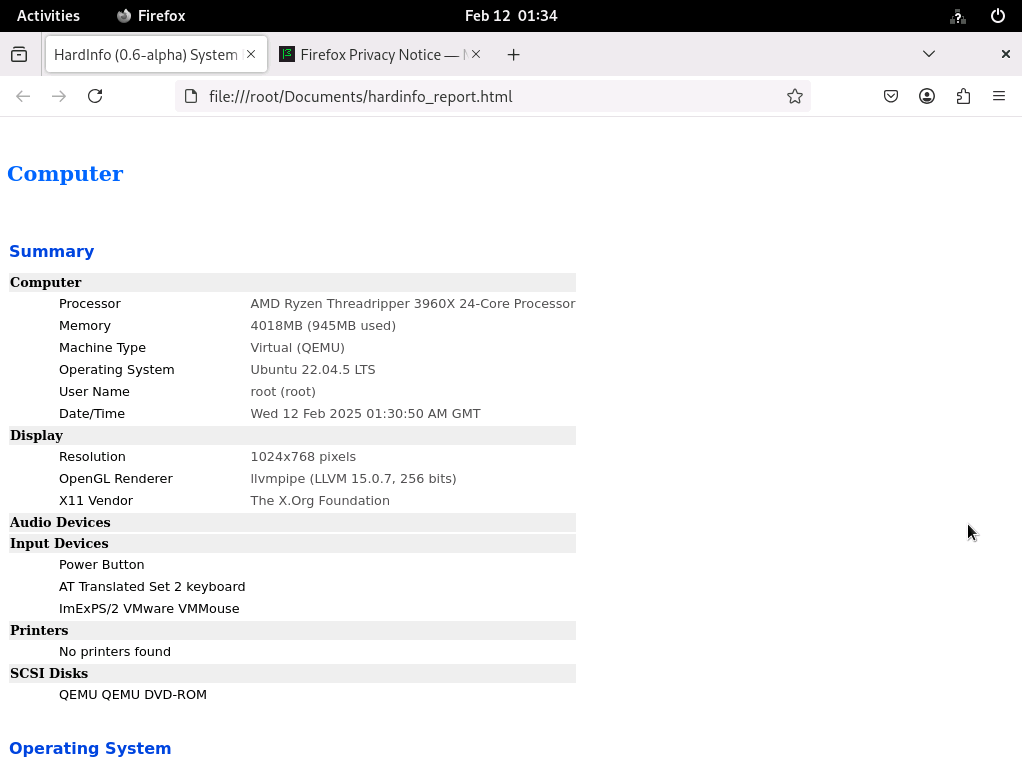
A notification will appear on the screen when the report is saved. In this notification, Hardinfo will ask you to open up the report in your browser. Select “Open” to view the report.
Check computer specs
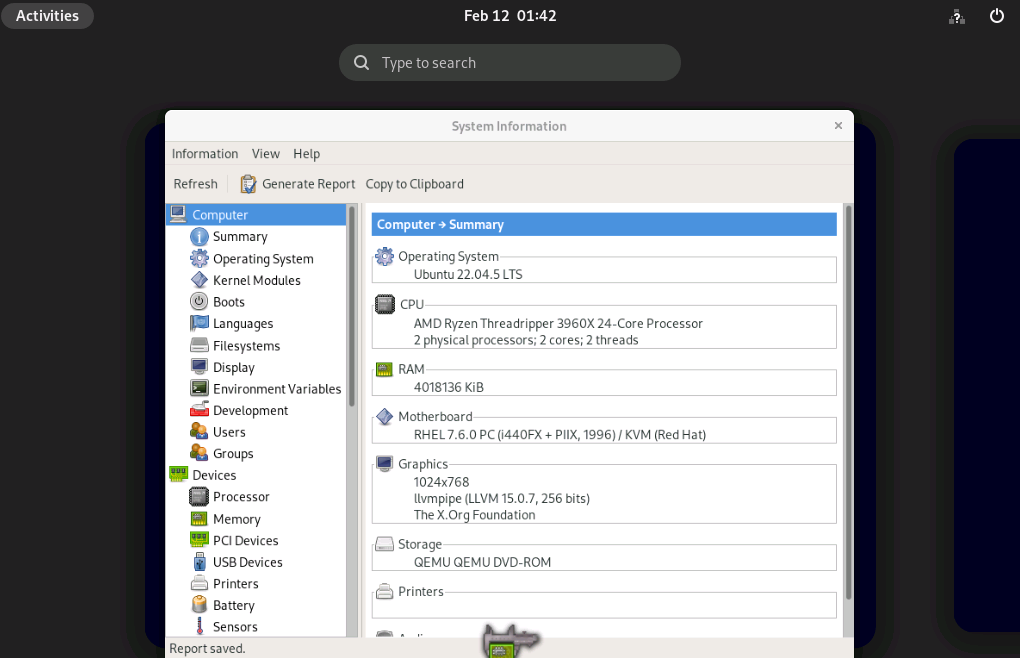
Hardinfo can show you the technical specifications of your computer. Here’s how to do it. First, launch Hardinfo. Then, locate the “Computer” button on the left-hand side and click on it.
In the “Computer” section, you will see a complete readout of your computer’s tech specs. From the CPU to the GPU and everything in between!
Device information
Want more detailed information on devices connected to your Linux PC? Find the “Devices” section in Hardinfo. After locating “Devices,” take a look at the items directly below it, like “Processor,” “Memory,” etc., to view your device information.
Network information
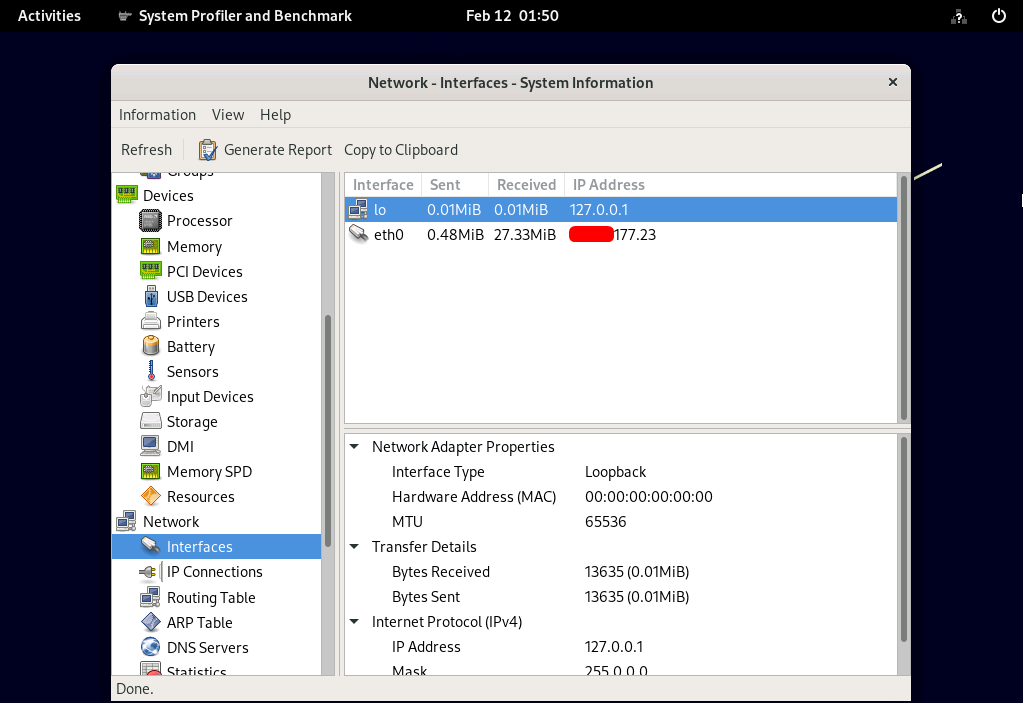
Are you looking to find out information related to your networking devices? Locate the “Network” section of the sidebar in Hardinfo. Directly under the “Hardinfo,” you’ll see “Interfaces,” “IP Connections,” “Routing Table,” and other network-related items that you can utilize to find Network information on your Linux PC.
Benchmarking
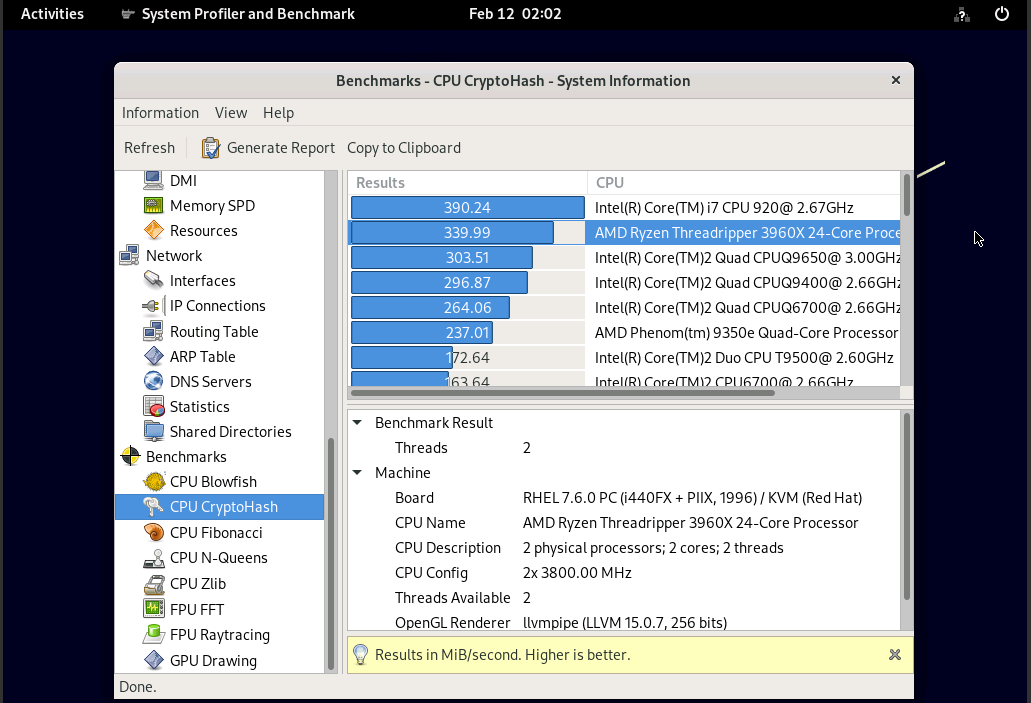
Want to test the performance of your Linux PC? Go to the sidebar in Hardinfo and locate “Benchmarks.” Beneath “Benchmarks,” you’ll see several benchmarks you can run on your Linux PC to test its performance!
Conclusion
All this information can be found on the command line, especially from the /proc directory. But having a tool that gives you all this information in one user-friendly interface is always good. Don’t you think so?
