How to install Python 3 and set defaults on Centos 9 stream
I. Introduction
What is Python?
Python is a powerful, high-level, object-oriented programming language, created by Guido van Rossum. It’s easy to learn and is emerging as one of the best introductory programming languages for first-timers. Python is completely dynamically typed and uses automatic memory allocation. Python has powerful high-level data structures and a simple yet effective approach to object-oriented programming. Python’s command syntax is a huge plus as its clarity, ease of understanding, and flexible typing make it rapidly becoming an ideal language for scripting and application development in a wide variety of fields, in most areas. all platforms.
You can learn more about Python through each version as well as the structure and operating principles.
II. Implementation Guide
To install Python 3 you can follow the following installation steps.
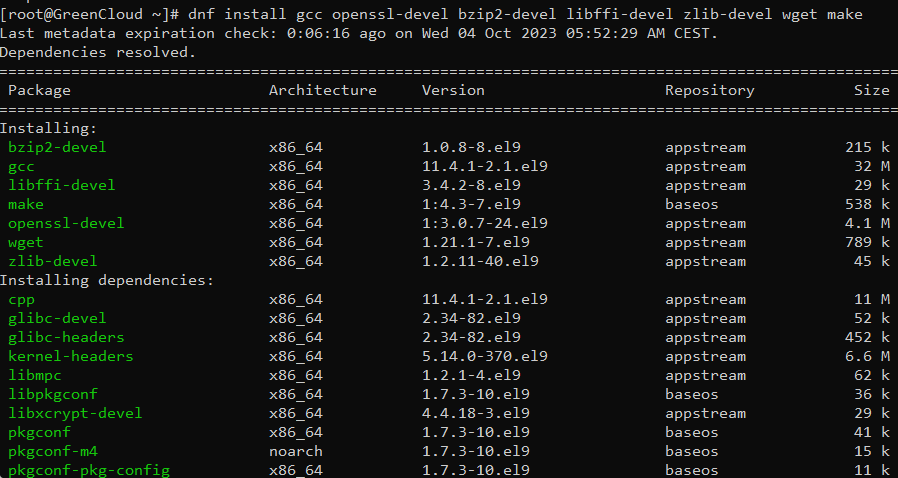
Step 1: First, let’s start by ensuring your system is up-to-date and install some packages that are necessary
dnf update
dnf install gcc openssl-devel bzip2-devel libffi-devel zlib-devel wget tar make
Step 2: Installing Python on CentOS 9 Stream
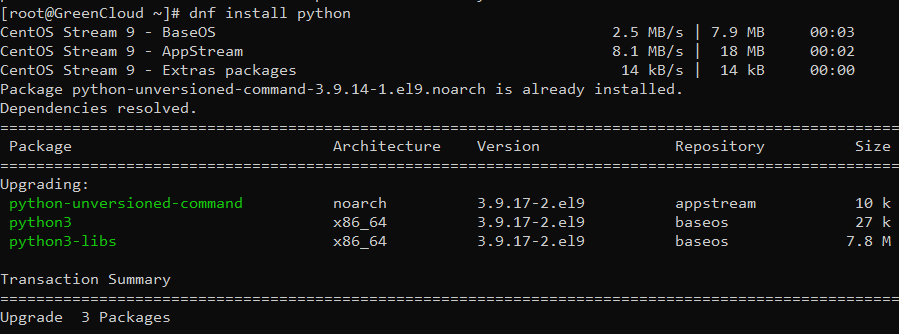
- Install Python via the Default CentOS Stream repository.
By default, Python is available on the CentOS 9 Stream base repository. Let’s install the Python using the following command below:
dnf install python
You can then verify the installation information using the following command:
python --version

- Install Python from the official source.
Now we run the following command to download the latest Python from the official source:
wget https://www.python.org/ftp/python/3.11.2/Python-3.11.2.tgz
Then, extract the archive file using tar:
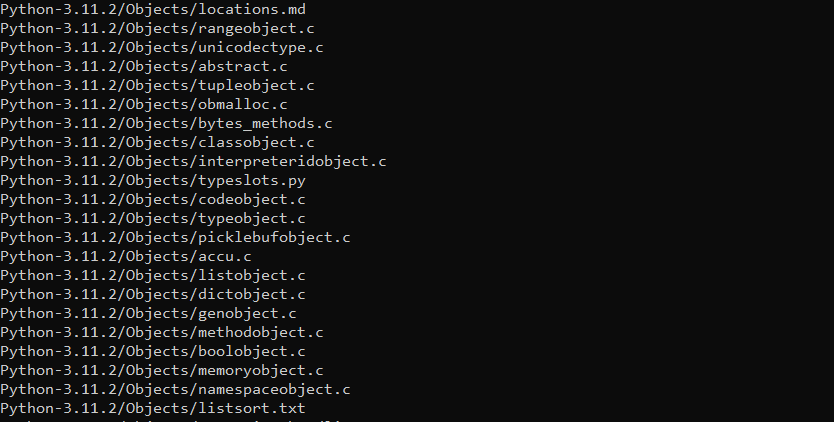
tar xvf Python-3.11.2.tgz
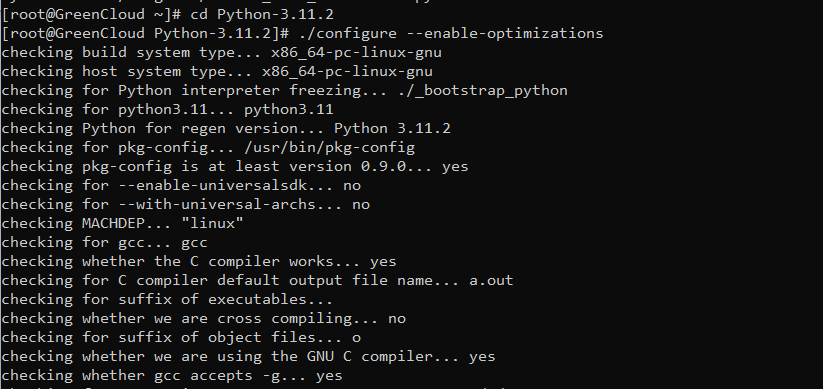
Next, switch to the source directory and run the configuration script:
cd Python-3.11.2
./configure --enable-optimizations
Finally, build Python using the following command:
make altinstall
After the installation process has finished, confirm the version using the following command:
python3.11 --version

Conclude
Thus, in this article, We showed you how to install Python 3 and at the same time showed you how to set this new version of Python as the system default. With this upgrade, you will be able to use more new Packages from Python because each new Package is developed they have conditions attached to the supported version. Hope this article will help you to install successfully.!
