How to Install Redis on Ubuntu 20.04
Redis (Remote Dictionary Server) is an open source software used to store structured data, which can be used as a database, cache, or a message broker. It is a very powerful and popular KEY-VALUE data storage system today. Redis stands out by supporting many basic data structures such as: hash, list, set, sorted set, string… All data is written and stored on ram, so data read and write speed is very fast.
This article will guide you to install Redis on Ubuntu 20.04 LTS.
Step 1: Install Redis Server
Redis packages are available in Ubuntu’s default apt repositories. To install Redis on an Ubuntu VPS, use the following commands:
apt update
apt install redis-server -y

Next allow Redis to start with the system.
systemctl enable redis-server
Step 2: Configure Redis
Edit Redis config file /etc/redis/redis.conf
nano /etc/redis/redis.conf
Update the following values in the Redis configuration file. You can increase the maximum memory limit according to the parameters on your server.
maxmemory 256mb
maxmemory-policy allkeys-lru
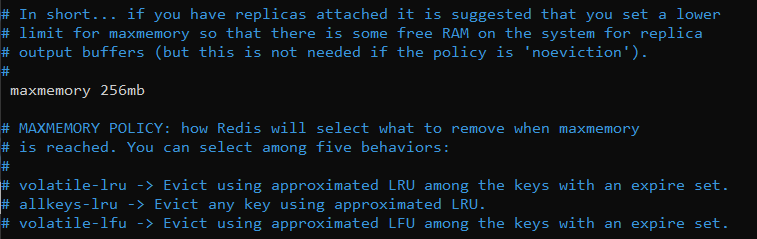
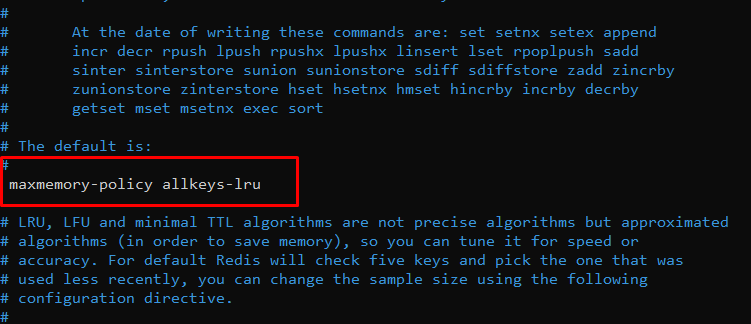
The above configuration tells Redis to delete any key using the LRU algorithm when it reaches the maximum memory of 256mb. Save the configuration file and restart the Redis service:
systemctl restart redis-server
Next, if you need to use Redis with a PHP application, you need to install the PHP Redis extension on your Ubuntu system. To install Redis PHP, run the command:
apt install php-redis -y

The installer will automatically enable the redis extension for all PHP versions installed on the server. If you have PHP 7 version installed, you can use below command to enable Modules redis. Example: To enable the extension for PHP 7.4, run the command:
phpenmod -v 7.4 -s ALL redis
Step 3 – Connecting Redis Server
Use the redis-cli tool to verify the connection between the Redis server.
redis-cli
The installation is complete. Good luck!
