How to install Observium on Debian 11
Introduction
Observium is a low-maintenance auto-discovering network monitoring platform supporting a wide range of device types, operating systems including Windows, Linux, etc, and other platforms. Its auto-discovering feature collects data from network devices using Simple Network Management Protocol (SNMP) and stores it in a MySQL database. As open-source and free, and based on PHP/MySQL, it offers an easy-to-use web interface to allow you to monitor the network devices
In this article, we will show you how to install Observium on Debian 11
Prerequisites
- an active KVM VPS
- sudo root privileges for a local or direct access to root account
1. Install and Configure Observium
Before starting with the installation and configuration of Observium from sources in your own server, first assure the system meets all the software requirements for compiling and installing the application. In the first step, update your system repositories and software packages by issuing the following command.
apt update
apt upgrade
Install all the required packages needed to run Observium.
apt install -y libapache2-mod-php7.4 php7.4-cli php7.4-mysql php7.4-gd php7.4-json php7.4-bcmath \
php7.4-mbstring php7.4-opcache php7.4-apcu php7.4-curl php-pear snmp fping rrdtool whois \
mariadb-server mariadb-client subversion mtr-tiny ipmitool graphviz imagemagick apache2 \
python3-mysqldb python3-pymysql python-is-python3
Add Observium system user.
useradd -r -M -d /opt/observium observiumAdd the user to group www-data
usermod -a -G observium www-dataDownload the latest Observium Community Edition installation files.
wget http://www.observium.org/observium-community-latest.tar.gzUnpack the downloaded files.
tar zxvf observium-community-latest.tar.gzMove the extracted files into the /opt directory.
mv observium /optCopy the default configuration file.
cp /opt/observium/config.php.default /opt/observium/config.phpEdit the file for your system.
nano /opt/observium/config.phpModify the file as shown below, save and close the file:
// Database config ---  This MUST be configured
$config['db_extension'] = 'mysqli';
$config['db_host']      = 'localhost';
$config['db_user']      = 'observium';
$config['db_pass']      = 'StrongPassword';
$config['db_name']      = 'observium';
Create rrd and logs directory.
mkdir /opt/observium/{rrd,logs}Change the permissions of the directory.
chown -R observium:observium /opt/observium/chown -R 775 /opt/observium
Edit snmp.conf configuration file to direct the SNMP utilities to use Observium’s MIBs.
nano /etc/snmp/snmp.confModify the line as shown below, save and close the file:
mibs : /opt/observium/mibs/rfc:/opt/observium/mibs/net-snmp
2. Configure MySQL Database
Log in to the MySQL shell.
mysqlCreate a database named observium
CREATE DATABASE observium DEFAULT CHARACTER SET utf8 COLLATE utf8_general_ci;Create a user named observium. Modify the StrongPassword value with your secure password.
CREATE USER 'observium'@'localhost' identified by 'StrongPassword';Grant all database privileges to the user.
GRANT ALL ON observium.* TO 'observium'@'localhost';Reload the changes.
FLUSH PRIVILEGES;Exit MySQL shell.
exitInsert the default MySQL database schema.
cd /opt/observium./discovery.php -u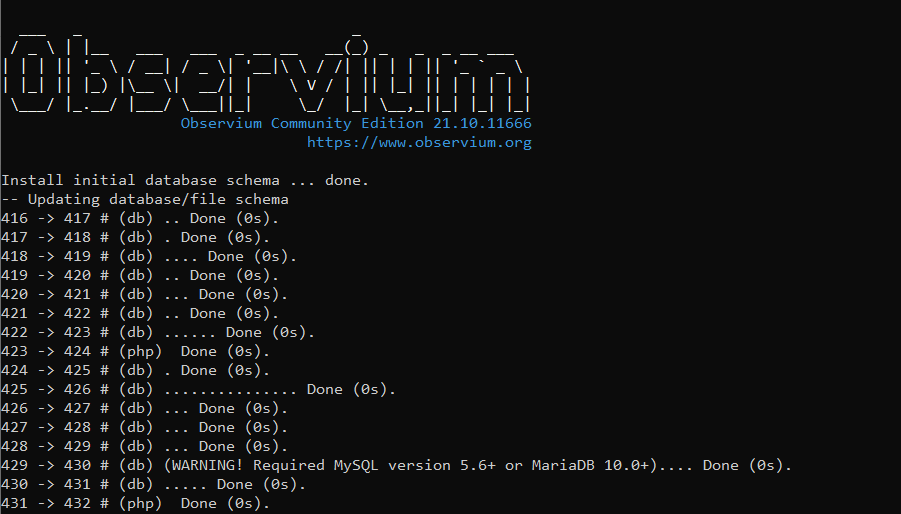
4. Configure Apache
Edit the default Apache configuration file.
<VirtualHost *:80>
    ServerAdmin webmaster@localhost
    DocumentRoot /opt/observium/html
    <FilesMatch \.php$>
      SetHandler application/x-httpd-php
    </FilesMatch>
    <Directory />
            Options FollowSymLinks
            AllowOverride None
    </Directory>
    <Directory /opt/observium/html/>
      DirectoryIndex index.php
      Options Indexes FollowSymLinks MultiViews
      AllowOverride All
      Require all granted
    </Directory>

    ErrorLog ${APACHE_LOG_DIR}/error.log
    LogLevel warn
    CustomLog ${APACHE_LOG_DIR}/access.log combined
    ServerSignature On
</VirtualHost>
Change the global server name.
nano /etc/apache2/apache2.confAdd the code below at the end of the file, save and close the file:
ServerName localhostEnable mpm_prefork module.
a2enmod mpm_preforkEnable mod_rewrite.
a2enmod rewriteRestart the Apache service.
systemctl restart apache25. Configure Admin Account
Add an initial user with access level 10 for administration. Modify the AdminPassword value with your secure password.
cd /opt/observium

./adduser.php admin AdminPassword 10
Create a new file /etc/cron.d/observium to add cron jobs.
nano /etc/cron.d/observiumAdd the following contents, save and close the file:
# Run a complete discovery of all devices once every 6 hours
33  */6   * * *   root    /opt/observium/discovery.php -h all >> /dev/null 2>&1

# Run automated discovery of newly added devices every 5 minutes
*/5 *     * * *   root    /opt/observium/discovery.php -h new >> /dev/null 2>&1

# Run multithreaded poller wrapper every 5 minutes
*/5 *     * * *   root    /opt/observium/poller-wrapper.py >> /dev/null 2>&1

# Run housekeeping script daily for syslog, eventlog and alert log
13 5 * * * root /opt/observium/housekeeping.php -ysel >> /dev/null 2>&1

# Run housekeeping script daily for rrds, ports, orphaned entries in the database and performance data
47 4 * * * root /opt/observium/housekeeping.php -yrptb >> /dev/null 2>&1
6. Access Observium Web Interface
Install UFW.
apt-get install ufw -yEnable UFW.
ufw enableAllow port 80 and ssh through UFW firewall.
ufw allow 80

ufw allow ssh
To access the Observium Web Interface, go to your browser and visit http://Server_IP/. For example:
http://10.10.100.15/
