How To Install ntopng on Ubuntu 22.04
In today’s article we shall perform the installation and configuration of ntopng on Ubuntu Linux system. The ntopng tool is useful in network traffic probing and it provides a 360° Network visibility. It can get traffic information from various sources such as firewall logs, traffic monitors in the network, from NetFlow exporters, Intrusion Detection systems, or SNMP devices. It comes with an encrypted and intuitive web user interface for management and analytics.
Add ntopng APT repository
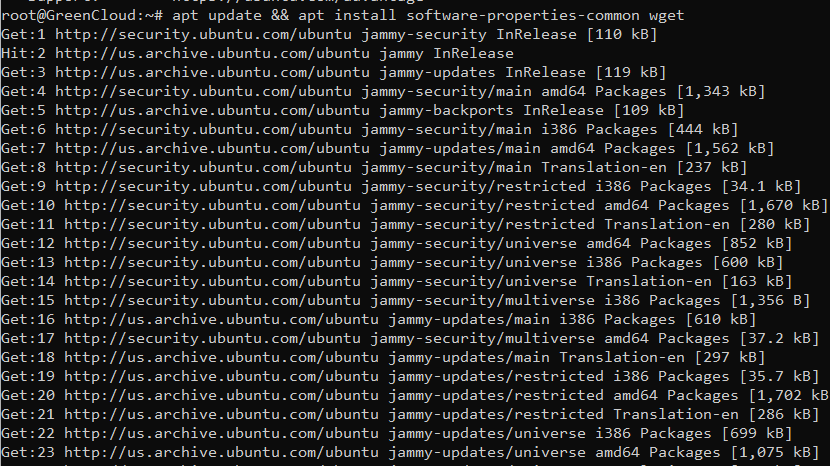
Update APT package index and install key pre-reqs
apt update && apt install software-properties-common wget
we add the repository to the system by executing the following commands.
add-apt-repository universe
source /etc/os-release
wget https://packages.ntop.org/apt/$VERSION_ID/all/apt-ntop.deb
apt install ./apt-ntop.deb
Install ntopng on Ubuntu
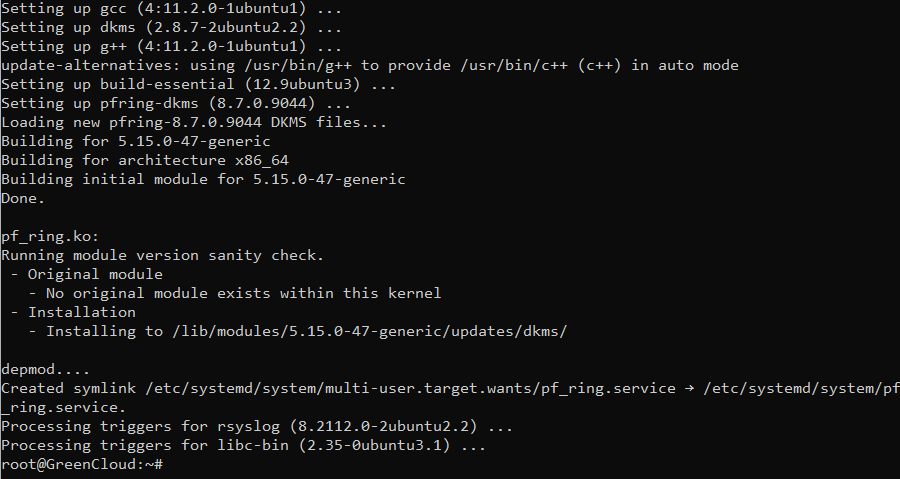
With the repository added, let’s install ntopng package.
apt update && apt install ntopng
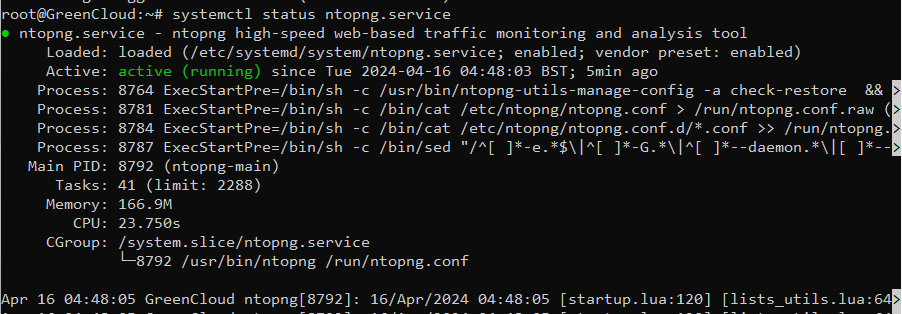
Check the service status to confirm it’s running.
systemctl status ntopng.service
Check the ports used by ntopng.
ss -tunelp | grep ntop

Access ntopng web dashboard
Open your browser and enter http://ServerIP:3000/

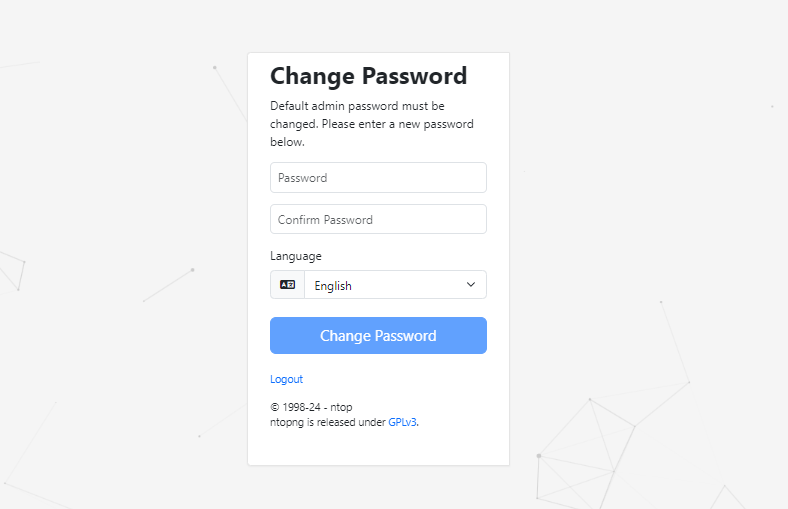
Use the default logins
- Username: admin
- Password: admin
You are requested to change admin password. Set strong password for the user.
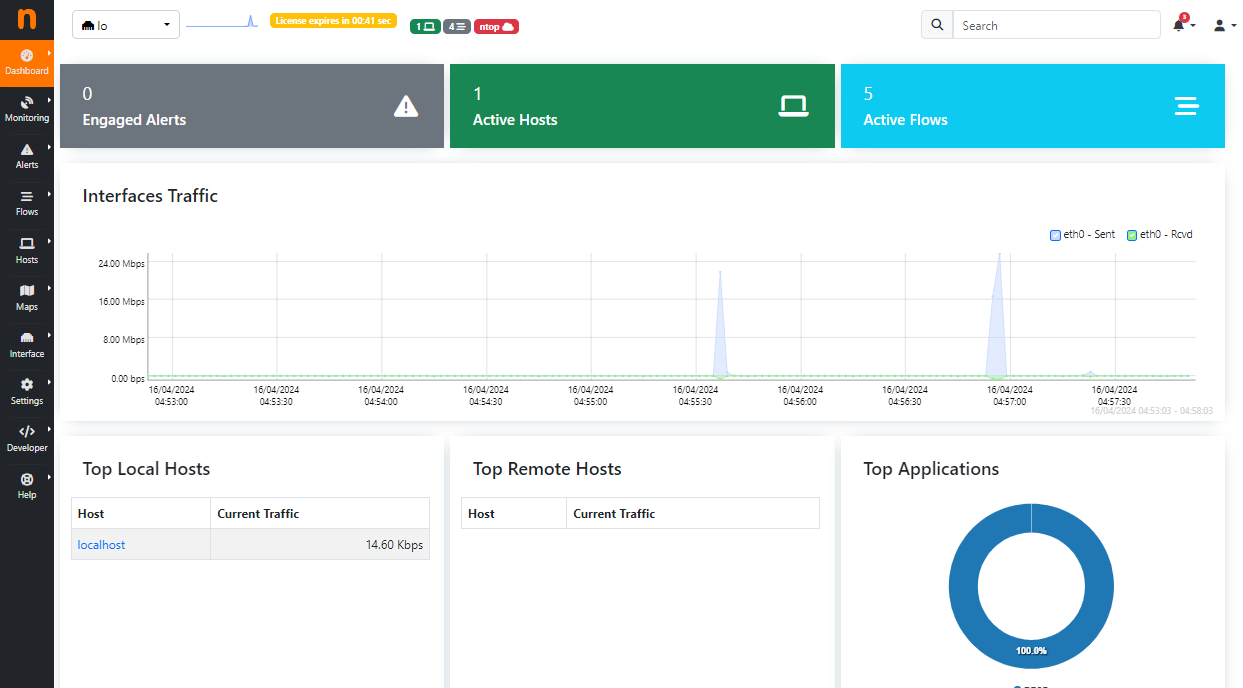
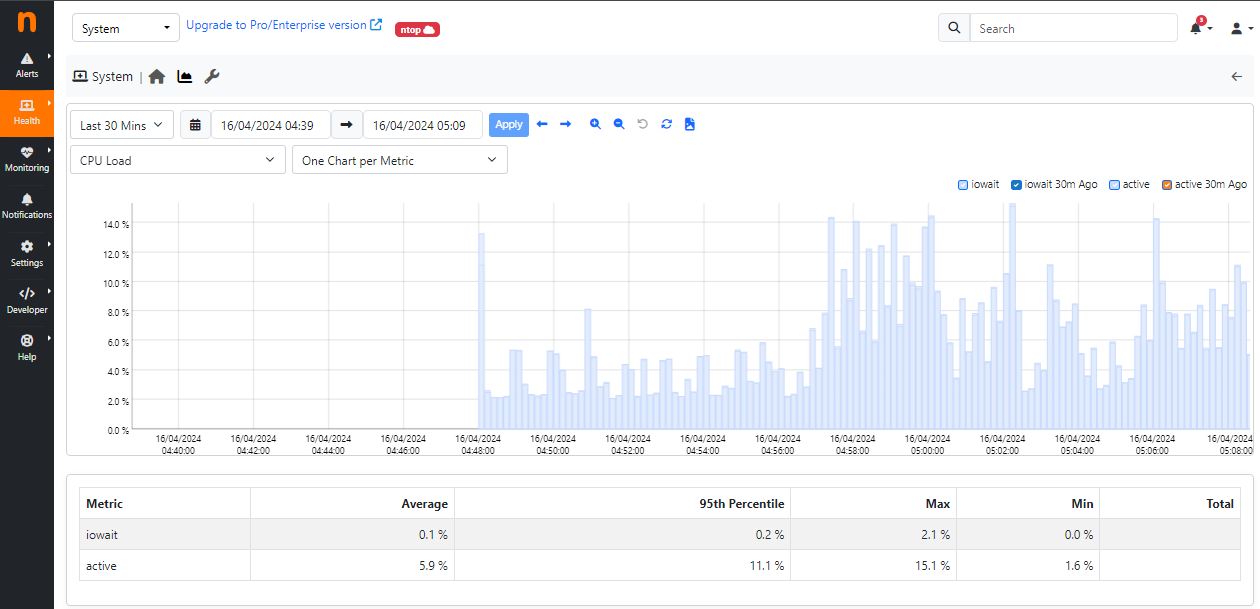
Finally you land on ntopng web dashboard.
ntopng CLI usage
When systemd service of ntopng is not active, you can use CLI method.
List your network interfaces:
ip link show

To monitor a physical NIC card, specify its interface name when running ntopng.
ntopng -i eth0
Conclusion
Congratulations! Now you have successfully installed ntopng on Ubuntu 22.04 and start using it
Hopefully, this article will be helpful for you. Good luck!

