How to install GitLab on Alma Linux 8
GitLab is a free and open-source DevOps software that comes with multiple tools to develop, secure, and operate software in a single application. It provides free unlimited repositories and unlimited collaborators. It is primarily used to host Git repositories, with additional development-related features like issue tracking. It is very similar to Github and Bitbucket and allows individuals and teams to share code remotely with others.
GitLab is available in four major editions:
- GitLab Community Edition – Free, open-source, and self-hosted.
- GitLab Enterprise Edition – Self-hosted and paid with additional features.
- GitLab.com – Free, and SaaS.
- GitLab.io – Private GitLab instance managed by GitLab Inc.
In this post, we will explain how to install GitLab CE on Alma Linux 8.
Add the GitLab CE Repository
By default, the GitLab package is not included in the Alma Linux default repository. So you will need to add the GitLab official repository to your system. You can download and add the following script to add the GitLab repository.
curl https://packages.gitlab.com/install/repositories/gitlab/gitlab-ce/script.rpm.sh | bash
You will get the following output:

You can verify the installed repository using the following command:
cat /etc/yum.repos.d/gitlab_gitlab-ce.repo
You will get the following output:

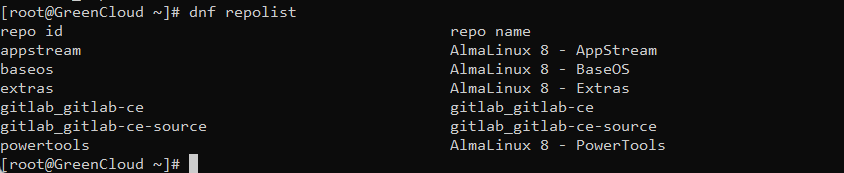
You can also list the GitLab repo using the following command:
dnf repolist
You will get the following output:
Install GitLab CE on Alma Linux 8
At this point, GitLab repo is created on your system. You can now install the GitLab CE by running the following command:
dnf install gitlab-ce -y
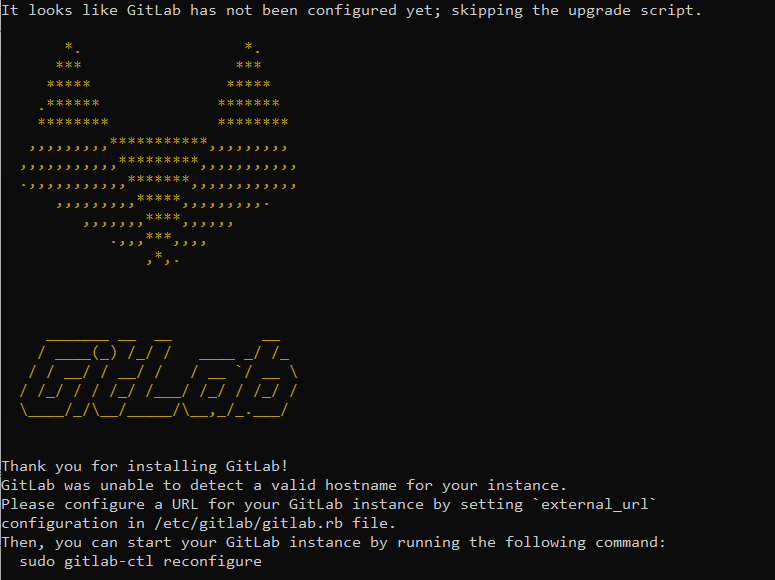
Once the GitLab CE is installed, you will get the following output:
Configure GitLab CE
Next, you will need to define your domain name in the GitLab configuration file. To do so, edit the GitLab configuration file:
vi /etc/gitlab/gitlab.rb
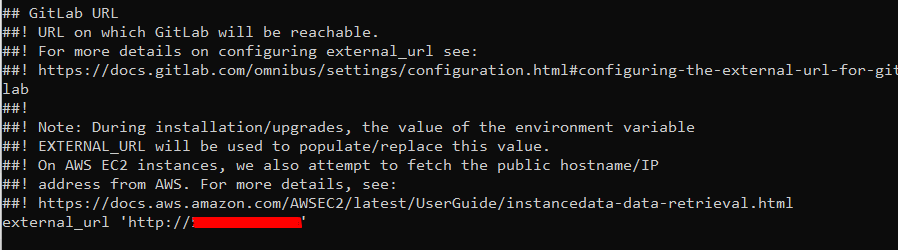
Change the following line with your domain name:
external_url 'http://gitlab.example.com'
Save and close the file then reconfigure the GitLab using the following command:
gitlab-ctl reconfigure
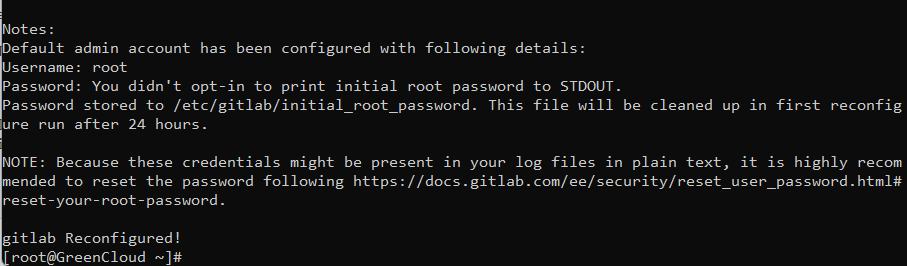
Once the GitLab CE is reconfigured, you will get the following output:
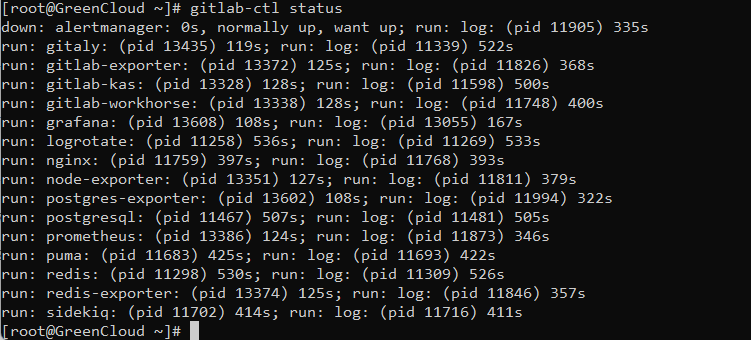
You can now check the status of the GitLab CE using the following command:
gitlab-ctl status
You will get the following output:
To stop the GitLab, run the following command:
gitlab-ctl stop
To start the GitLab, run the following command:
gitlab-ctl start
Configure Firewall
Next, you will need to allow HTTP service through the firewalld. You can allow it using the following command:
firewall-cmd --permanent --add-service=http
Next, reload the firewalld daemon to apply the changes:
systemctl reload firewalld
Access GitLab CE
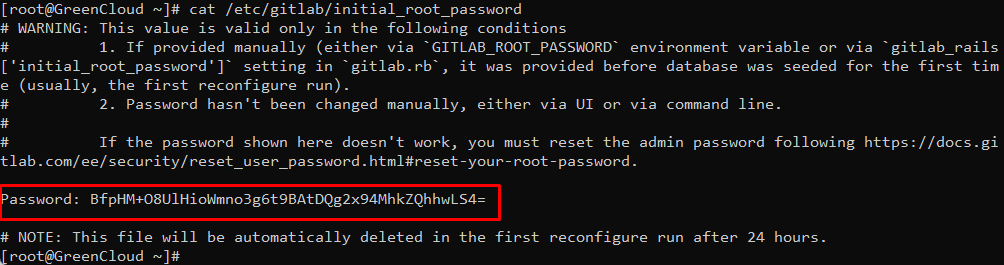
Before accessing GitLab CE, retrieve the GitLab root password with the following command:
cat /etc/gitlab/initial_root_password
You should see the GitLab CE root password in the following output:
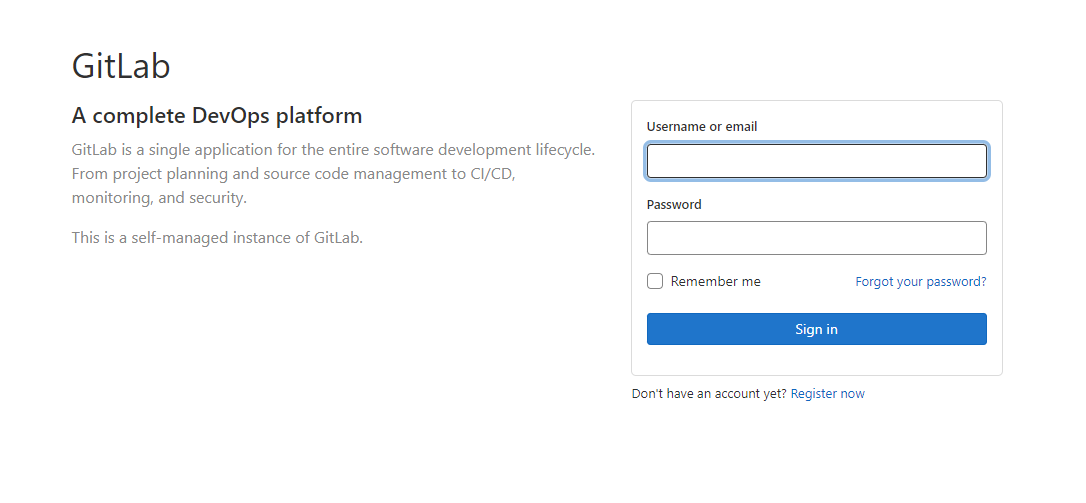
Now, open your web browser and access the GitLab web interface using the URL http://gitlab.example.com. You will be redirected to the GitLab login page:
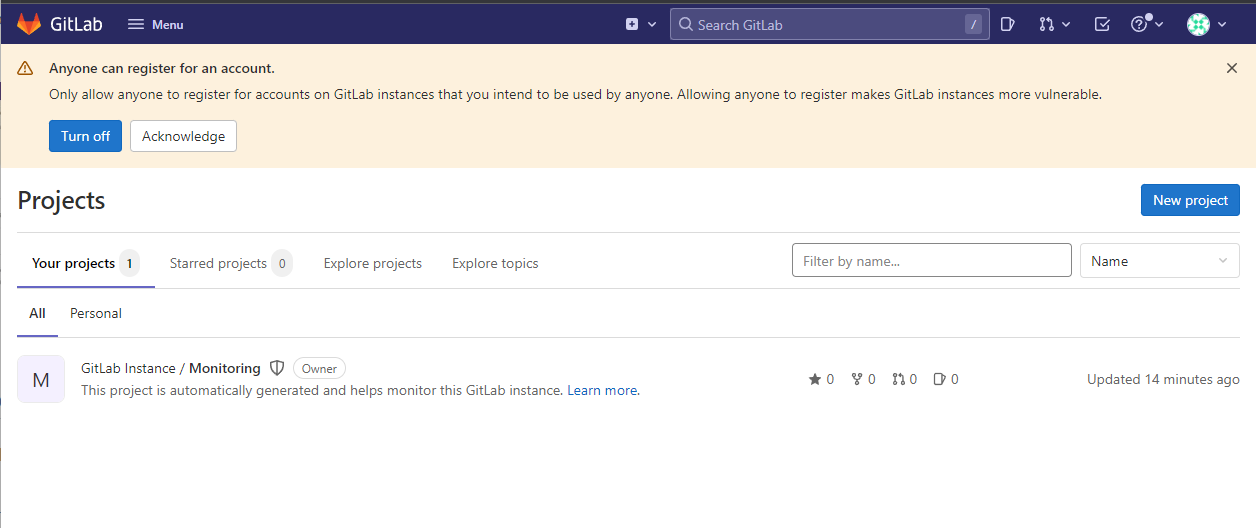
Provide your root username, and password, and click on the Sign in button. You should see the GitLab web interface on the following page:
Reset GitLab Root Password
If you forget the GitLab administrator password then you can reset it easily using the following command:
gitlab-rake "gitlab:password:reset"
You will be asked to set your new password as shown below:

Conclusion
Congratulations! you have successfully installed GitLab CE on Alma Linux 8. You can now start using GitLab in your development environment.

