How to change Server Name in Windows Server 2022
A computer or hostname is a unique label assigned to a machine or device connected to a computer network in Windows. The hostname is assigned automatically by default. This server’s hostname, however, can be changed at any time. Most Windows users do not know how to change the computer name on the Windows Server. Changing the hostname or server name is quite an easy and simple process. This task does not need the learning of advanced skills.
Today, in this guide, we will show you how to change the server name or computer name in Windows server 2022 using two different possible methods.
Prerequisites
- Windows Server 2022 should be installed on a dedicated server, Hyper-V, or on a Virtualbox.
- The user should have administrative privileges.
We can change the computer/Server name using the following three ways:
- Change Server Name using Server Manager (Graphical User Interface)
- Change Server Name using PowerShell (Command-line)
- Change Server Name using Using the Command Prompt
Method 1: Change Server Name using Server Manager (Graphical User Interface)
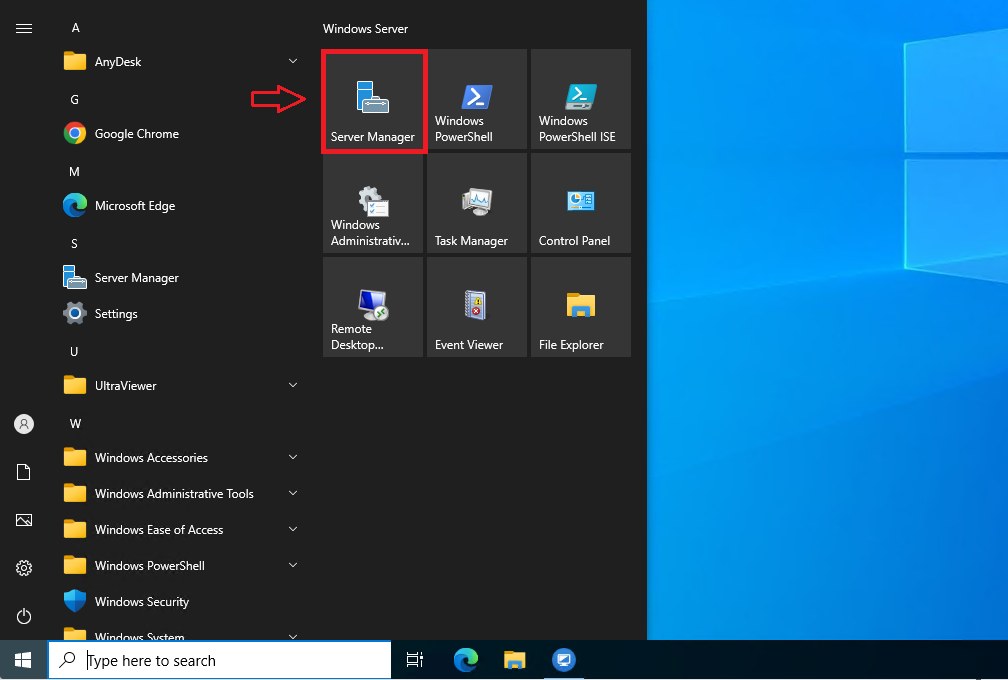
Using the ‘Server Manager’ you can easily change the server name. When you start your system, it automatically launches on your desktop. Otherwise, you can also launch Windows ‘Server Manager’ from the Start menu of your Windows Server.
Click on the ‘Local Server’ from the left sidebar menu and click on the ‘Computer name’.

The ‘System Properties’ dialog appears on the screen. Click on the ‘Change’ button in the ‘Computer Name’ tab.

Enter the server name in the ‘Computer name’ field that you want to use as a server name. Further, click on ‘More’.

Enter the primary DNS suffix for your computer. Click on ‘OK’.

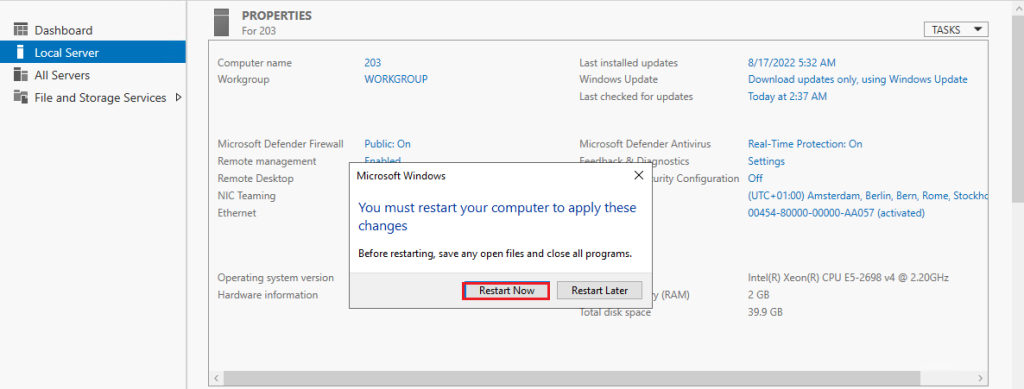
At this point, you need to restart your Windows Server to apply the above changes.

Now, click ‘Restart Now’ which will restart your computer right away.
To verify changes, again open the ‘Server Manager’ and you will notice that the computer name is successfully changed or updated.

Method 2: Change Server Name using PowerShell (Command-line)
You can also change the server name using PowerShell commands. Most Windows users prefer to use PowerShell while working on Windows Server. So, you need to perform the following steps to change the server name in the windows server via PowerShell:
Open the PowerShell window from the Start menu of Windows Server.
Now, use the following syntax to change the server name:
Rename-Computer -NewName [Server-name] -Force -PassThru
Replace the ‘Server-name’ with the name that you want to set for your computer. For example, here we choose the name ‘Greencloud’. Now, run the following command with administrative privileges:
Rename-Computer -NewName “Greencloud” -Force -PassThru
After running the above command following output will show on the PowerShell terminal:

To effect the changes, you must restart your computer. So, restart your system by using this command:
Restart-Computer
Method 3: Change Server Name using Using the Command Prompt
If you’d prefer to change the server name using the command line, CMD is also an option
Type Command Prompt in the Server search bar, right click on command prompt, and then select Run as administrator.

We can rename a server computer from the command prompt using WMIC computersystem command.
wmic computersystem where caption='currentname' rename newname
For example: If the current server name is Greencloud, to change it to Server 2022, we can run the following command.
wmic computersystem where caption='Server2022' rename Greencloud
After applying this command, you need to restart the server to make the changes effective.
Conclusion
We demonstrated in this guide how to change the computer or Server name in Windows Server 2022 using both methods via GUI and using command-line. Now, I hope you can easily change your server name by following the above-mentioned steps. If you feel any difficulty, you can ask any time via comments. Thanks!
Good Luck!

