
How To Install Plesk on Windows Server 2022
This guide intends to teach you to install Plesk on Windows Server 2022. Plesk is a great web hosting control panel that lets you manage your web hosting account through a web-based interface. With this amazing software, you can do a lot of stuff, such as:
- Upload and manage files
- Create user accounts for FTP
- Create and manage email accounts
- Add new domains and subdomains
- Create and manage databases such as MySQL and PostgreSQL
- Backup and restore site files
- View web log files
- Manage DNS and other resources …
Now you can follow this guide on the Greencloud website to start your Plesk installation on Windows Server 2022.
How To Install Plesk on Windows Server 2022?
To set up Plesk, you must have access to your Windows Server as an administrator user with RDP and follow the steps below.
Step 1 – Plesk Download for Windows
First, you must visit the Plesk Official site and download the Plesk Installer
When your download is completed, click on your downloaded file and proceed to the next step.
Step 2 – Install Plesk with Plesk Installer on Windows Server 2022
Once you open your file, you will see the Plesk installer screen on your Windows Server. Enter your Admin password and click on Log in.
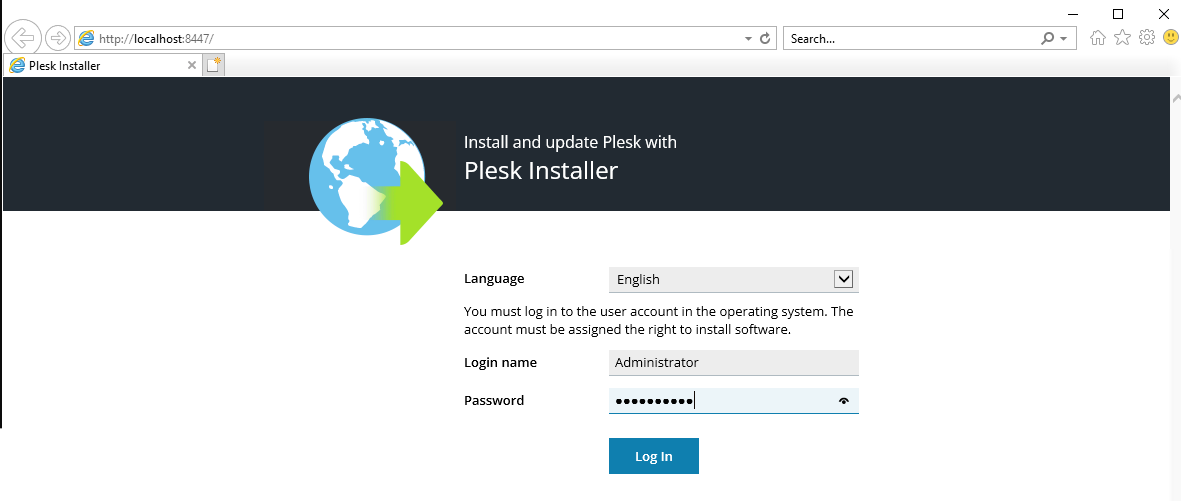
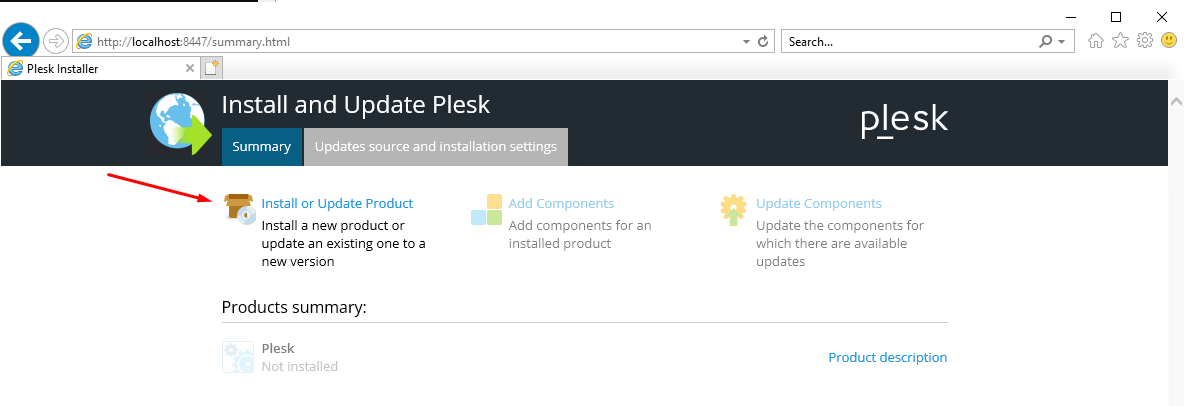
Next, you should click on Install or Upgrade Product.
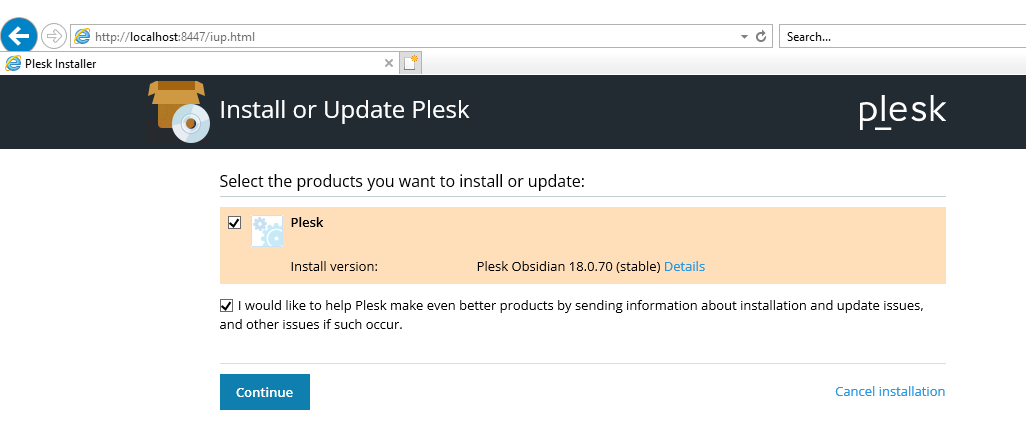
Then, check the box next to Plesk and choose your install version, and click on continue. Here we choose Plesk Obsidian stable.
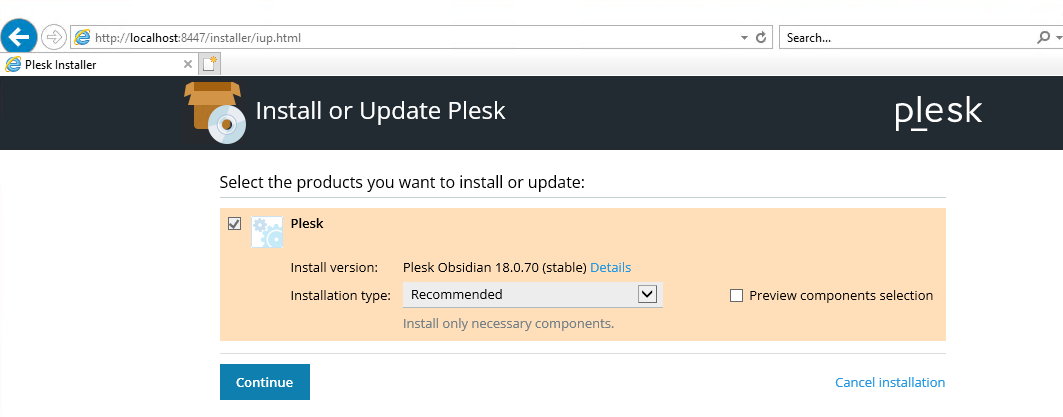
Now you need to choose your Plesk installation type on your Windows server. Whether you want the Recommended version, the Full version, or if you want to make a Custom version. Then, click on continue.
At this point, you need to set up your Plesk Admin password and click on Continue to start your installation.
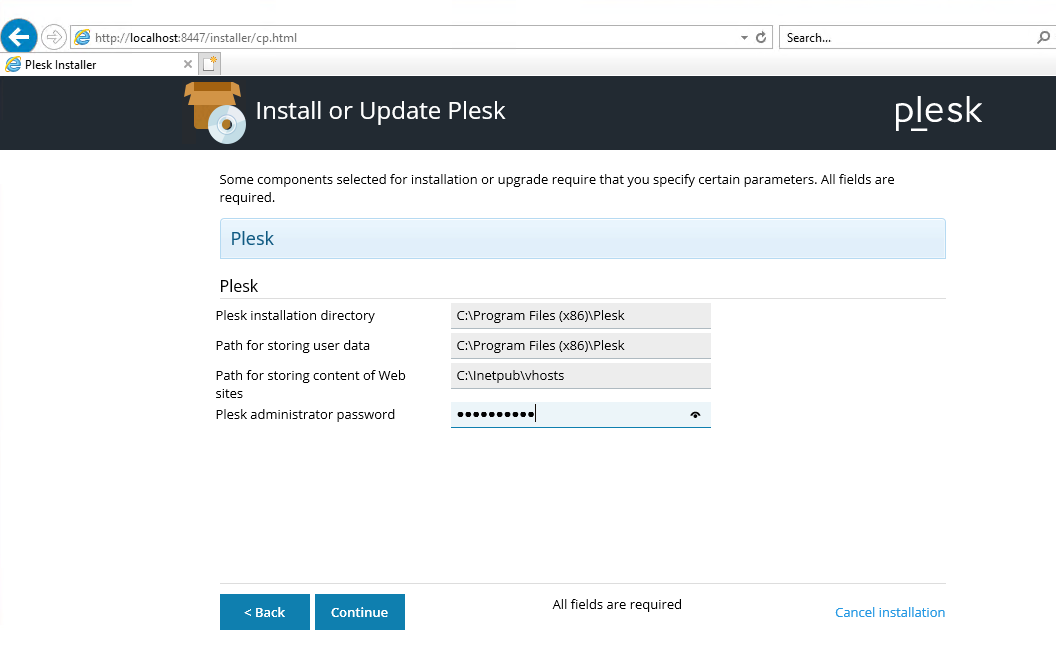
This will take some time to complete the installation. When it is finished, click on Ok.
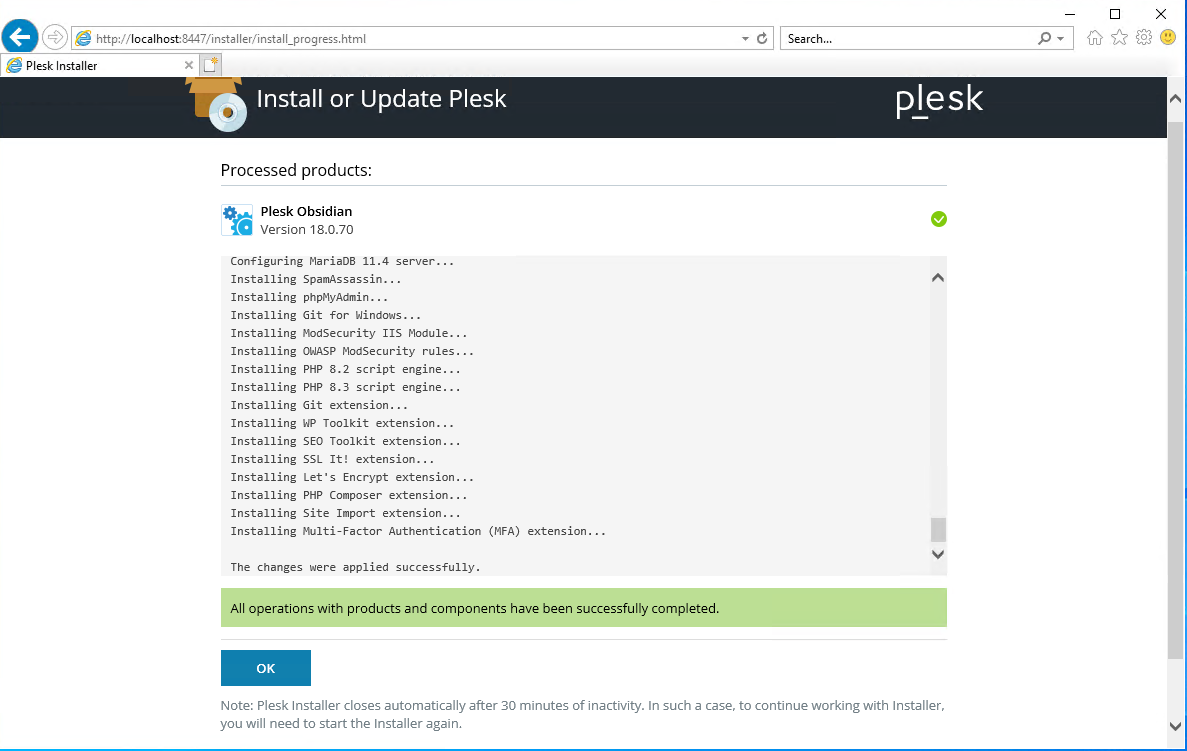
Step 3 – Access and Log in to Plesk on Windows Server 2022
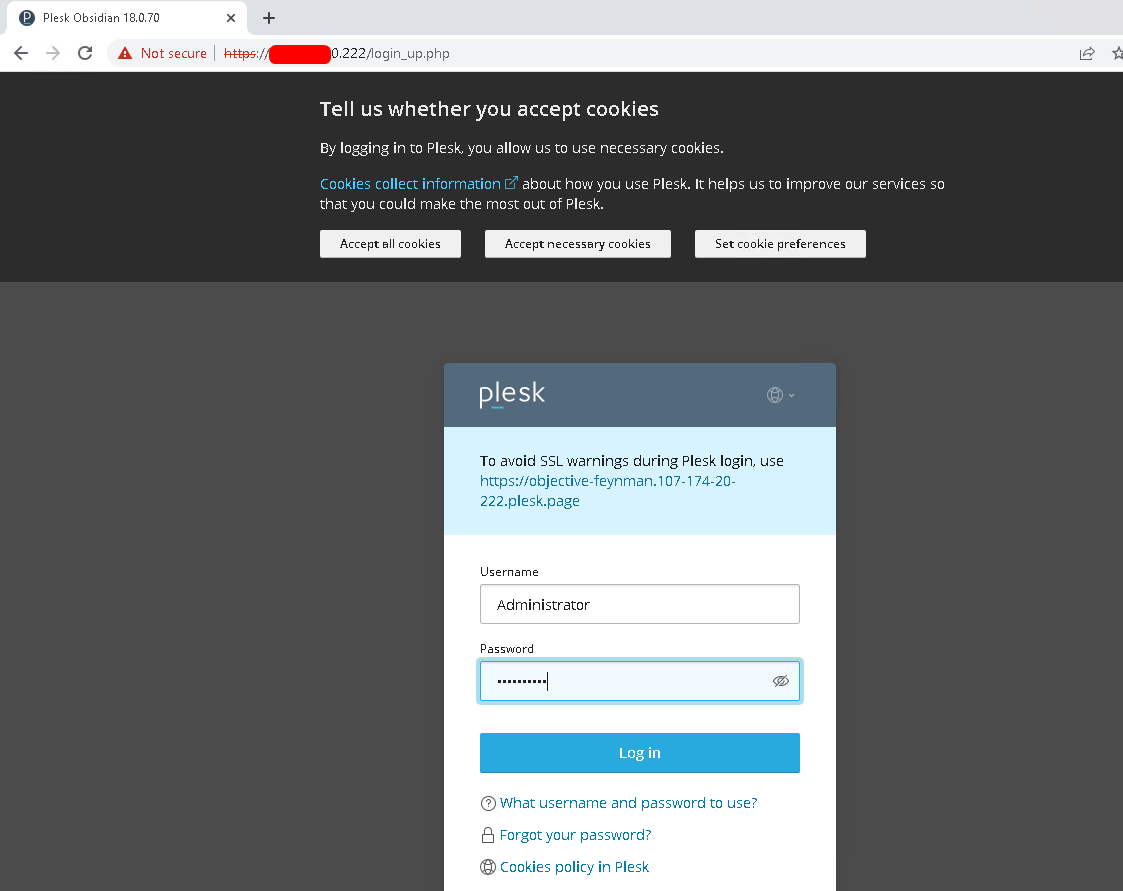
When your Plesk installation is completed, you can log in to Plesk for the first time by typing your SERVER HOSTNAME OR IP ADDRESS in your web browser:
https://<SERVER_HOSTNAME_OR_IP_ADDRESS>Then, you will see your Plesk login screen. Enter Administrator as the username and your server administrator password as the password.
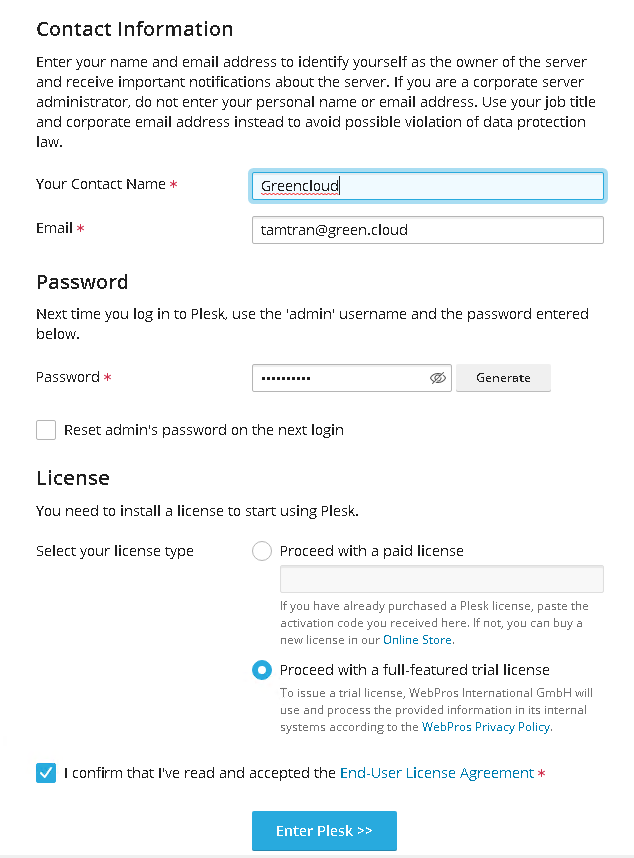
Next, you must provide an Admin user and password, an email address, and select a paid or trial version. Here, we use the trial license and click ‘Enter Plesk’.
Finally, you will see your Plesk Panel on Windows Server 2022.
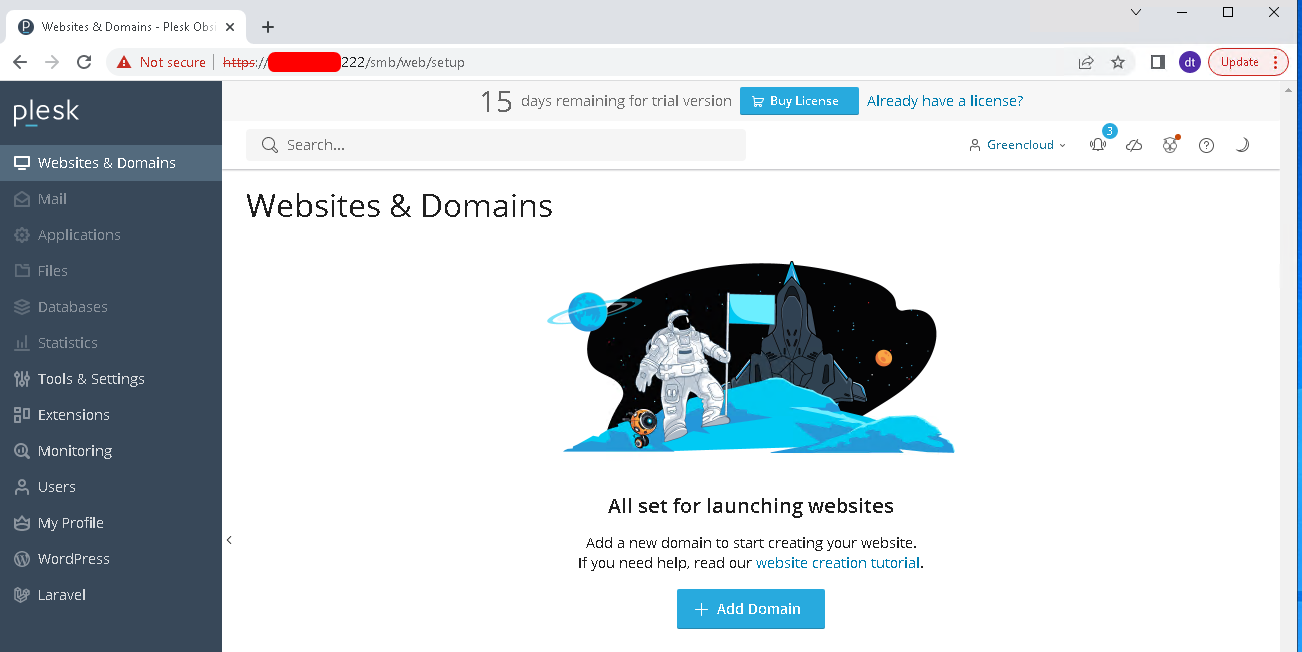
From there, you can easily manage your web hosting accounts.
To utilize the full features of Plesk, you can purchase a license and enjoy its use.
Conclusion
At this point, you have learned to install Plesk Web Hosting Control Panel on Windows Server 2022 and Access and log in to Plesk from the Web Interface.
Hope you enjoy it.
