
How to Install OpenClaw on Ubuntu 24.04
Introduction
OpenClaw can be installed cleanly on Ubuntu 24.04 by using a modern Node.js runtime that matches the upstream package requirements. Ubuntu 24.04.1 LTS provides a stable long-term support environment, making it a practical base for OpenClaw testing, development, and future service deployment.
Because OpenClaw is distributed as an npm package, the installation process primarily depends on correctly preparing the system and installing a compatible version of Node.js. Starting from a fresh Ubuntu deployment also helps isolate installation issues before moving into gateway setup, authentication, plugins, or daemon configuration.
This guide walks through the complete installation process for OpenClaw on Ubuntu 24.04, including system preparation, Node.js 22 installation, OpenClaw deployment, and post-install validation.
Prerequisites
Before starting, make sure your server meets the following requirements:
- Fresh Ubuntu 24.04 server
- Root or sudo access
- Outbound internet access
- Recommended minimum resources:
- 2 vCPU
- 4 GB RAM
- 50 GB storage
1. Verify the Operating System
First, confirm the server is running Ubuntu 24.04.
cat /etc/os-release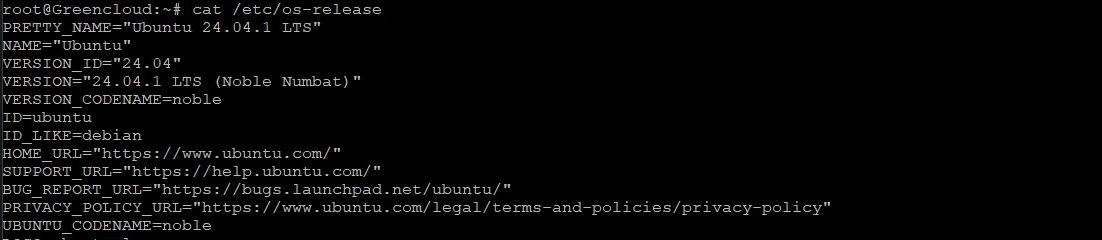
This confirms the system is ready for the installation process.
2. Update the Server and Install Base Packages
Before installing Node.js or OpenClaw, update the operating system and install the required build tools.
apt-get update
DEBIAN_FRONTEND=noninteractive apt-get -y upgrade
DEBIAN_FRONTEND=noninteractive apt-get install -y curl ca-certificates gnupg build-essential

These packages are required for:
- Repository setup
- Secure package downloads
- Native npm module compilation
- General system preparation
3. Install Node.js 22
Ubuntu 24.04 ships with Node.js 18 in the default repositories, but current OpenClaw releases require Node.js 22 or newer.
Add the NodeSource repository and install Node.js 22:
curl -fsSL https://deb.nodesource.com/setup_22.x | bash -
DEBIAN_FRONTEND=noninteractive apt-get install -y nodejs
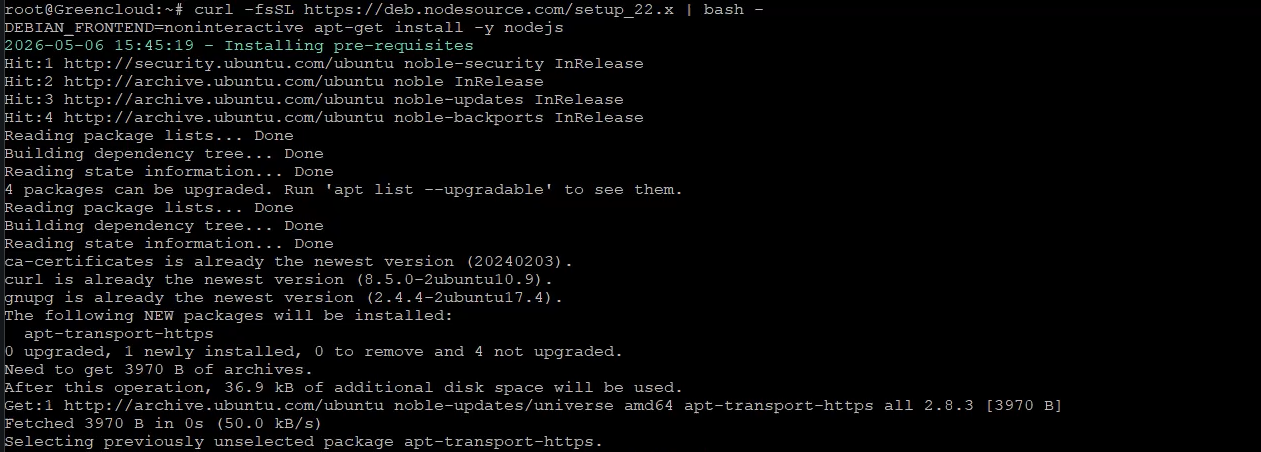
Verify the installation:
node --version
npm --version
Example output:
v22.22.2
10.9.7
At this point, the system is running a compatible Node.js environment for OpenClaw.
4. Install OpenClaw
Install the latest OpenClaw release globally using npm:
npm install -g openclaw@latest

After installation, verify the binary path and installed version:
command -v openclaw
openclaw --version

This confirms that OpenClaw has been installed successfully.
5. View Available OpenClaw Commands
To verify the CLI is working correctly, display the built-in help menu:
openclaw --help
- gateway
- agents
- browser
- cron
- docs
- models
- plugins
- onboarding
- security
- status
This confirms the installation is functioning properly.
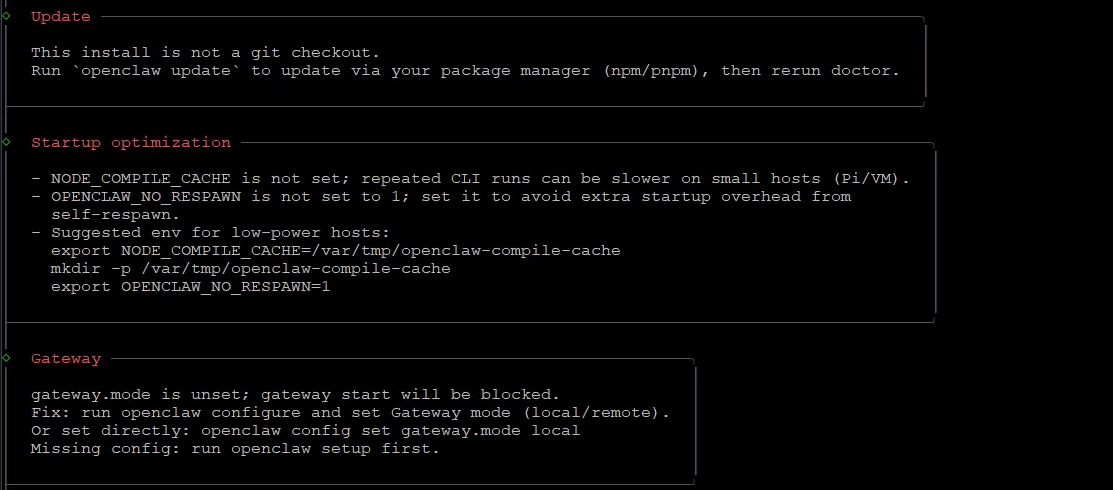
6. Run a Post-Installation Health Check
Run the built-in diagnostic tool:
openclaw doctor
On a fresh installation, warnings about missing gateway configuration, onboarding state, or workspace directories are expected.
These warnings do not indicate installation failure. They mean OpenClaw has not yet been configured for production use.
Next Steps
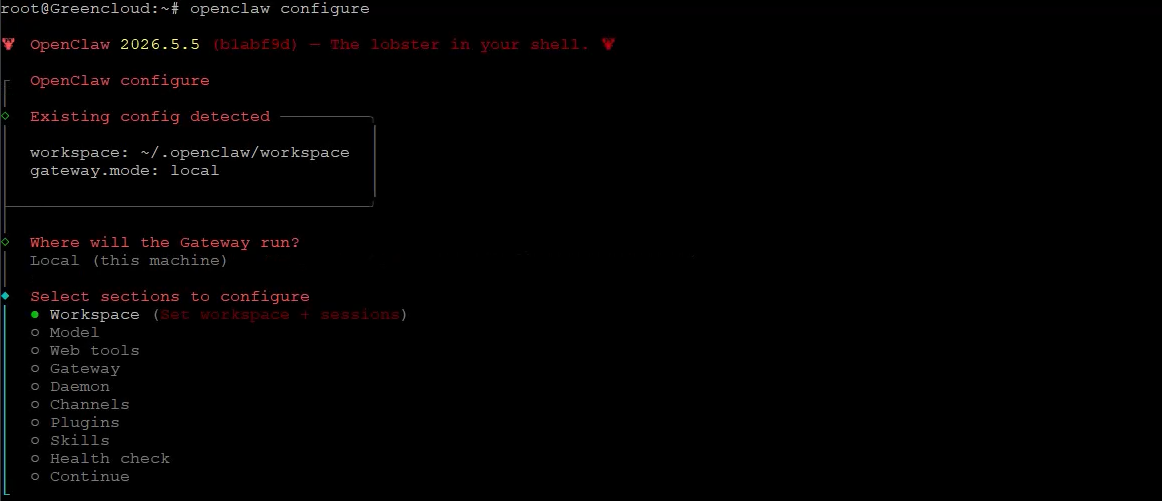
After installation, the following commands are commonly used for onboarding and setup:
Configure OpenClaw
openclaw configure
Install and Configure the Daemon Service
openclaw onboard --install-daemon
Automatically Fix Common Issues
openclaw doctor --fix
The onboarding system supports both interactive and non-interactive configuration modes, including:
- Gateway bind configuration
- Authentication setup
- Workspace path selection
- API key configuration
- Daemon installation
Troubleshooting
Node.js Version Errors
If the installation fails, verify the Node.js version first:
node --version
OpenClaw currently requires Node.js 22 or newer and may not work correctly with Ubuntu’s default Node.js 18 package.
Doctor Warnings After Installation
Warnings shown by:
openclaw doctor
are normal on a clean installation before onboarding has been completed.
Install as a Background Service
To immediately configure OpenClaw as a system daemon:
openclaw onboard --install-daemon
This installs and configures the background service automatically.

Conclusion
You now have OpenClaw installed successfully on Ubuntu 24.04 with a compatible Node.js 22 runtime.
In this example deployment, the final software versions were:
- Ubuntu 24.04.1 LTS
- Node.js v22.22.2
- npm 10.9.7
- OpenClaw 2026.5.5
From here, the recommended next steps are:
- Complete the onboarding process
- Configure gateway mode and authentication
- Add provider credentials and API keys
- Install the daemon service for long-term operation
- Begin testing plugins, agents, and automation workflows
Your Ubuntu 24.04 server is now ready for OpenClaw deployment and further configuration.
