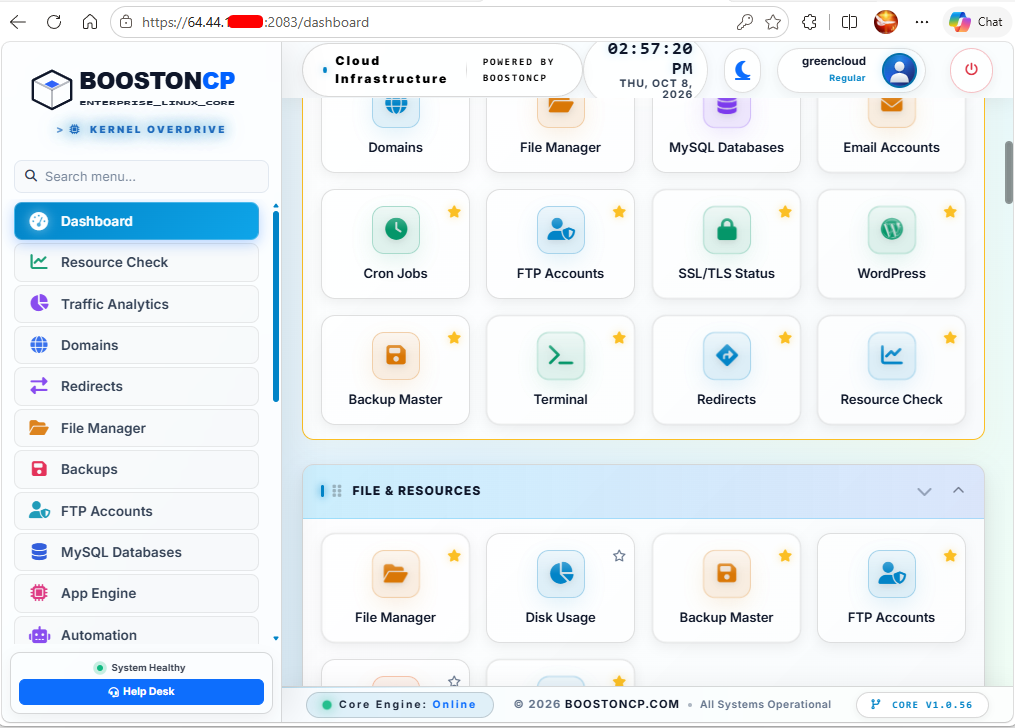
How to Install BoostonCP on Ubuntu
Prerequisites
-
- Operating System: Fresh Ubuntu 22.04 or 24.04 LTS (64-bit recommended).
- User Access: Must be executed as the
rootuser. - Hardware: 1 CPU Core, 512MB RAM (1GB+ recommended), 10GB SSD Disk Space.
- Network Ports: Ports 2087 (Admin Panel), 2083 (User Panel), 80/443 (Web), 22 (SSH) must be open.
Step 1: Create a Free BoostoCP Account
Before executing the installation script, you must have an active Client Account to generate your license key. Registration is completely free and requires no credit card.
Create Free Account
Step 2: Order Your Free License (1-Click Order)
After logging into your Client Portal:
- Navigate to Buy New License > Launch Free
- Click Initialize Acquisition (Zero payment or credit card required).
- Go to Overview >Manage > License Details.
License Key Location: Inside My Services > View License DetailsYou will find your unique License Key and your ready-to-use 1-Line Terminal Installation Command.
Step 3: Execute Universal Installation Command
Connect to your VPS via SSH as root and run your 1-line installation command:
curl -sSL https://boostoncp.com/install.sh | sudo bash -s -- YOUR_LICENSE_KEY* Replace YOUR_LICENSE_KEY with the actual license key copied from your Client Portal.
The installer will automatically install and configure the required components.
If you need to load the new kernel, you can press Ctrl + C to stop the process and restart the VPS. Then run the command again.
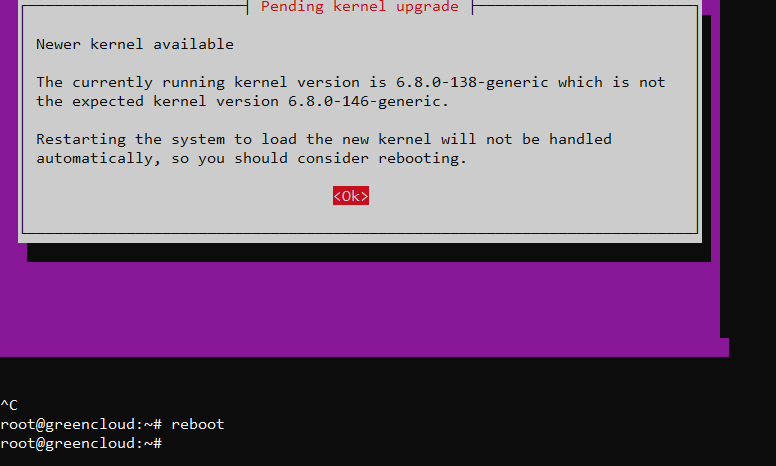
Wait until the installation is completed.
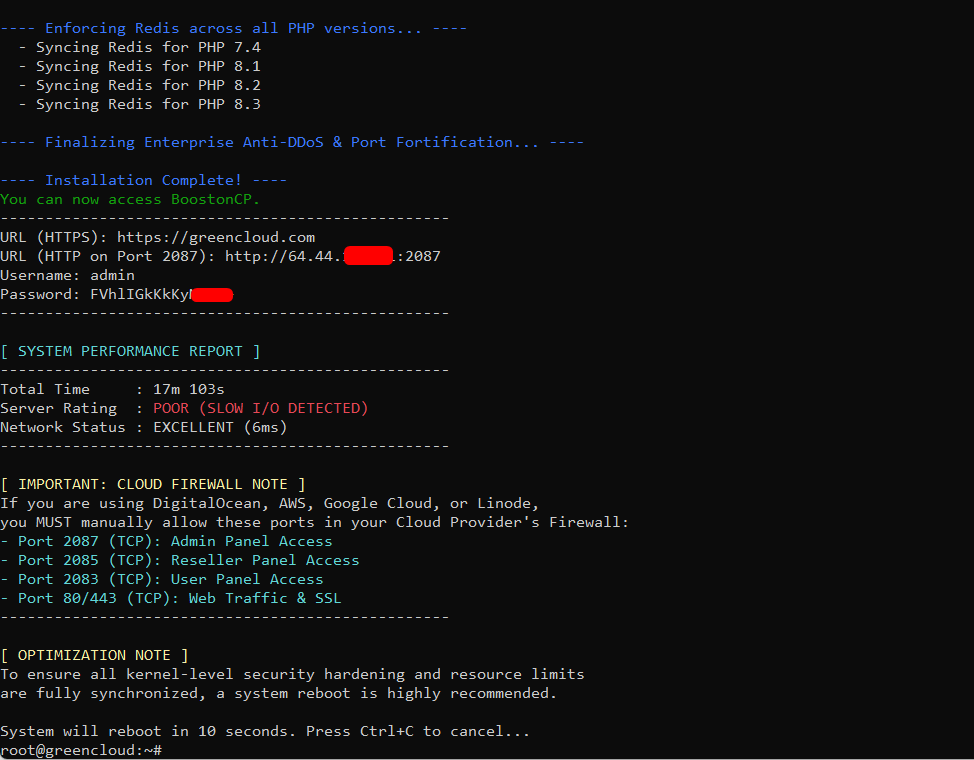
The installer will display the login information for the control panel.
Step 4: Access Your Dashboards
Once the automated installer finishes (takes a few minutes), your terminal will output your login credentials:
- Admin Dashboard:
https://your-server-ip:2087

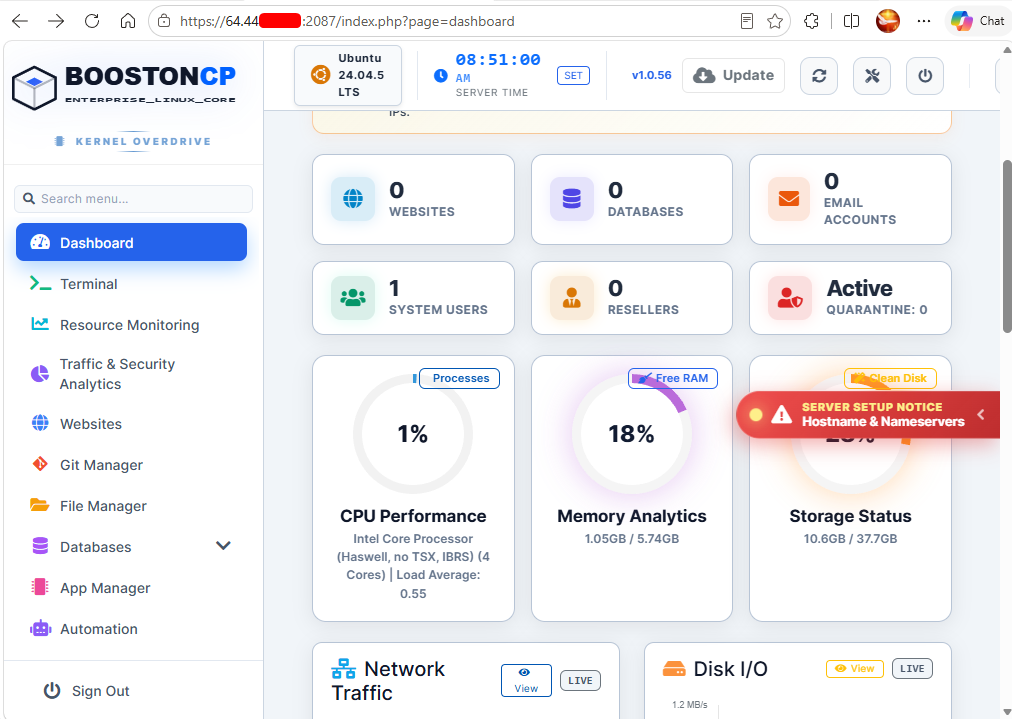
After that, you can go to the System user -> Add user section to add a new user. You can log in to the User Control Panel at https://your-server-ip:2083 using the user you just added.