
How to Install RabbitMQ on Debian 13
Introduction
RabbitMQ is a powerful open-source message broker that enables reliable communication between distributed systems. It is widely used in microservices architectures, asynchronous task processing, and real-time data pipelines.
This guide walks you through the complete installation and configuration of RabbitMQ on Debian 13 (Trixie), including setting up dependencies, enabling the management interface, and configuring an administrative user.
Prerequisites
Before proceeding, ensure the following requirements are met:
- A server running Debian 13 (Trixie)
- Root access or a user with sudo privileges
- SSH access to the server (for remote environments)
- A stable internet connection
- Basic familiarity with Linux command line
To connect to your server via SSH:
ssh username@server_ip
Ensure your system hostname is properly configured to avoid errors such as:
sudo: unable to resolve host
Step 1: Update System Packages
Update the package index to ensure you are using the latest repository information.
sudo apt update && sudo apt upgrade -yStep 2: Install Required Tools
Install tools required for adding external repositories and managing keys.
sudo apt install curl gnupg apt-transport-https -y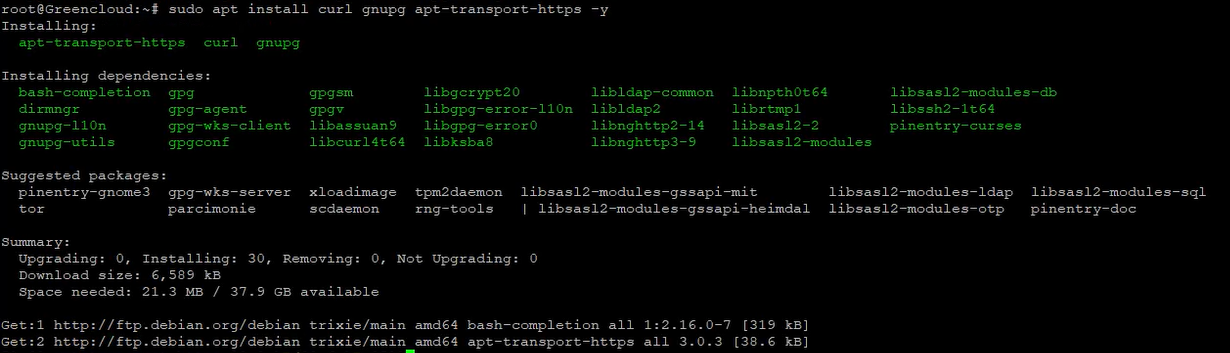
Step 3: Import RabbitMQ Signing Key
Import the official RabbitMQ signing key to verify package authenticity.
curl -1sLf "https://keys.openpgp.org/vks/v1/by-fingerprint/0A9AF2115F4687BD29803A206B73A36E6026DFCA" | sudo gpg --dearmor | sudo tee /usr/share/keyrings/com.rabbitmq.team.gpg > /dev/nullStep 4: Add RabbitMQ Repository
Add the official RabbitMQ repositories to your system.
sudo tee /etc/apt/sources.list.d/rabbitmq.list <<EOF
## Latest RabbitMQ releases
##
deb [arch=amd64 signed-by=/usr/share/keyrings/com.rabbitmq.team.gpg] https://deb1.rabbitmq.com/rabbitmq-server/debian/trixie trixie main
deb [arch=amd64 signed-by=/usr/share/keyrings/com.rabbitmq.team.gpg] https://deb2.rabbitmq.com/rabbitmq-server/debian/trixie trixie main
EOF
Step 5: Refresh Package Index
Reload the package list to include the newly added repositories.
sudo apt updateStep 6: Install Erlang Dependencies
Install Erlang packages required by RabbitMQ.
sudo apt install -y erlang-base \
                        erlang-asn1 erlang-crypto erlang-eldap erlang-ftp erlang-inets \
                        erlang-mnesia erlang-os-mon erlang-parsetools erlang-public-key \
                        erlang-runtime-tools erlang-snmp erlang-ssl \
                        erlang-syntax-tools erlang-tftp erlang-tools erlang-xmerl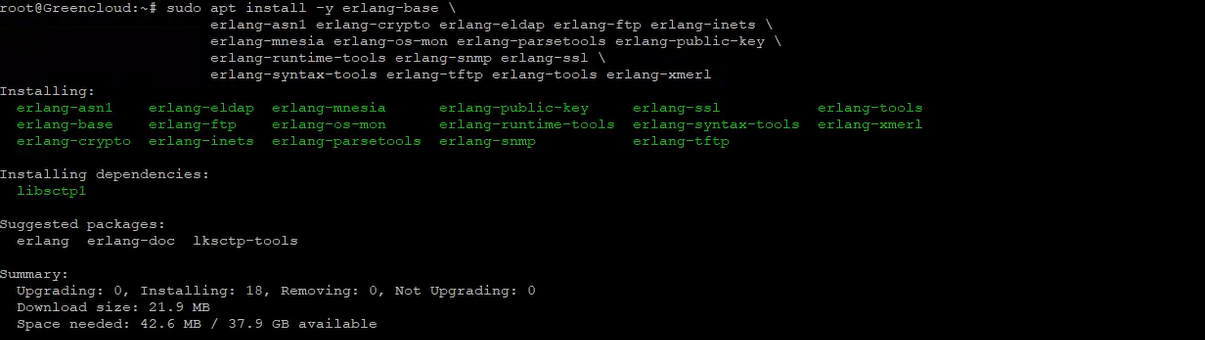
Step 7: Install RabbitMQ Server
Install RabbitMQ from the official repository.
sudo apt install rabbitmq-server -y --fix-missing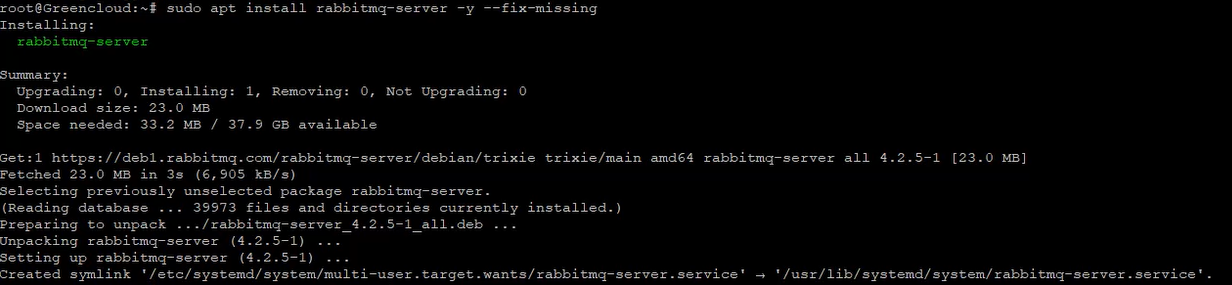
Step 8: Start RabbitMQ Service
Start the RabbitMQ service.
sudo systemctl start rabbitmq-serverStep 9: Enable Auto-Start on Boot
Ensure RabbitMQ starts automatically after system reboot.
sudo systemctl enable rabbitmq-serverStep 10: Verify Service Status
Check whether RabbitMQ is running correctly.
sudo systemctl status rabbitmq-server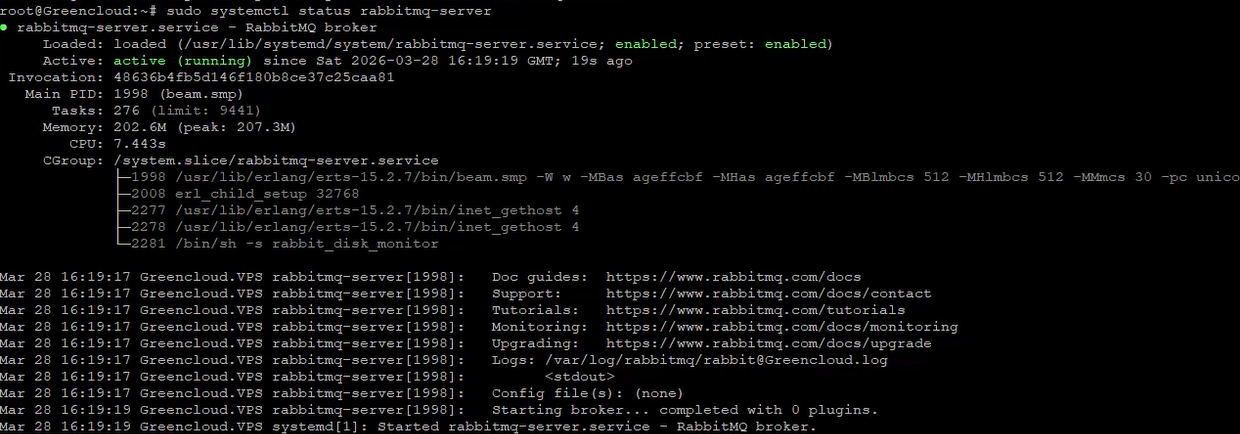
Step 11: Enable Management Interface
Enable the web-based management plugin.
sudo rabbitmq-plugins enable rabbitmq_management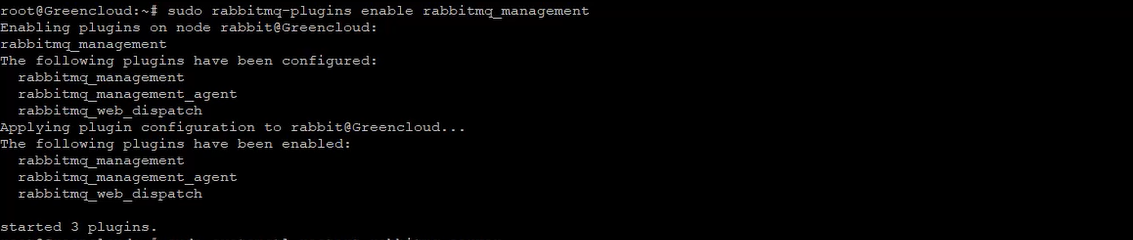
Step 12: Restart Service
Restart RabbitMQ to apply the changes.
sudo systemctl restart rabbitmq-serverStep 13: Create Administrative User
Create a new admin user and assign full permissions.
sudo rabbitmqctl add_user admin strong_password
sudo rabbitmqctl set_user_tags admin administrator
sudo rabbitmqctl set_permissions -p / admin ".*" ".*" ".*"
Step 14: Configure Firewall (Optional)
If UFW is enabled, allow access to the RabbitMQ management port.
sudo ufw allow 15672/tcp
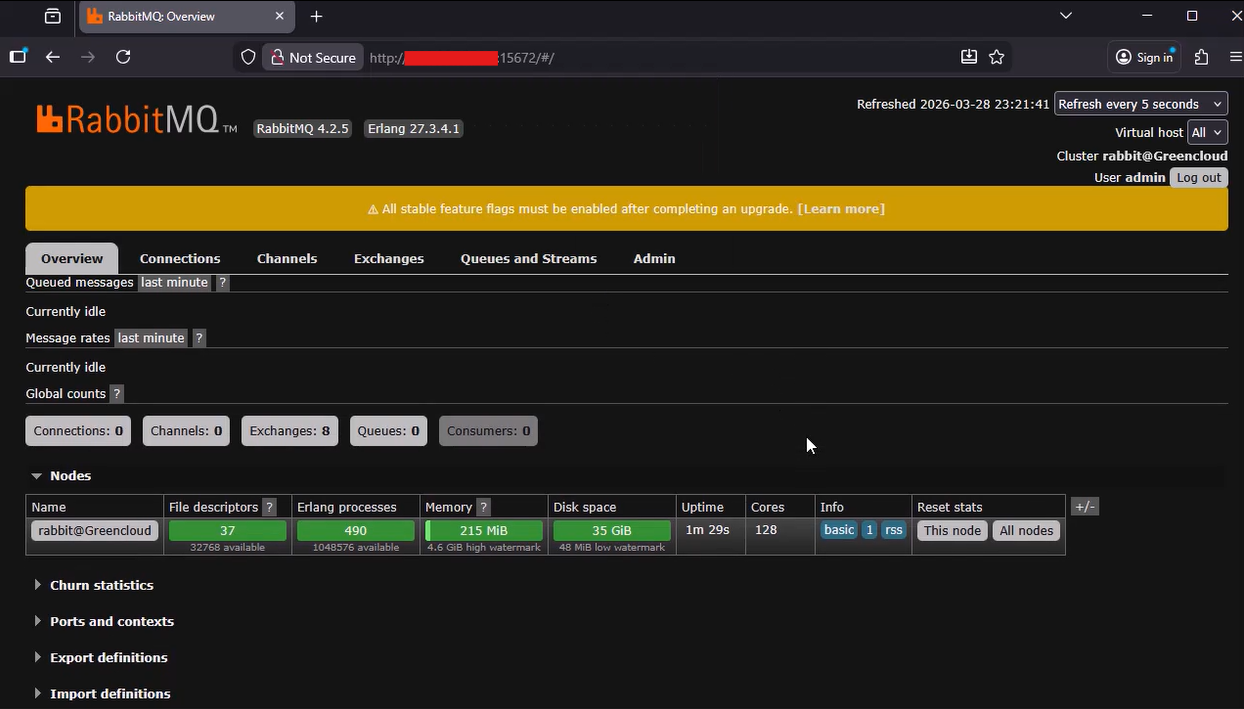
Step 15: Access the Management Dashboard
Open a web browser and navigate to:
http://server_ip:15672Log in using the administrative credentials created earlier.
Conclusion
You have successfully installed and configured RabbitMQ on Debian 13. Your server is now ready to handle messaging workloads efficiently, and the management interface provides a convenient way to monitor queues, exchanges, and connections.
For production environments, consider additional improvements such as:
- Enabling SSL/TLS for secure communication
- Restricting access via firewall or VPN
- Monitoring with tools like Prometheus and Grafana
- Implementing proper user roles and permissions
With this setup, you now have a solid foundation to integrate RabbitMQ into your applications and infrastructure.
