
How to Install Dozzle Log Viewer on Rocky Linux 9
Introduction
When running applications in Docker containers, monitoring logs is one of the most important tasks for system administrators and DevOps engineers. The built-in Docker logs command is useful, but it becomes cumbersome when you need to watch logs from multiple containers simultaneously.
This is where Dozzle comes in. Dozzle is a lightweight, web-based, real-time log viewer for Docker. It runs as a container and lets you access all your container logs from a simple browser interface.
In this guide, we will walk through how to:
-
Update Rocky Linux 9 and install prerequisites
-
Install Docker and Docker Compose
-
Deploy Dozzle using Docker Compose
-
Configure Nginx as a reverse proxy
-
Access Dozzle from your browser
By the end, you will have a fully functional Dozzle log viewer running on Rocky Linux 9.
Step 1: Update the System and Install Required Tools
First, make sure your system is fully up to date:
sudo dnf update -y

This command will fetch and install all the latest patches and security updates for Rocky Linux 9. Keeping your system updated ensures stability and security.
Next, install some utilities required for Docker:
sudo dnf install -y yum-utils device-mapper-persistent-data lvm2 curl wget
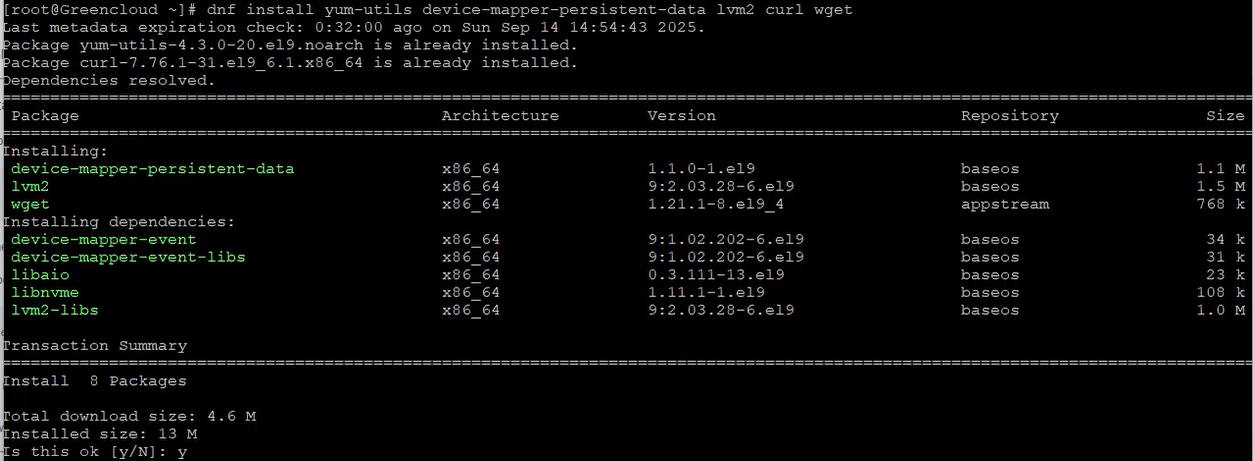
yum-utils: Adds extra tools for managing repositories
device-mapper-persistent-data and lvm2: Required by Docker to manage storage drivers
curl and wget: Command-line tools to download files and check endpoints
Step 2: Install Docker and Docker Compose
Rocky Linux does not ship with the latest Docker packages by default. We need to add the official Docker repository:
sudo dnf config-manager --add-repo https://download.docker.com/linux/centos/docker-ce.repo
Now install Docker CE (Community Edition) along with CLI and required plugins:
sudo dnf install -y docker-ce docker-ce-cli containerd.io docker-buildx-plugin docker-compose-plugin
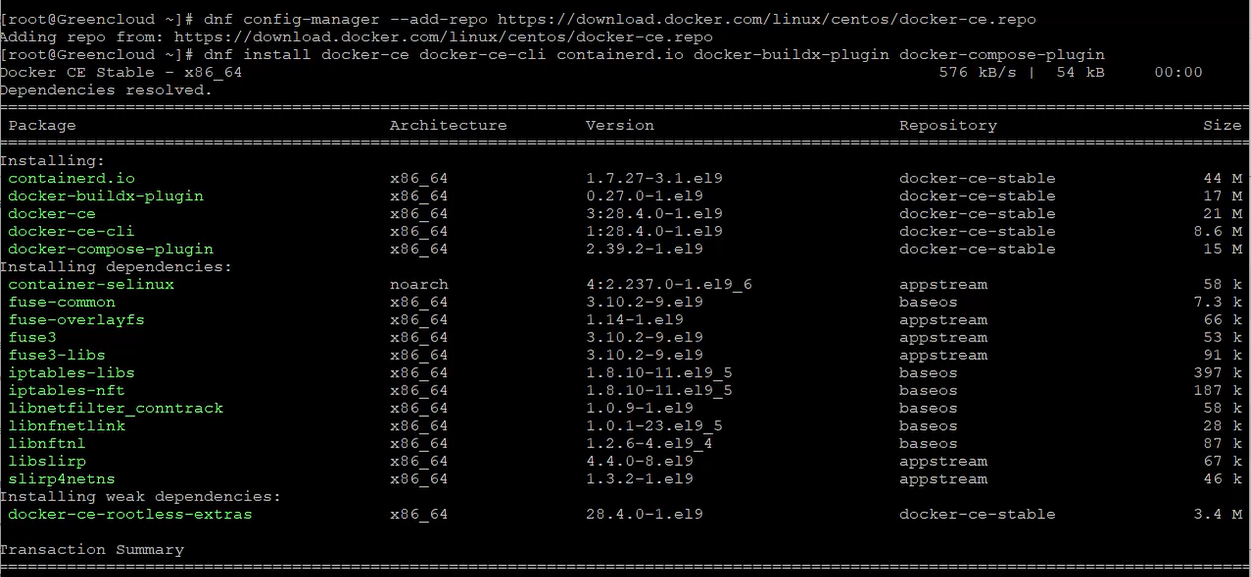
Enable Docker to start at boot and launch it immediately:
sudo systemctl enable --now docker
Verify Docker and Docker Compose are installed:
docker --version
docker compose version

If both commands return version numbers, Docker is successfully installed.
Step 3: Deploy Dozzle with Docker Compose
Let’s prepare Dozzle by using Docker Compose.
Create a dedicated directory:
sudo mkdir -p /opt/dozzle
cd /opt/dozzle
Create the docker-compose.yml file:
sudo tee /opt/dozzle/docker-compose.yml > /dev/null <<'YML'
services:
dozzle:
image: amir20/dozzle:latest
container_name: dozzle
ports:
- "8080:8080"
volumes:
- /var/run/docker.sock:/var/run/docker.sock:ro
healthcheck:
test: ["CMD", "wget", "-qO-", "http://localhost:8080/health"]
interval: 15s
timeout: 3s
retries: 5
restart: unless-stopped
YML
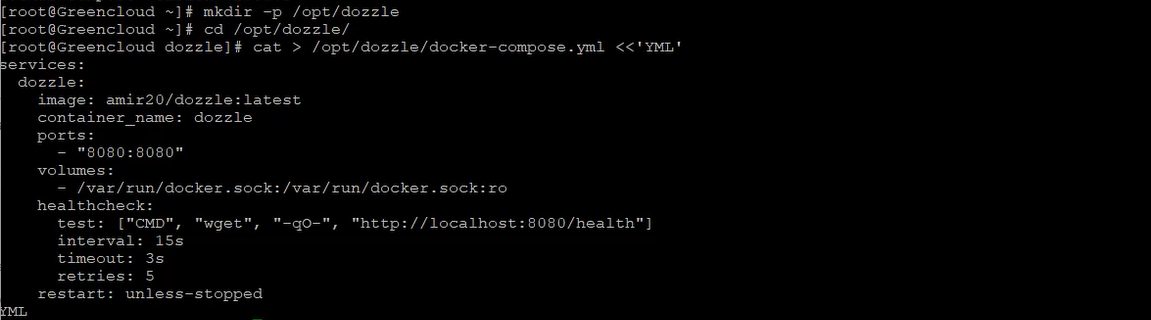
Explanation:
image: Uses the latest Dozzle image from Docker Hub
ports: Exposes Dozzle on port 8080
volumes: Mounts Docker socket so Dozzle can read container logs
healthcheck: Ensures the container is running properly
restart: unless-stopped: Keeps Dozzle running across reboots
Start Dozzle:
docker compose up -d

Check if it is running:
docker compose ps
Check logs:
docker logs dozzle --tail=50
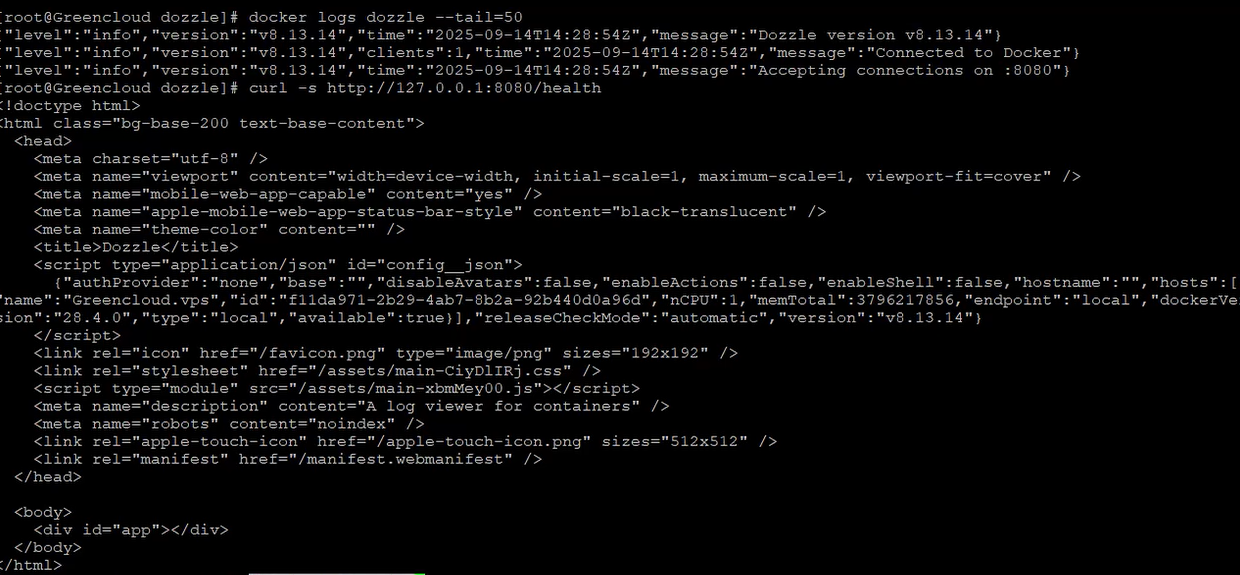
Test the health endpoint:
curl -s http://127.0.0.1:8080/health
If you see a healthy response, Dozzle is up and running.
Step 4: Configure Nginx as a Reverse Proxy
To make Dozzle accessible from a domain (instead of port 8080), we’ll use Nginx as a reverse proxy.
Install Nginx:
sudo dnf install -y nginx
Enable and start Nginx:
sudo systemctl enable --now nginx
Create a configuration file for Dozzle:
cat > /etc/nginx/conf.d/dozzle.conf <<'NGINX'
server {
listen 80;
server_name your-domain.com;

# Optional Basic Auth (see 4.4)
# auth_basic "Restricted";
# auth_basic_user_file /etc/nginx/.htpasswd;

location / {
proxy_pass http://127.0.0.1:8080;
proxy_http_version 1.1;
proxy_set_header Connection "";
proxy_set_header Host $host;
proxy_set_header X-Real-IP $remote_addr;
proxy_set_header X-Forwarded-For $proxy_add_x_forwarded_for;
proxy_set_header X-Forwarded-Proto $scheme;
}
}
NGINX
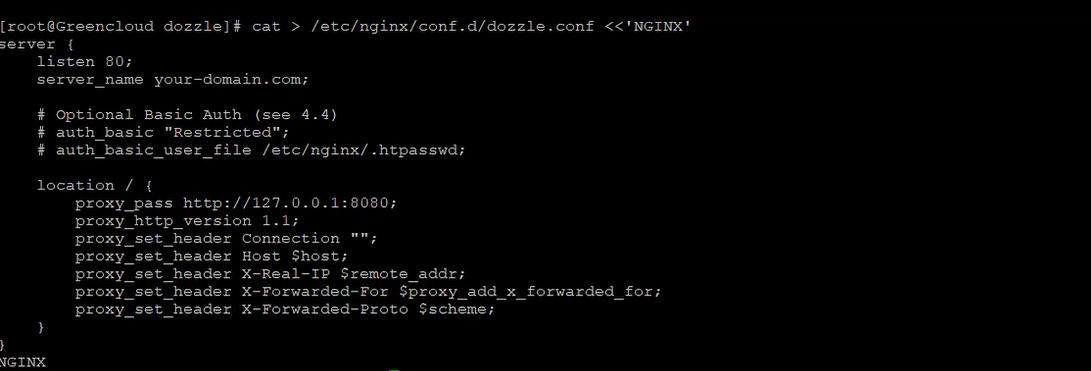
Test the configuration and reload:
sudo nginx -t && sudo systemctl reload nginx

Step 5: Access Dozzle
Now, open your browser and go to:
http://your-domain.com
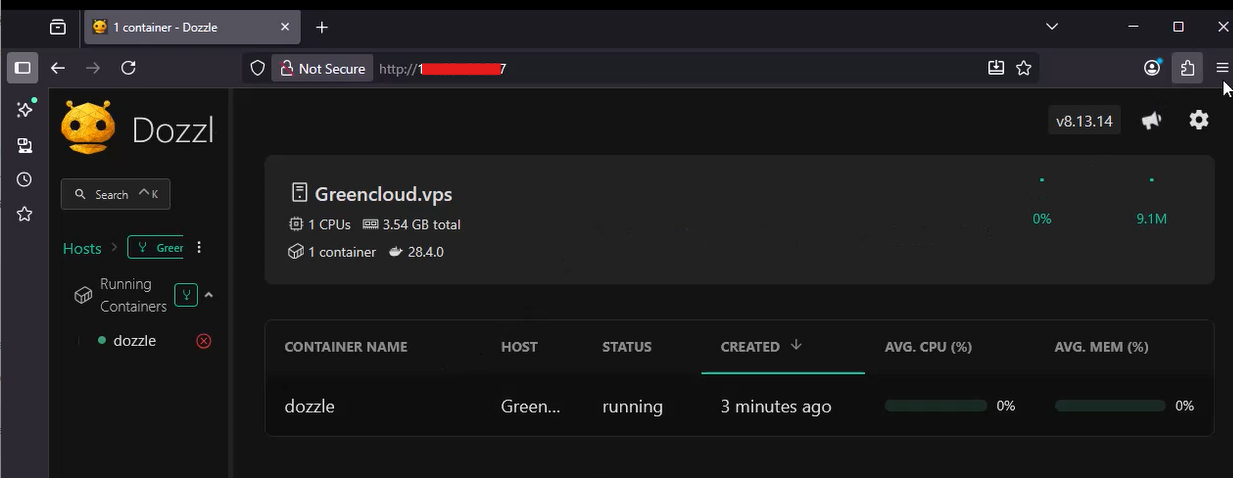
You will see the Dozzle web UI, which streams logs from all running containers in real time.
Conclusion
You have successfully installed and configured Dozzle on Rocky Linux 9. With this setup:
-
Docker provides a containerized environment
-
Dozzle gives you real-time log viewing in the browser
-
Nginx makes it accessible from your domain with clean routing
This setup is lightweight, fast, and perfect for developers, sysadmins, or DevOps teams who need quick visibility into container logs without heavy monitoring tools.
