
How to Install and Configure OwnCloud on Ubuntu 24.04
Summary: ss -tulnp | grep 8080
ownCloud is a self-managed cloud storage platform that allows users to store, share, and collaborate on files over the Internet. It functions similarly to Google Drive, Dropbox, or Microsoft OneDrive but gives users complete control over data security, privacy, and management. As an open-source cloud storage solution, ownCloud enables users to self-host on their preferred cloud provider or on-premises infrastructure.
While data control is the primary advantage of ownCloud, it offers several additional benefits, including:
- Access to your data from anywhere – Sync files across Android, iOS, and desktop devices so you always have them when needed.
- Versioning –You can keep multiple file versions and roll back to a previous version whenever needed.
- Customization – Add apps like calendars, music streaming, and more from the ownCloud marketplace, or even build your own.
- Granular access control (RBAC) – Set permissions for users and groups, restrict file types, and control storage limits the way you want.
- Flexibility – Since you self-host ownCloud, you decide where and how to run it—on a cloud server, a Raspberry Pi, or your own hardware.
- Security – Encrypt your data, set up firewalls, and configure security policies to keep everything protected.
Prerequisites
Before you begin:
- Have access to an Ubuntu 24.04 instance as a non-root sudo user.
- Create a domain A record that points to your server’s IP address. For example,
greencloudowncloud.example.net.
Quick Evaluation
For testing purposes or a quick hands-on to get familiar with the look and feel, ownCloud provides a container using the SQLite database. Note that SQLite is not supported by ownCloud for production purposes. To set up such a testing instance, run the following command:
docker run --rm --name oc-eval -d -p8080:8080 owncloud/serverThis removes the container if you used the option --rm as suggested in the example above. If you omitted that option, you need to first run the command:
docker stopoc-eval
docker rm oc-evalWhen running docker ps again, the entry for oc-eval should be gone.
Install ownCloud Using Docker Compose
Docker Compose provides a structured way to manage multi-container applications like ownCloud. This method allows you to define services, networks, and volumes in a single file and manage them together with simple commands.
Install Docker Compose
- Update packages and install requirements.
$ sudo apt update && sudo apt upgrade -y sudo apt install -y curl wget git ufw - Install Docker.
$ sudo apt install docker.io -y - Enable and start Docker.
$ sudo systemctl enable docker
$ sudo systemctl start docker - Add your
userto the Docker group to avoid usingsudoit with every command.sudo usermod -aG docker green newgrp docker docker psLog out and log back in to apply the change.
- Install the new Docker Compose plugin.
$ mkdir -p ~/.docker/cli-plugins$ curl -SL https://github.com/docker/compose/releases/latest/download/docker-compose-linux-x86_64 -o ~/.docker/cli-plugins/docker-compose$ chmod +x ~/.docker/cli-plugins/docker-compose - Verify the installation.
$ docker compose versionOutput should be similar to:


Deploy ownCloud with Docker Compose
- Create a project directory and switch into it.
$ mkdir ~/owncloud$ cd ~/owncloud
- Create a
docker-compose.ymlfile.$ nano docker-compose.yml - Add the following configuration to define the ownCloud and MariaDB services:
version: "3"

volumes:
  files:
    driver: local
  mysql:
    driver: local
  redis:
    driver: local

services:
  owncloud:
    image: owncloud/server:10.15 #${OWNCLOUD_VERSION}
    container_name: owncloud_server
    restart: always
    ports:
      - 8080:8080
    depends_on:
      - mariadb
      - redis
    environment:
      - OWNCLOUD_DOMAIN=localhost:8080 #${OWNCLOUD_DOMAIN}
      - OWNCLOUD_TRUSTED_DOMAINS=localhost,greencloudowncloud.example.net #${OWNCLOUD_TRUSTED_DOMAINS}
      - OWNCLOUD_DB_TYPE=mysql
      - OWNCLOUD_DB_NAME=owncloud
      - OWNCLOUD_DB_USERNAME=owncloud
      - OWNCLOUD_DB_PASSWORD=owncloud
      - OWNCLOUD_DB_HOST=mariadb
      - OWNCLOUD_ADMIN_USERNAME=greencloud #${ADMIN_USERNAME}
      - OWNCLOUD_ADMIN_PASSWORD=Green@12345 #${ADMIN_PASSWORD}
      - OWNCLOUD_MYSQL_UTF8MB4=true
      - OWNCLOUD_REDIS_ENABLED=true
      - OWNCLOUD_REDIS_HOST=redis
    healthcheck:
      test: ["CMD", "/usr/bin/healthcheck"]
      interval: 30s
      timeout: 10s
      retries: 5
    volumes:
      - files:/mnt/data
      - ./owncloud/config:/var/www/html/config
  mariadb:
    image: mariadb:10.11 # minimum required ownCloud version is 10.9
    container_name: owncloud_mariadb
    restart: always
    environment:
      - MYSQL_ROOT_PASSWORD=owncloud
      - MYSQL_USER=owncloud
      - MYSQL_PASSWORD=owncloud
      - MYSQL_DATABASE=owncloud
      - MARIADB_AUTO_UPGRADE=1
    command: ["--max-allowed-packet=128M", "--innodb-log-file-size=64M"]
    healthcheck:
      test: ["CMD", "mysqladmin", "ping", "-u", "root", "--password=owncloud"]
      interval: 10s
      timeout: 5s
      retries: 5
    volumes:
      - mysql:/var/lib/mysql

  redis:
    image: redis:6
    container_name: owncloud_redis
    restart: always
    command: ["--databases", "1"]
    healthcheck:
      test: ["CMD", "redis-cli", "ping"]
      interval: 10s
      timeout: 5s
      retries: 5
    volumes:
      - redis:/data
- OWNCLOUD_VERSION: Specifies the ownCloud version latest (e.g., 10.15 for the latest stable release as of September 2025).
- OWNCLOUD_DOMAIN and OWNCLOUD_TRUSTED_DOMAINS: Set to your server’s domain or IP; update if using HTTPS or a reverse proxy.
- ADMIN_USERNAME and ADMIN_PASSWORD: Initial admin credentials. Changing these post-installation requires pruning volumes, which deletes all data.
- The .env file is loaded automatically by Docker Compose.
- Create a
.envconfiguration file, which contains the required configuration settings.cat << EOF > .env OWNCLOUD_VERSION=10.15 OWNCLOUD_DOMAIN=localhost:8080 OWNCLOUD_TRUSTED_DOMAINS=localhost ADMIN_USERNAME=admin ADMIN_PASSWORD=admin HTTP_PORT=8080 EOF - Start the containers using Docker Compose.
$ docker compose up -d - Check that both services are running.
$ docker compose psOutput should show both the
owncloudanddbcontainers asUp.
Configure ownCloud
After deploying ownCloud with Docker Compose, secure and optimize it for production use with HTTPS, a reverse proxy using Nginx, and proper firewall configuration.
Configure Nginx as a Reverse Proxy
- Install Nginx if it’s not already installed.
$ sudo apt update$ sudo apt install nginx -y - Create a configuration file for ownCloud.
$ sudo nano /etc/nginx/sites-available/owncloud - Paste the following, replacing
greencloudowncloud.example.netwith your domain:server { listen 80; server_name greencloudowncloud.example.net; location / { proxy_pass http://localhost:8080/; proxy_set_header Host $host; proxy_set_header X-Real-IP $remote_addr; proxy_set_header X-Forwarded-For $proxy_add_x_forwarded_for; proxy_set_header X-Forwarded-Proto $scheme; } }
- Enable the configuration.
$ sudo ln -s /etc/nginx/sites-available/owncloud /etc/nginx/sites-enabled/$ sudo nginx -t$ sudo systemctl reload nginx
Allow Nginx Through the Firewall
- Open HTTP and HTTPS ports.
$ sudo ufw allow 'Nginx Full'
$ sudo ufw reload
Secure ownCloud with HTTPS
- Install Certbot and the Nginx plugin.
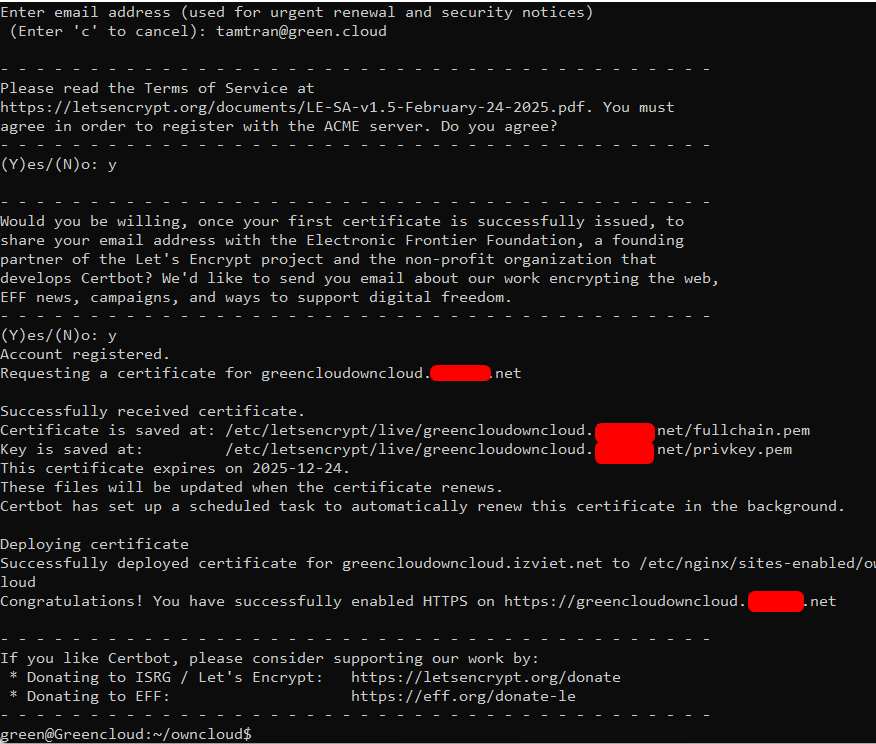
$ sudo apt install certbot python3-certbot-nginx -y - Generate and apply a TLS certificate.
$ sudo certbot --nginx -d
greencloudowncloud.example.netCertbot will automatically edit your Nginx config to enable HTTPS.

Verify Setup
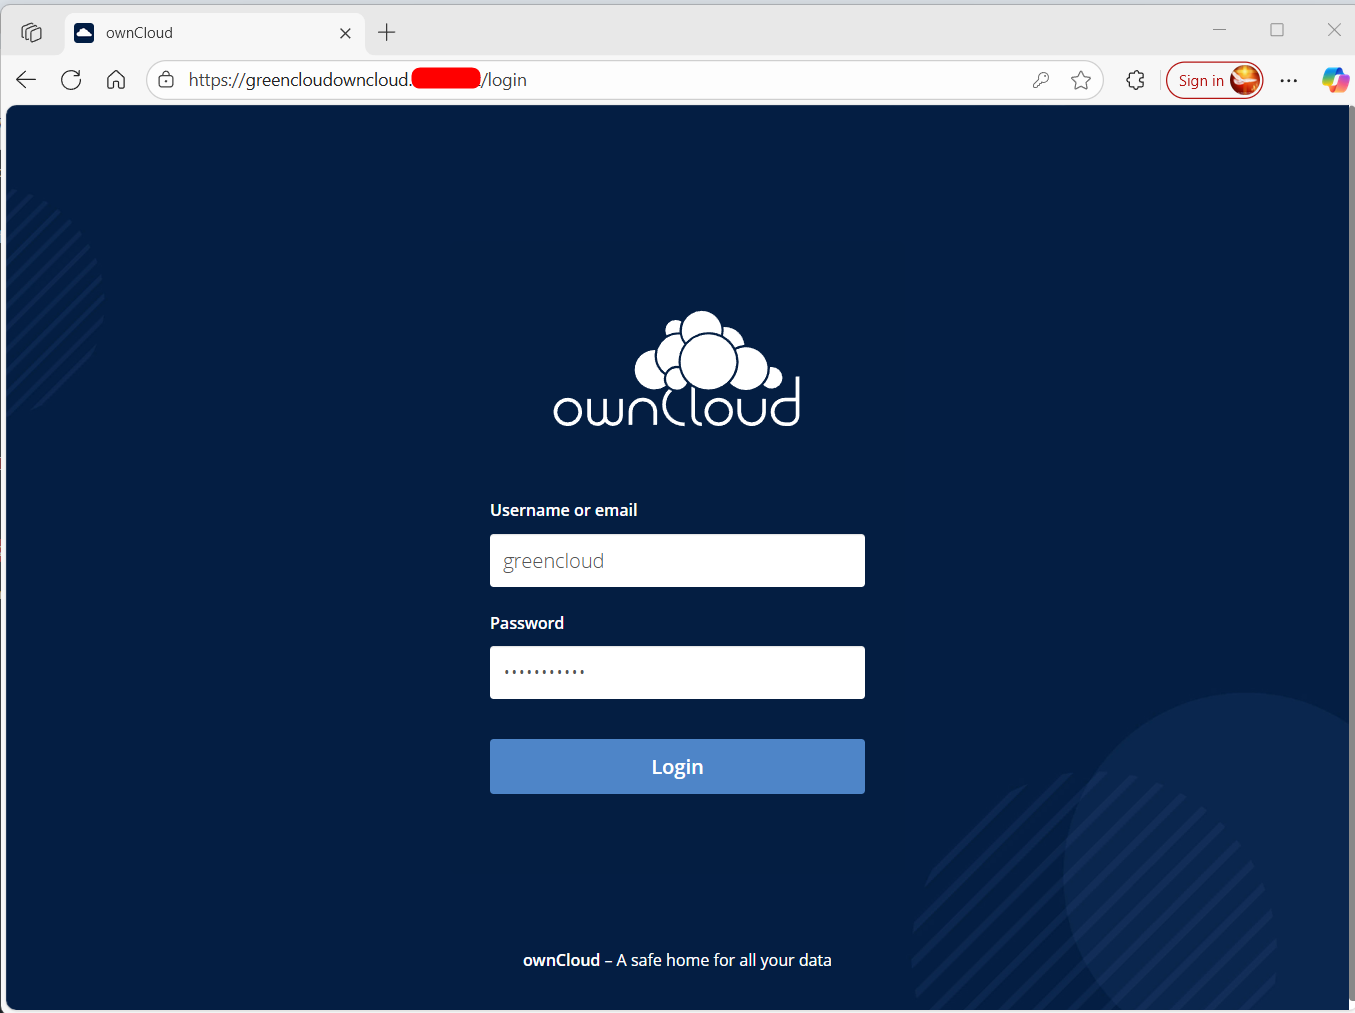
Open your browser and navigate to:
https://greencloudowncloud.example.netYou should see the ownCloud setup wizard served securely over HTTPS.
Access and Set Up ownCloud
Once ownCloud is installed and configured, you can access it both locally and remotely.
1. Accessing OwnCloud Locally
If you are on the same network as your server, open a web browser and enter: http://your-server-ip
Log in using the admin account you created earlier.
2. Accessing OwnCloud Remotely (From Anywhere)
If you configured a domain name and SSL certificate, access ownCloud securely via:
https://yourdomain.com/This allows you to use ownCloud from any device, anywhere in the world.
Adding Applications and Extensions
ownCloud has a rich marketplace with various apps to extend its functionality. In this step, we’ll demonstrate how to install an app by adding the Calendar extension.
Installing an App from the ownCloud Marketplace
- Log into ownCloud using your admin username and password.
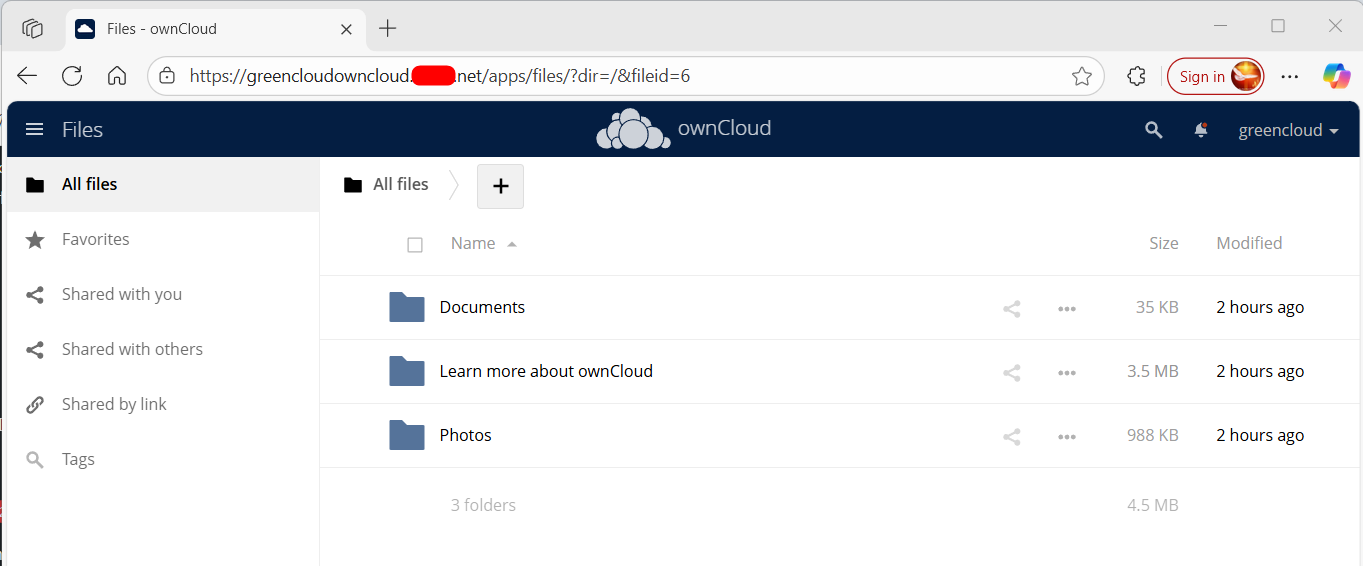
- Open the Marketplace
- Click the three-dash menu (☰) in the top-left corner.
- Navigate to Marketplace (as shown in the image below)
3. Find and Install the Calendar App
- Search for “Calendar” in the Marketplace.
- Click Install.
4. Access the installed App
- Once installed, Calendar will be added to your apps.
- You can now access it from the ownCloud UI.
Note: You can explore other apps in the marketplace to further customize your ownCloud instance.
