
How to Install Node.js on Windows Server 2022
Introduction
Node.js is an open-source, cross-platform runtime environment that enables developers to execute JavaScript code outside of a web browser. It is widely used for building scalable server-side applications, APIs, real-time systems, and network services.
Node.js includes npm (Node Package Manager), a powerful tool for managing dependencies and installing libraries, making development more efficient and modular.
This guide provides a step-by-step walkthrough on how to install Node.js on Windows Server 2022, ensuring a smooth setup for development or production use.
Prerequisites
Before you begin, make sure you have:
-
A system running Windows Server 2022
-
Administrator privileges to install software
-
An active internet connection to download the installer
Step 1: Download the Node.js Installer
-
Open your web browser.
Visit the official Node.js website:https://nodejs.org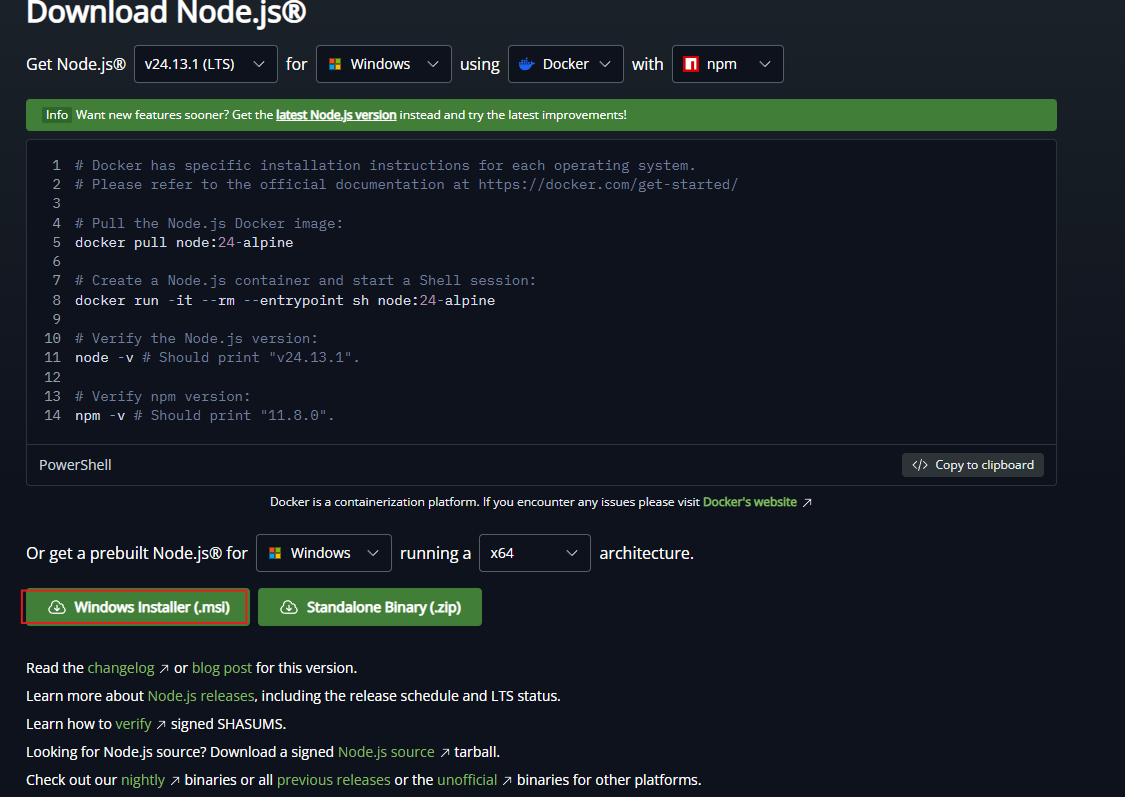
-
Download the LTS (Long Term Support) version, which is recommended for most users.
-
Choose the appropriate installer for your system architecture (typically 64-bit).
Save the .msi installer file to your server.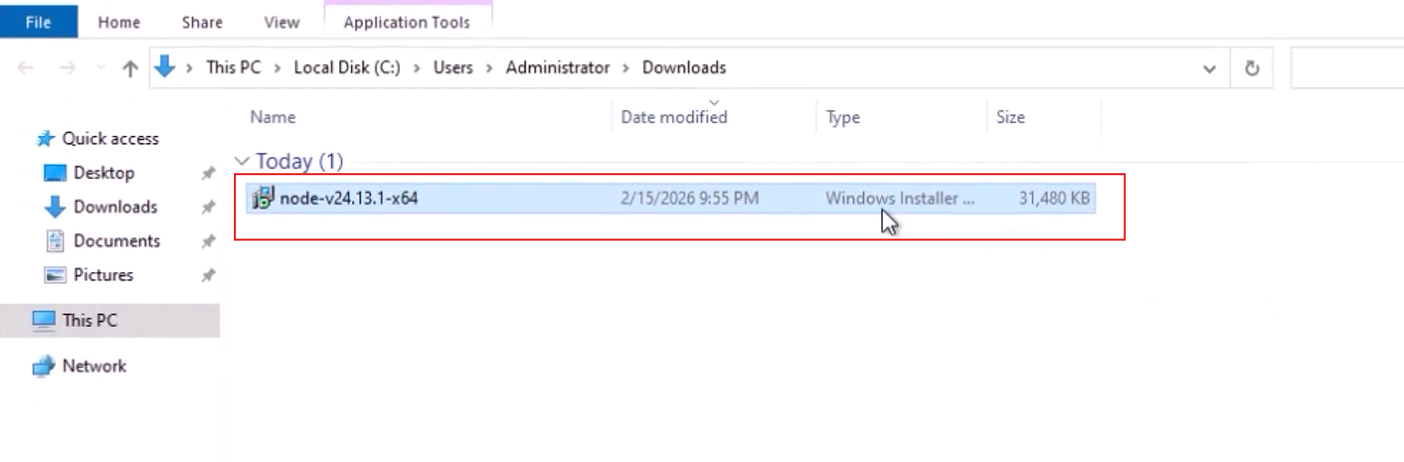
Step 2: Install Node.js
-
Locate the downloaded
.msifile. -
Double-click the file to launch the installation wizard.
Follow the setup wizard:
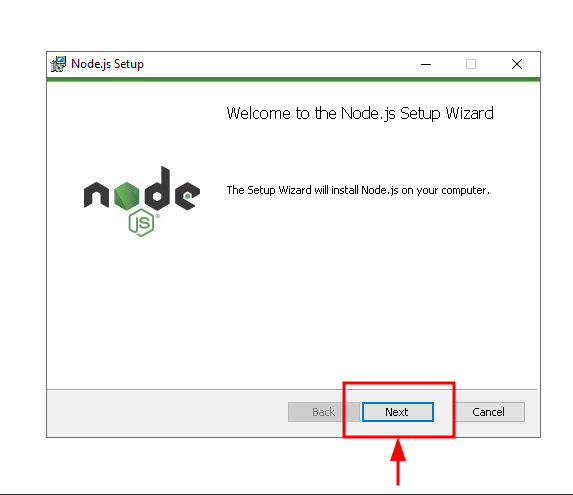
Welcome Screen
Click Next to continue.
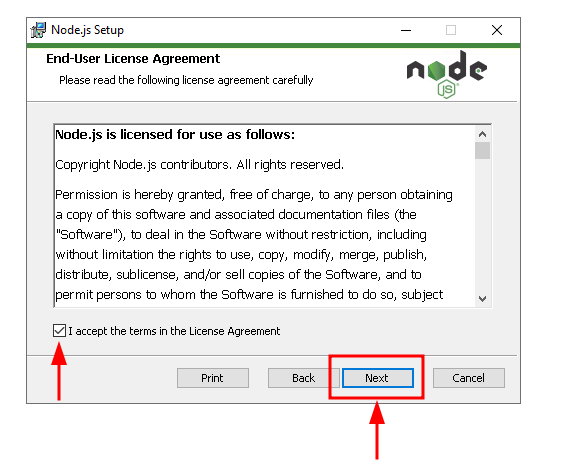
License Agreement
Accept the license terms and click Next.
-
Choose Installation Location
Use the default path or specify a custom directory, then click Next. -
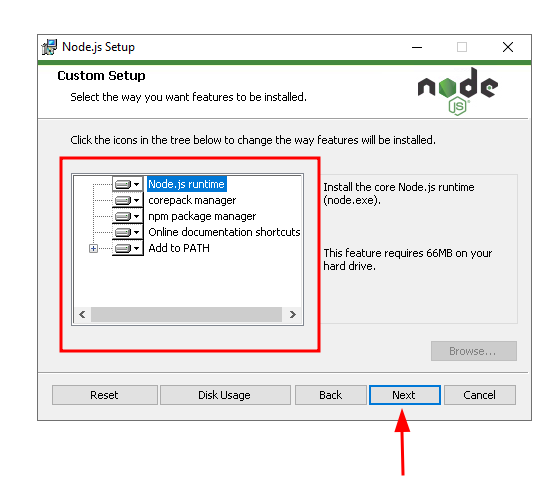
Select Components
Ensure the following components are selected:-
Node.js runtime
-
npm package manager
-
Add to PATH
Then click Next.
-
Tools for Native Modules (Optional)
You may choose to install additional tools such as:-
Python
-
Visual Studio Build Tools
These are useful for compiling native modules. Click Next.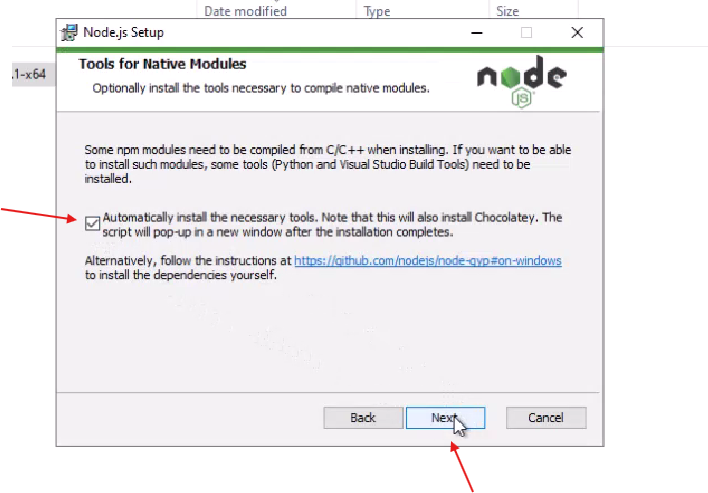
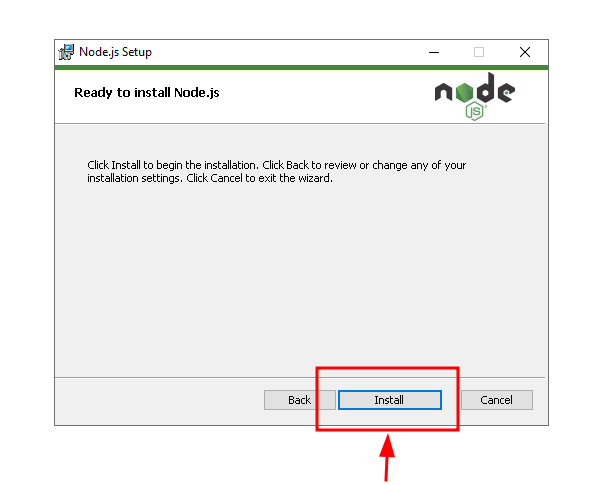
Ready to Install
Click Install to begin installation.
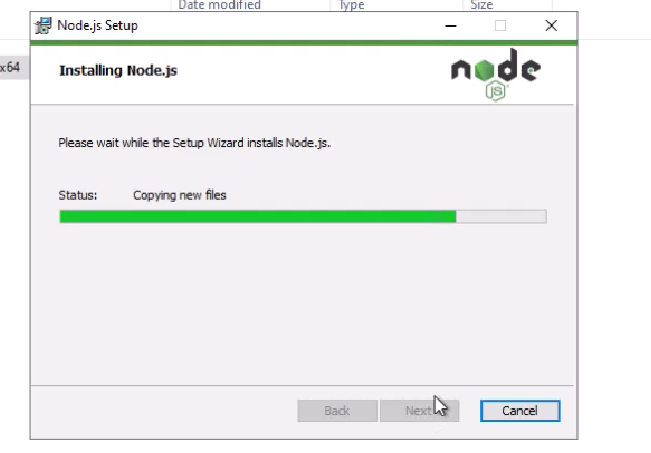
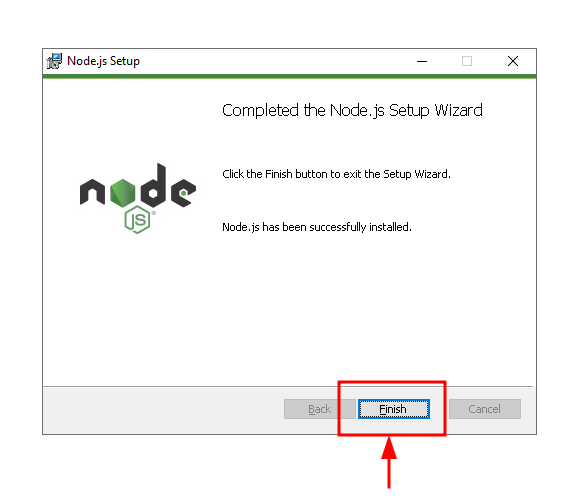
Wait for the installation process to complete.
-
Click Finish once done.
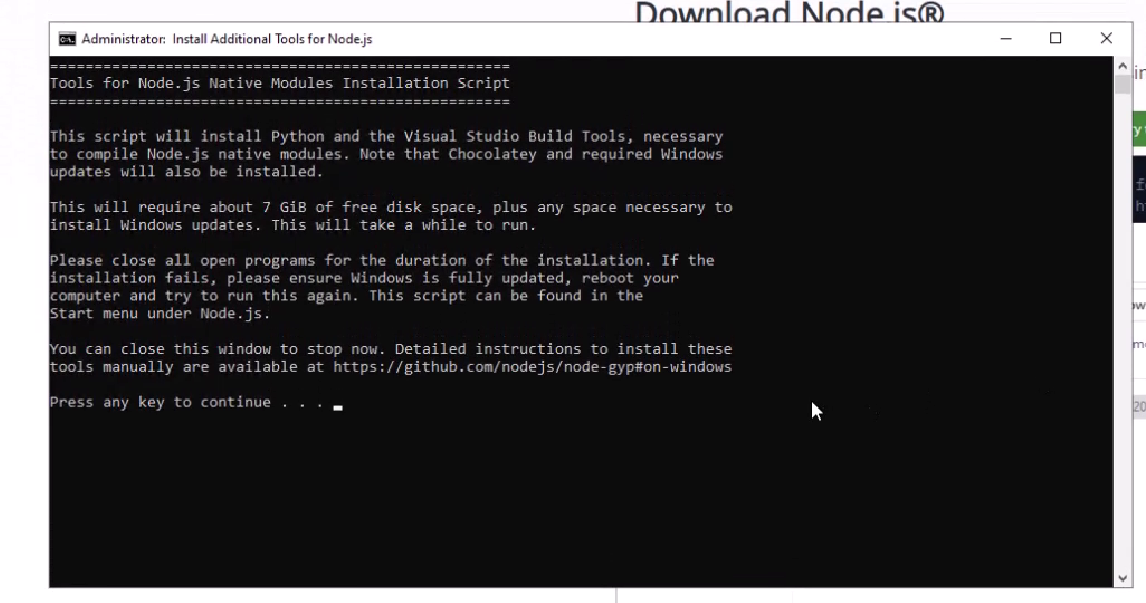
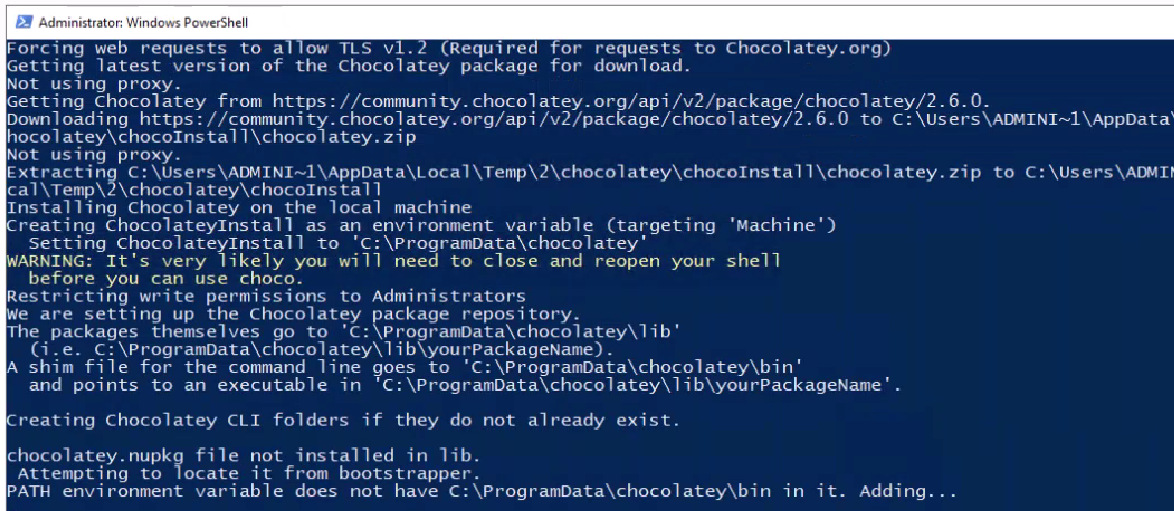
Note: A command window may appear to install additional dependencies. This may take a few minutes.
Step 3: Verify the Installation
After installation, verify that Node.js and npm are working correctly.
Open Command Prompt
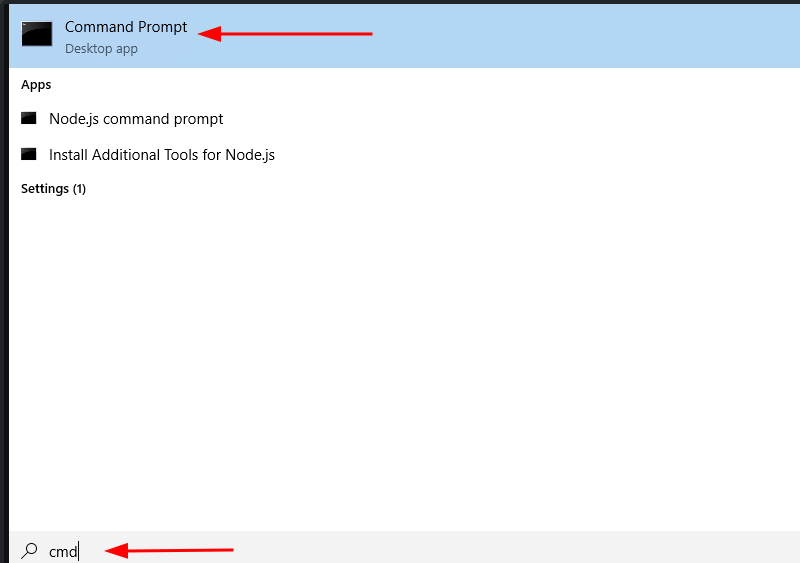
Press Start, type cmd, and open Command Prompt.
Check Node.js version
Run: node -v
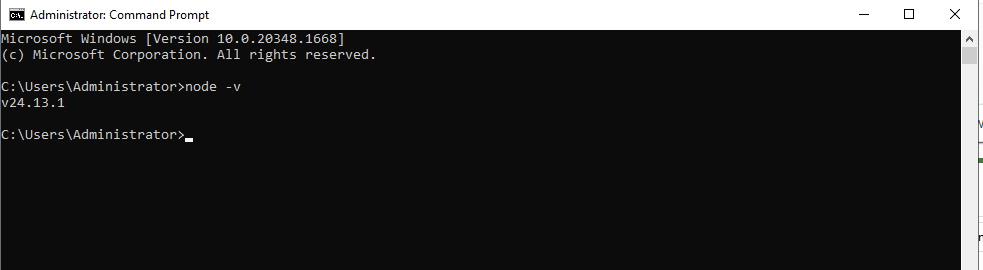
Expected output:
Check npm version
Run: npm -v
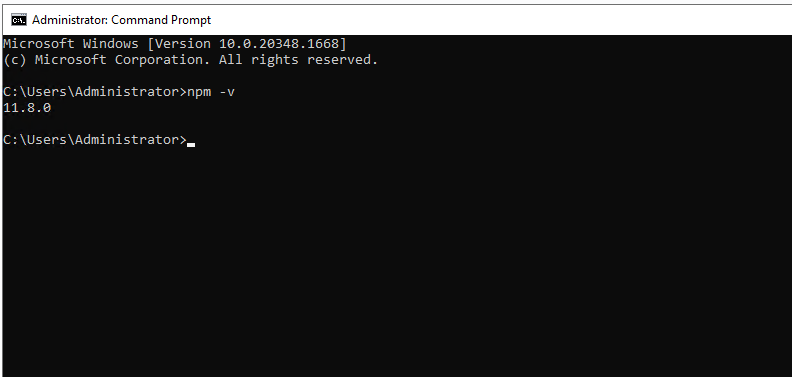
If both commands return version numbers, Node.js and npm have been successfully installed.
Conclusion
Installing Node.js on Windows Server 2022 is a straightforward process using the official installer. With Node.js and npm properly set up, you can start building scalable applications, managing packages efficiently, and running JavaScript on the server side.
Using the LTS version ensures stability and long-term support, making it suitable for production environments. Once installed, you can further enhance your setup by installing frameworks and tools such as Express.js, PM2, or TypeScript.
Your server is now ready for modern JavaScript development
