
How to Install MediaWiki on Ubuntu 24.04
MediaWiki is an open-source wiki software written in PHP and MySQL. It is scalable and extensible wiki software-powered sites like Wikipedia and Wikimedia. MediaWiki can be used as a collaboration and documentation platform. It allows you to organize documentation and make it public for everyone. It supports multilingual and offers customization for different aspects, from theme/skins, plugins, and editors.
This guide will show you how to install MediaWiki software on an Ubuntu 24.04 server. You will install MediaWiki with the LAMP Stack (Linux, Apache, MySQL/MariaDB, and PHP), then secure it with HTTPS through Certbot and Let’s Encrypt.
Prerequisites
Before you begin, make sure you have the following:
- An Ubuntu 24.04 server.
- A non-root user with administrator privileges.
- A domain name points to a server IP address.
Installing Dependencies
To install MediaWiki, ensure that the dependencies are installed on your system. Currently, the stable version of MediaWiki 1.41 requires PHP 8.1-83. In this section, you will install Apache, MariaDB server, PHP 8.3, and ImageMagick as dependencies for MediaWiki.
apt update
Now, install dependencies for MediaWiki using the following command. Enter Y to confirm the process. With this, you will install the LAMP Stack (Apache, MySQL/MariaDB, and PHP) and ImageMagick packages.
apt install apache2 mariadb-server imagemagick libapache2-mod-php php php-common php-intl php-xml php-curl php-gd php-mbstring php-mysql php-apcu
After the installation is finished, check the status of the apache2 service with the command below. You will see the Apache web server is running and enabled.
systemctl is-enabled apache2
systemctl status apache2
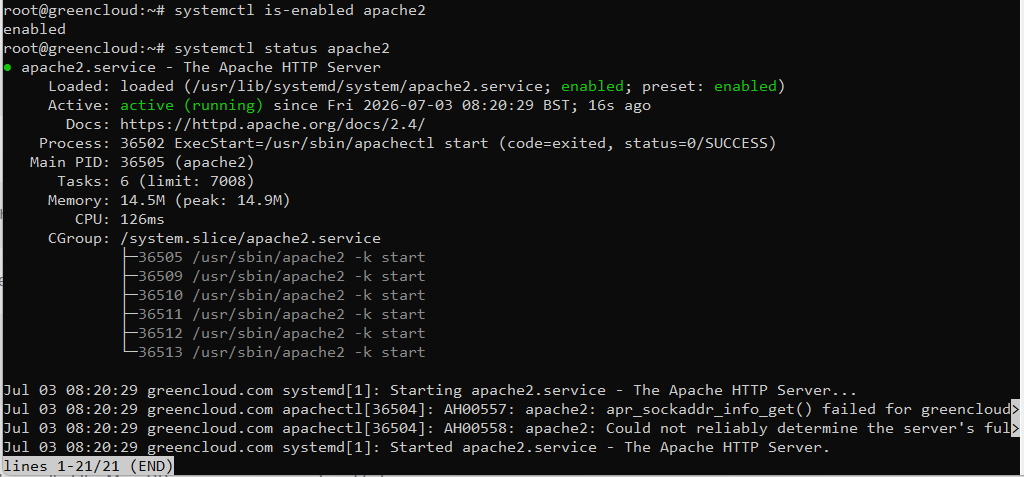
Check the mariadb Service with the following command. You can see in the following that the MariaDB server is running and enabled.
systemctl is-enabled mariadb
systemctl status mariadb
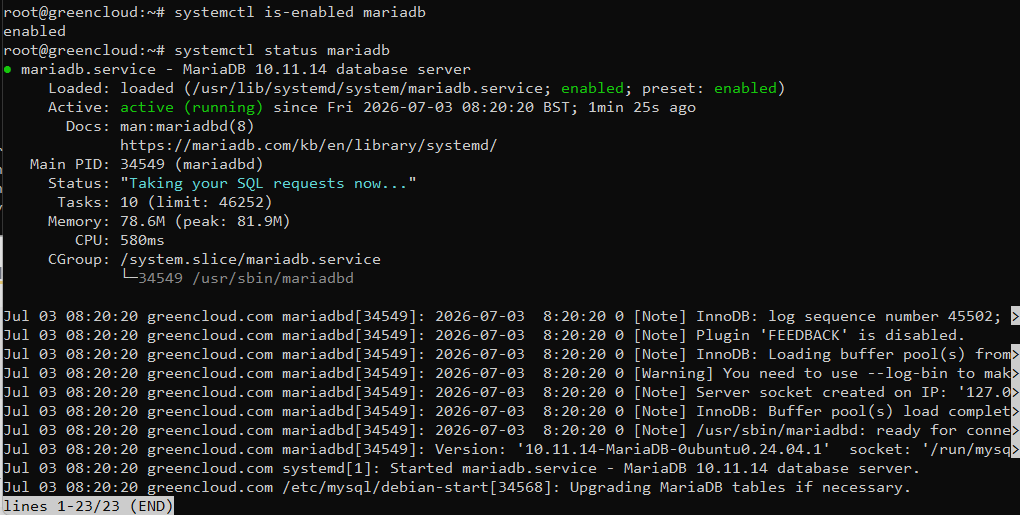
Lastly, check the PHP version using the following command. You will see PHP 8.3 installed on your system.
php -v

Setting up UFW
Add and enable the Apache Full Profile on UFW with the following:
ufw allow "Apache Full"
Now verify the enabled rules in UFW with the ufw status Command below. The Apache Full profile opens ports for both HTTP and HTTPS protocols.
ufw status
Configuring PHP
After you have installed dependencies, you will set up PHP by editing the default configuration file /etc/php/8.3/apache2/php.ini.
Run the following nano command to open the PHP config file /etc/php/8.3/apache2/php.ini.
nano /etc/php/8.3/apache2/php.ini
Uncomment and change the default PHP configuration with the following. Make sure to adjust both the memory_limit and date.timezone options as needed.
date.timezone = Europe/Amsterdam
upload_max_filesize = 80M
memory_limit = 512M
max_execution_time = 360
Save and exit the file when finished.
Now run the command below to restart the Apache web server and apply your PHP configuration.
systemctl restart apache2
Configuring MariaDB server
Now that PHP is configured, you will secure the MariaDB server and create a new database and user for MediaWiki. You will secure MariaDB with the mariadb-secure-installation utility, then create a new database and user through the mariadb client.
Secure your MariaDB server installation with the mariadb-secure-installation command below.
sudo mariadb-secure-installation
Now you will be asked about the following MariaDB server configurations:
- The default MariaDB installation comes without a password. Press ENTER when prompted for the password.
- Now input Y to set up the MariaDB root password. Then, type the new password for MariaDB and repeat it.
- Input Y to remove the anonymous user from your MariaDB installation.
- Input Y again when prompted to disable the remote login for the MariaDB root user.
- Input Y to remove the default database test from your MariaDB.
- Lastly, input Y to reload table privileges and apply new changes.
After MariaDB is secured, log in to the MariaDB server with the following – Enter your root password when prompted.
mariadb -u root -p
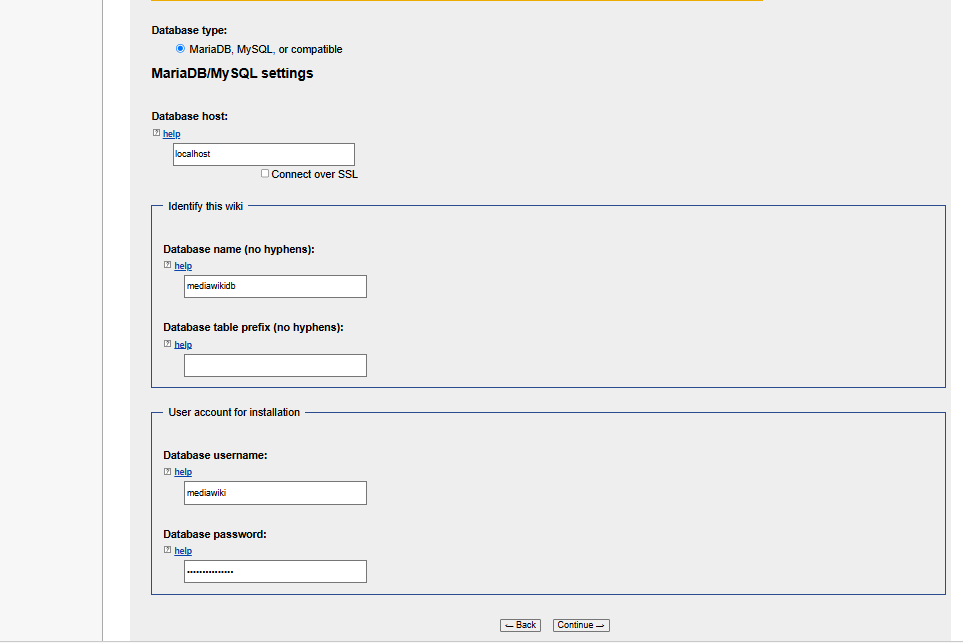
Next, run the following queries to create a new database and user for MediaWiki. In this example, you will create a new databasemediawikidb, a user mediawiki with the password mediawikipassdb. You can adjust the database details with your information.
CREATE DATABASE mediawikidb;
CREATE USER mediawiki@localhost IDENTIFIED BY 'Green@1234';
GRANT ALL ON mediawikidb.* TO mediawiki@localhost WITH GRANT OPTION;
FLUSH PRIVILEGES;
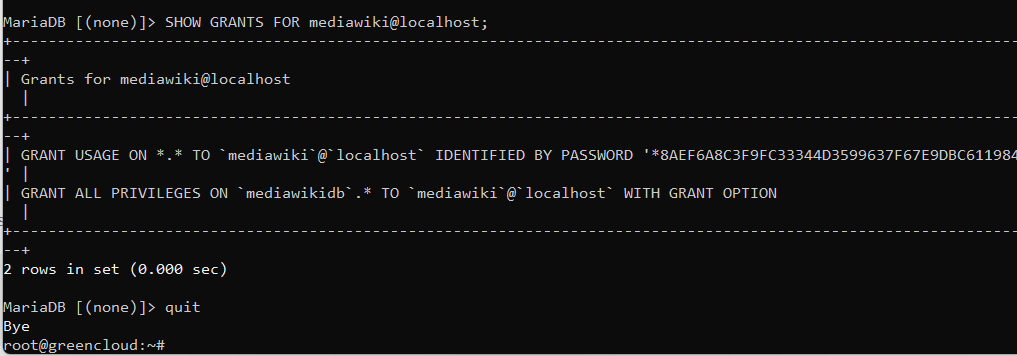
Now run the query below to check the privileges for the user mediawiki. Below you can see the user mediawiki can access the database mediawikidb.
SHOW GRANTS FOR mediawiki@localhost;
Lastly, type quit To exit from the MariaDB server.
Downloading MediaWiki
In this section, you will download MediaWiki 1.41 source code and set up the installation directory for MediaWiki.
Go to the /var/www directory and download the MediaWiki source code with the curl Command below. Make sure to visit the MediaWiki download page to get the latest version.
cd /var/www/
curl -O https://releases.wikimedia.org/mediawiki/1.41/mediawiki-1.41.1.tar.gz
After downloading, extract the MediaWiki source code and rename the directory to mediawiki. With this, your document root directory for MediaWiki should be available in the /var/www/mediawiki directory.
tar -xvzf mediawiki-1.41.1.tar.gz
mv mediawiki-1.41.1/ mediawiki/
Now, change the ownership of the /var/www/mediawiki directory to user www-data and the default permission to 0755.
chown -R www-data:www-data /var/www/mediawiki
chmod 755 /var/www/mediawiki
Setting up an Apache virtual host
Now that you’ve downloaded the MediaWiki source code, the next step will be creating a new Apache virtual host file for running MediaWiki. Make sure that you have a domain name pointed to your MediaWiki server.
First, run the following command to enable the rewrite Module on the Apache web server.
a2enmod rewrite
Now create a new virtual host file /etc/apache2/sites-available/mediawiki.conf with the following nano Editor command.
nano /etc/apache2/sites-available/mediawiki.conf
Enter the following configuration and make sure to change the ServerName Option with your domain name.
<VirtualHost *:80>

 ServerName wikigreencloud.example.net

 ServerAdmin [email protected]
 DocumentRoot /var/www/mediawiki

 ErrorLog /var/log/apache2/wikigreencloud.example.net_error.log
 CustomLog /var/log/apache2/wikigreencloud.example.net_access.log combined

 <Directory /var/www/mediawiki/>
 Options FollowSymlinks
 AllowOverride All
 Require all granted
 </Directory>

</VirtualHost>
Save and close the file when you’re finished.
Next, run the command below to activate the virtual host file mediawiki.conf and verify your Apache syntax. If you have proper Apache syntax, you will get an output Syntax is OK.
a2ensite mediawiki.conf
apachectl configtest
Lastly, run the command below to restart Apache and apply your changes. With this, your MediaWiki installation should be ready.
systemctl restart apache2
Securing MediaWiki with HTTPS
In this guide, you will secure MediaWiki with HTTPS. If you’re using public domain, you can use free SSL certificates from Letsencrypt and set up HTTPS automatically. You can generate SSL certificates and set up HTTPS manually for local domain users.
Install the certbot and python3-certbot-apache Packages with the following command. Input Y to confirm the installation.
apt install certbot python3-certbot-apache
After the installation is complete, run the certbot command below to generate SSL/TLS certificates for your MediaWiki installation. Make sure to change the email address and domain name with your information.
certbot --apache --agree-tos --redirect --hsts --staple-ocsp --email [email protected] -d wikigreencloud.example.net
You will see SSL/TLS certificates in the /etc/letsencrypt/live/domain.com directory. Your MediaWiki installation should be automatically secured with HTTPS.
Installing MediaWiki
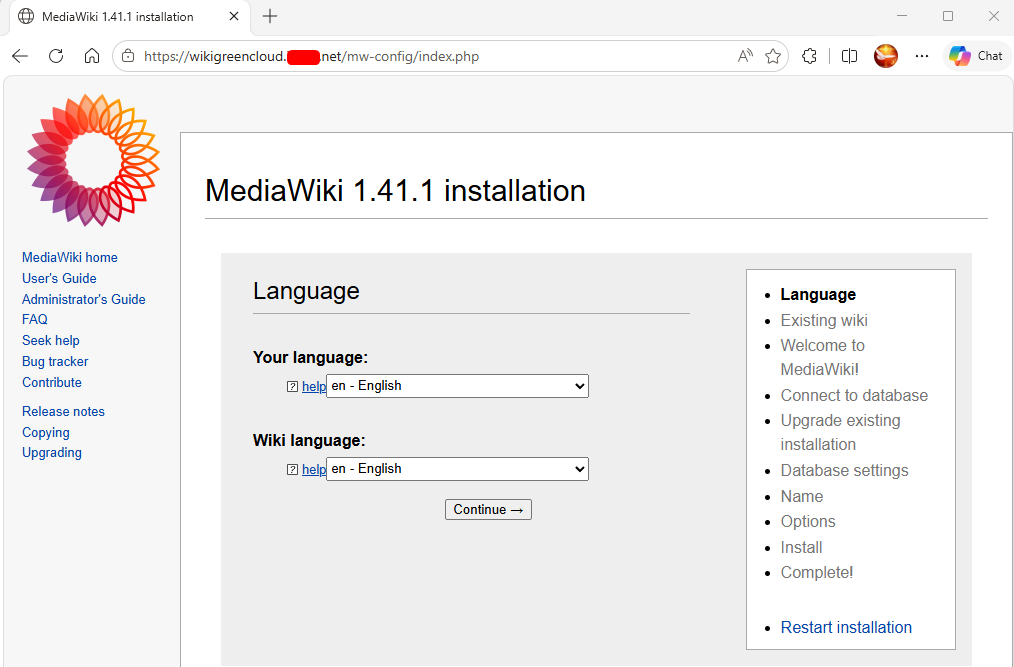
Open your web browser and visit your MediaWiki domain name, such as http://wikigreencloud.example.net. Click the Setup the wiki link to start the installation.
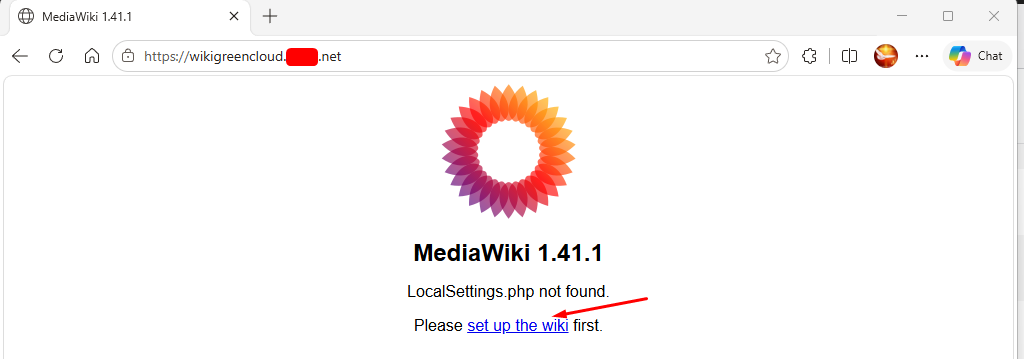
Select your language for MediaWiki and click Continue.
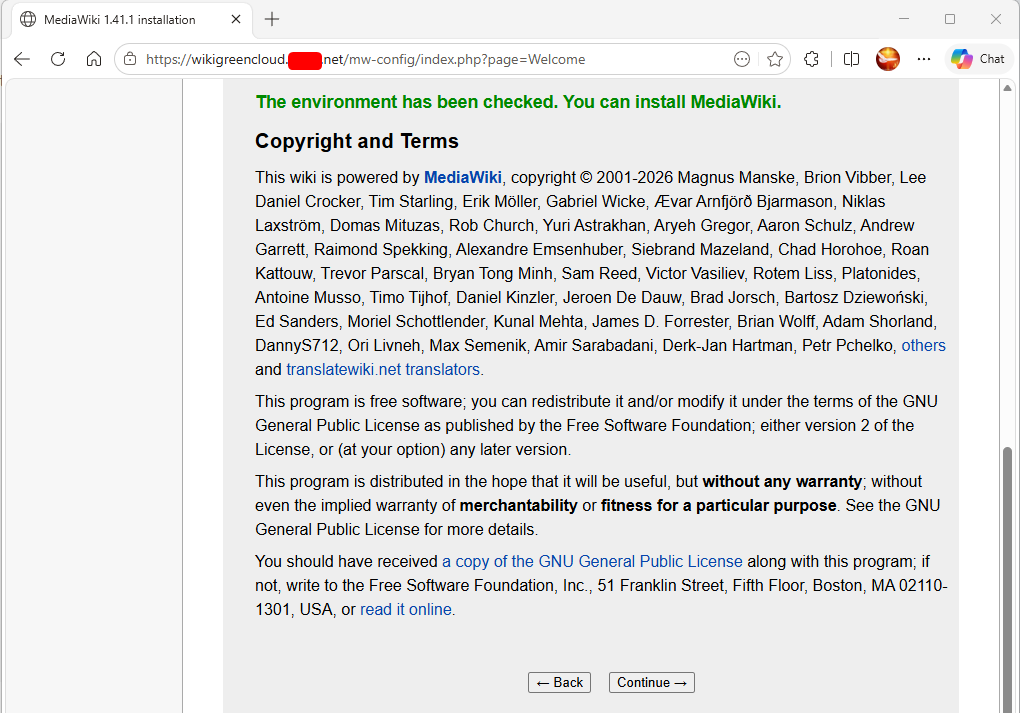
Click Continue to accept the MediaWiki terms.
Input your MariaDB database details and click Continue.
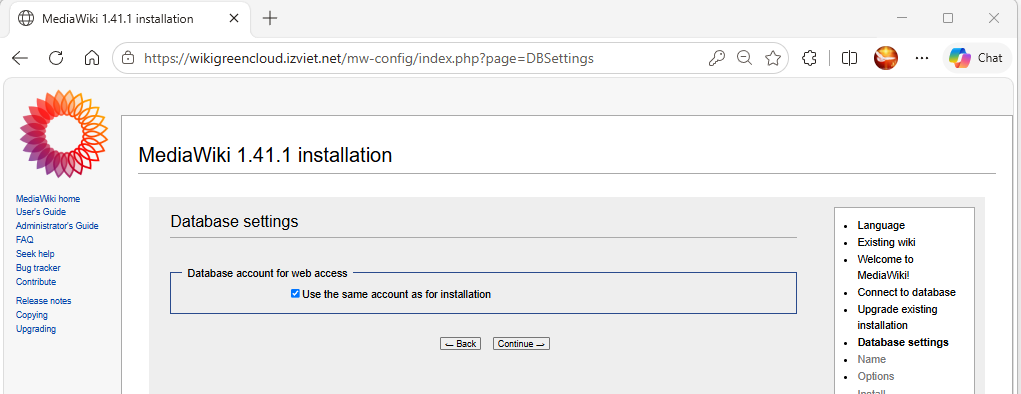
For the database settings, leave this as the default and click Continue.
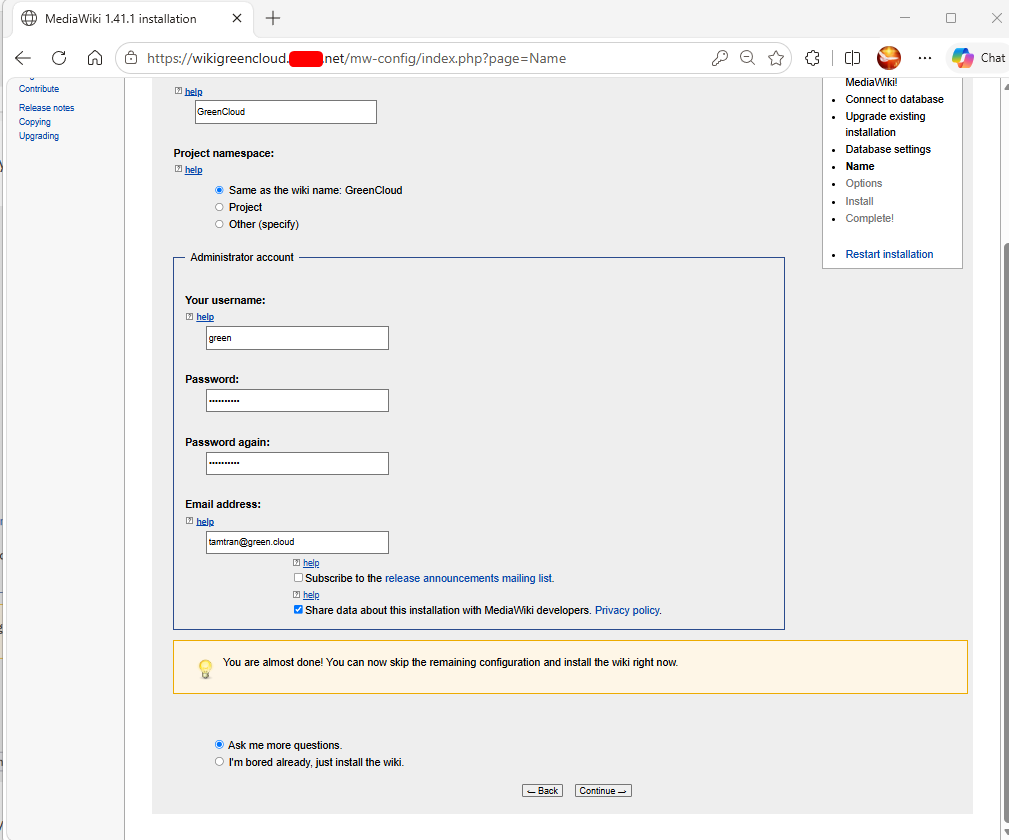
Now input your wiki title and create a new admin user and password for your MediaWiki installation. Then, click Continue again.
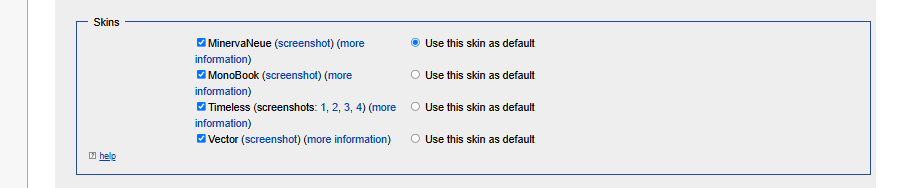
On the MediaWiki additional options, go to the Skins section and select your default skin/theme. In this example, we’ll be using MinervaNeue.
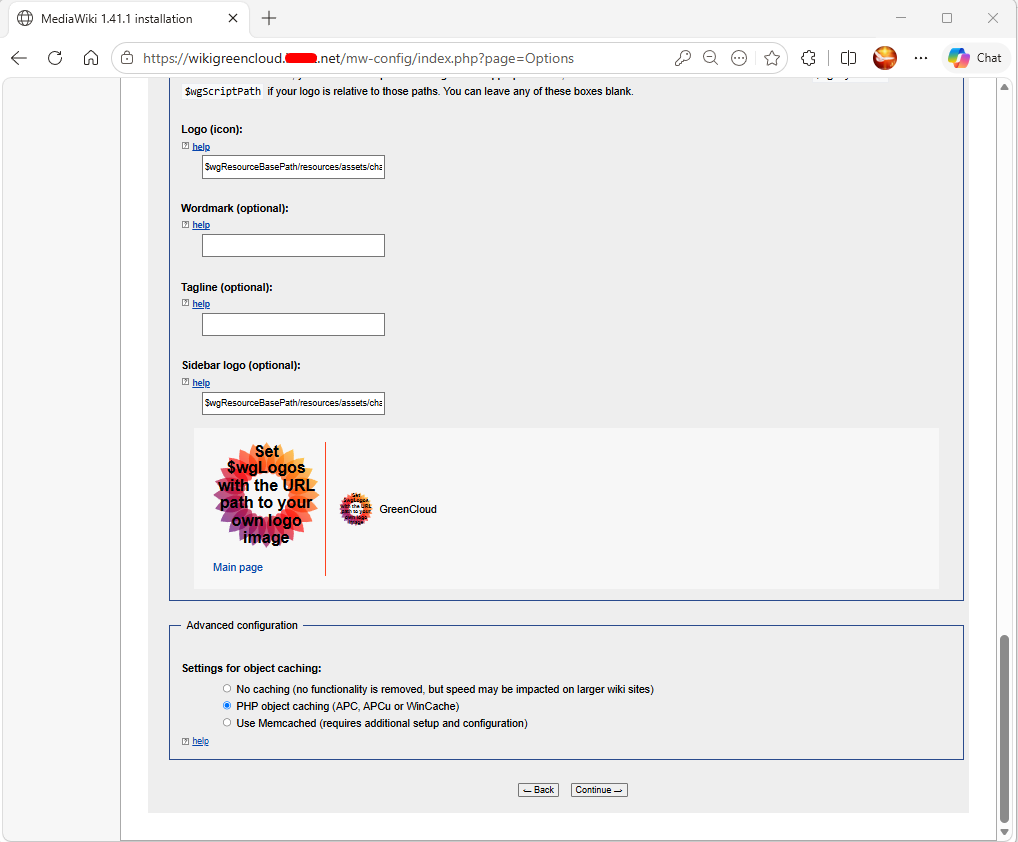
Scroll down, leave other settings (or change them as needed), then click Continue.
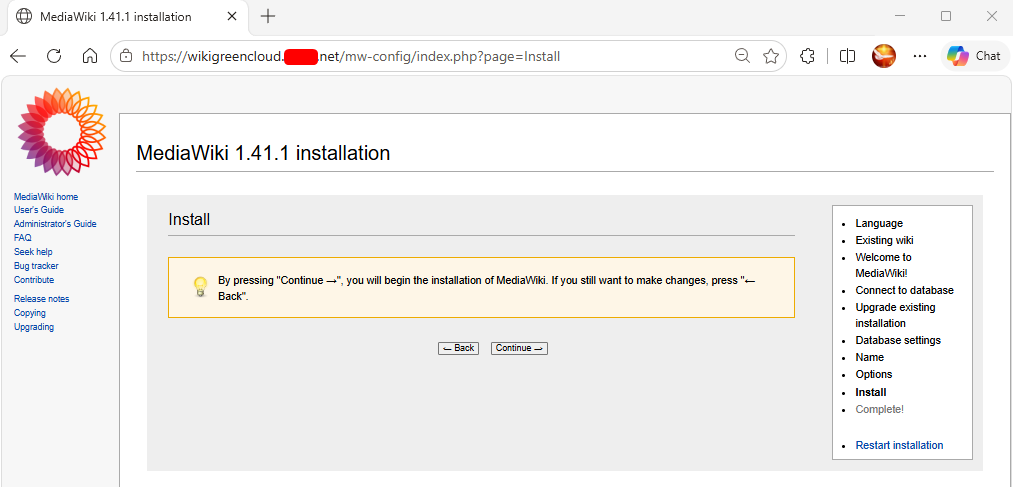
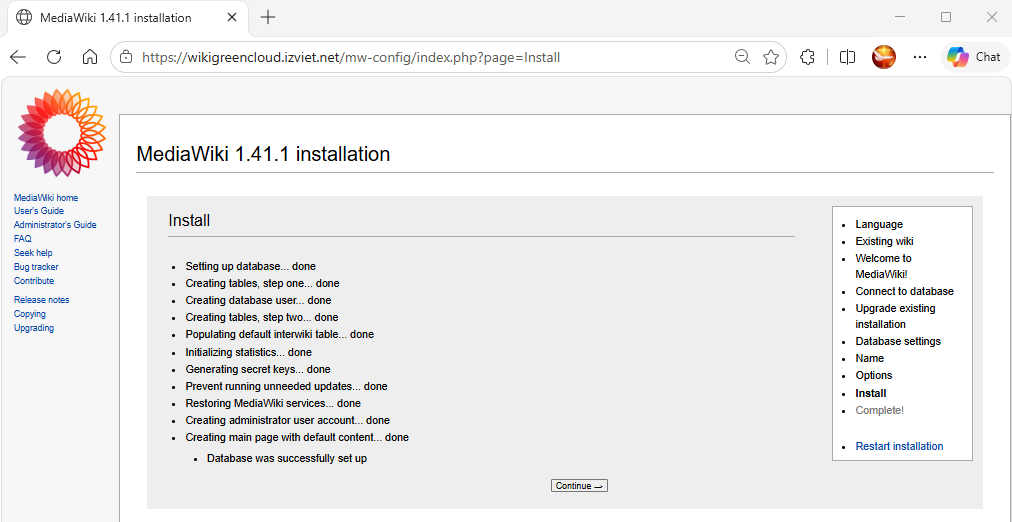
Click Continue to confirm the installation.
After the installation is complete, click Continue again.
Now the file LocalSettings.php Will be downloaded automatically to your local machine. Upload that file or create the LocalSettings.php file with the same content as you have.
nano /var/www/mediawiki/LocalSettings.php
chown -R www-data:www-data /var/www/mediawiki/LocalSettings.php
chmod 755 /var/www/mediawiki/LocalSettings.php
systemctl restart apache2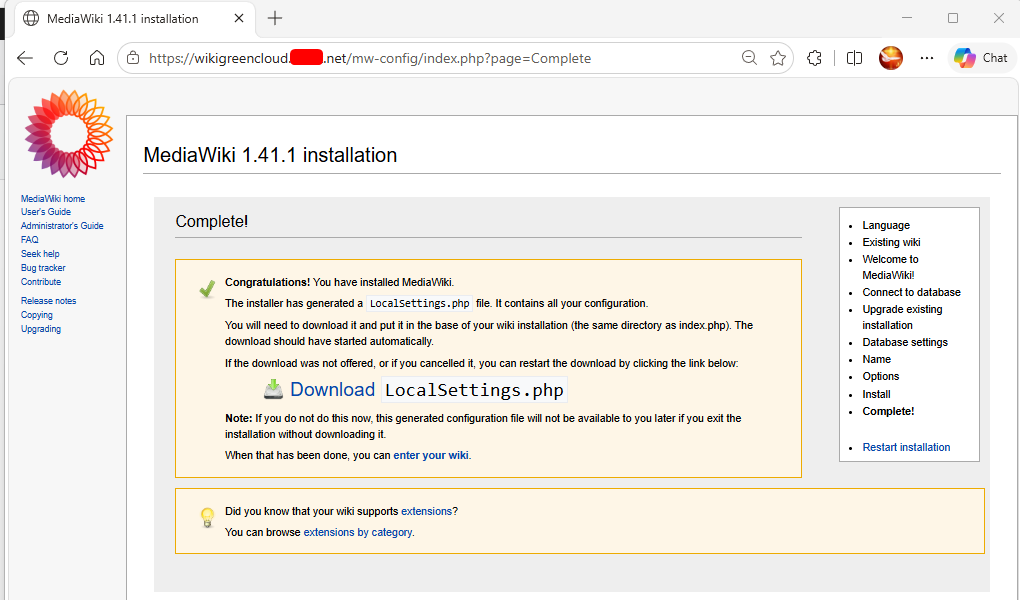
In the LocalSettings.php file, change the default option $wgDefaultSkin to minerva.
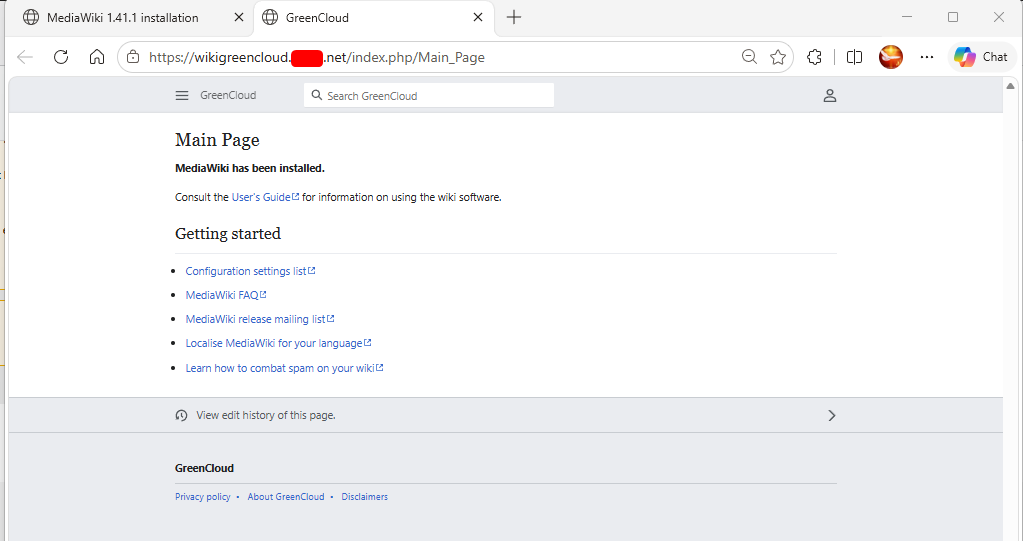
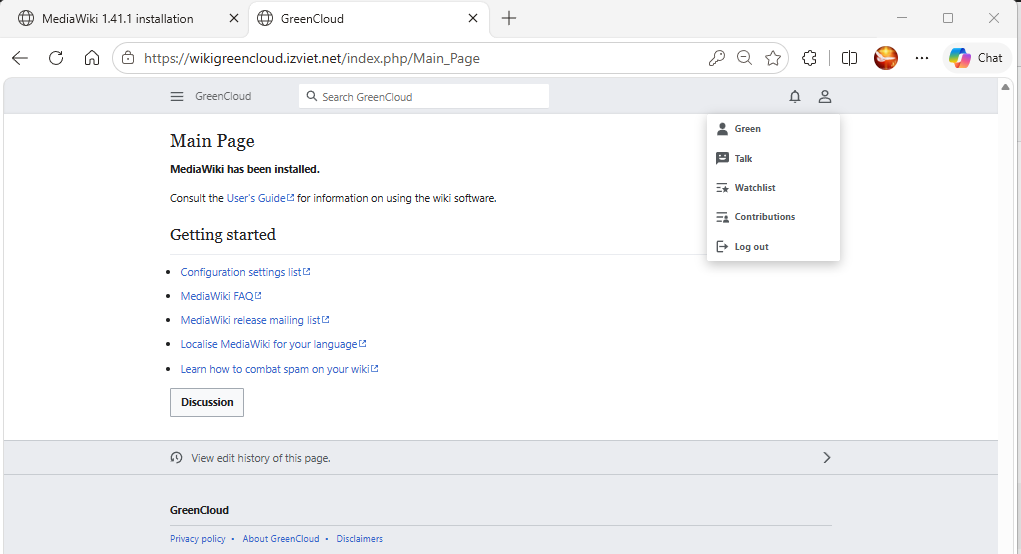
Now visit your MediaWiki home page, and you can see below the home page of the MinervaNeue theme.
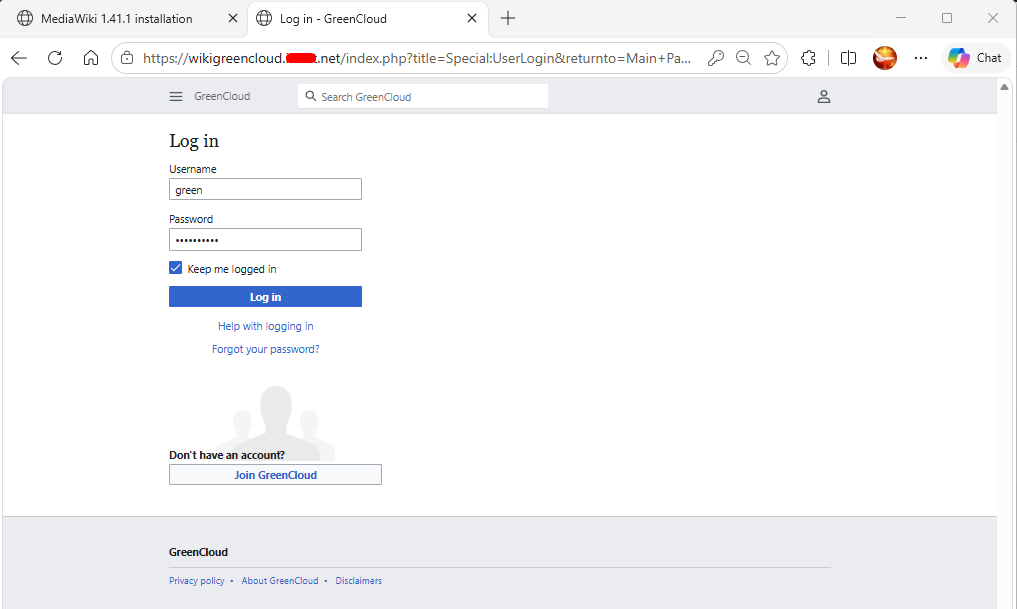
You can now click the login button at the top-right, then input your admin user and password.
Conclusion
Congratulations! You have completed the installation of MediaWiki on the Ubuntu 24.04 server. You have MediaWiki running with the LAMP Stack (Linux, Apache, MySQL/MariaDB, and PHP) and secured with HTTPS through certbot And Let’s Encrypt.
