How to install XAMPP on Ubuntu 20.04
XAMPP is an open-source software package that provides a distribution of Apache that includes MySQL, PHP, and Perl. It is used for testing, building, and deploying web applications without hosting. XAMPP supports many operating systems, including Windows and Ubuntu/Linux, with various functions. Due to its importance, this guide will present the step-by-step process to install XAMPP on Ubuntu.
Through this tutorial, we will learn how to install and use XAMPP on Ubuntu 20.04 GUI/Gnome Desktop using a terminal.
How to install XAMPP on the Ubuntu system?
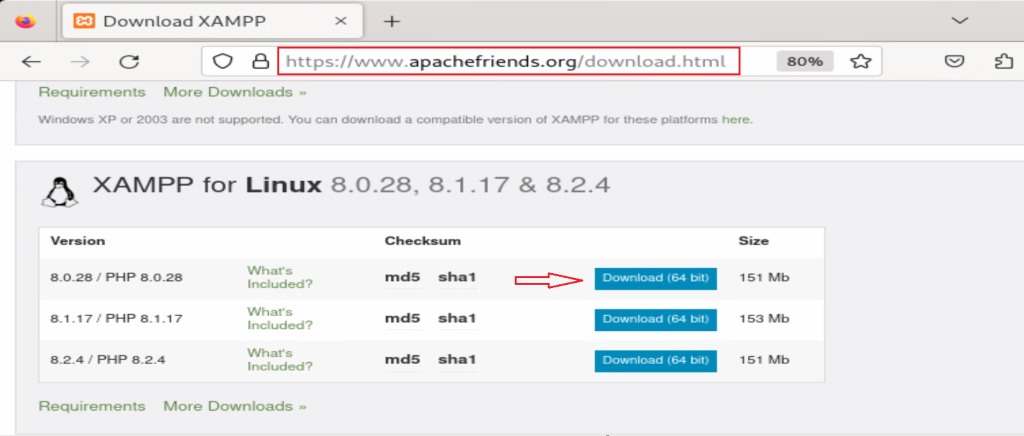
In Ubuntu, an installer file is required to install XAMPP, which we can download from the official XAMPP website at https://www.apachefriends.org/download.html. Then install it through the terminal by following the steps below:
Step 1: Download XAMPP for the Linux system
The XAMPP server is not included in the Ubuntu repositories, so you need to download it from the link https://www.apachefriends.org/download.html. The official XAMPP website includes installers for the systems. will run on practically all major Linux variants. Click “XAMPP for Linux”
Or you can follow the command will download the installer of XAMPP on Ubuntu:
# wget https://sourceforge.net/projects/xampp/
Step 2: Run XAMPP Installer
Open the terminal, move to the XAMPP download folder, and assign permission using “chmod” in the command.
# cd Downloads
# chmod 755 xampp-linux-x64-8.0.28-0-installer.run

Step 3: Launch the Installer
Now launch the installer using the command below:
./xampp-linux-x64-8.0.28-0-installer.run
![]()
Step 4: Complete the installation
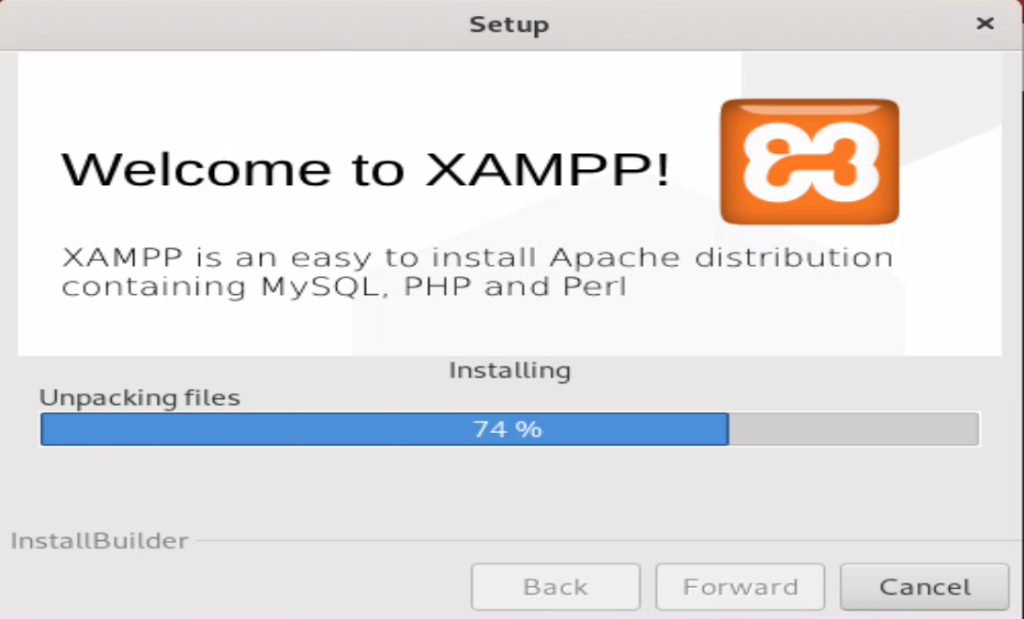
It navigates to the XAMPP window, where you hit the “Forward” button to start the installation process:

After confirming the installation directory, press the “Forward” button to continue.
Finally, the installation of XAMPP has been started, as can be confirmed from the image below:
After completing the installation process of XAMPP on Ubuntu, you can launch it by marking the checkbox and hitting the “Finish” button:

Finally, XAMPP has been successfully installed on Ubuntu.
Let’s explore XAMPP after it launches.
How to Use XAMPP on Ubuntu?
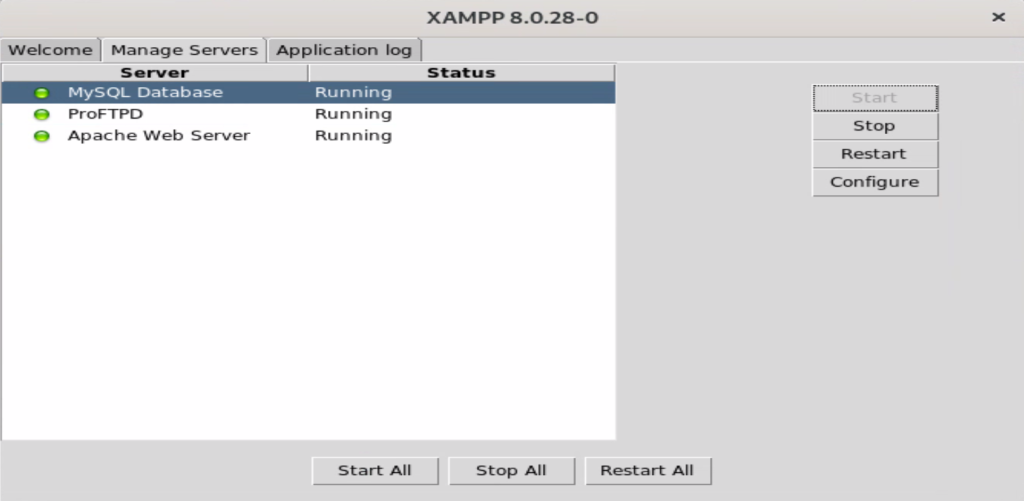
This will launch the Xampp control panel as shown below. Here Click “Manage servers“.

Now start all three services by pressing the “Start All” button.
You can also use the commands below to run the Xampp control panel.
/opt/lampp/manager-linux-x64.runOnce all Apache server is running. You can use the URL http://localhost/dashboard to open the Dashboard.
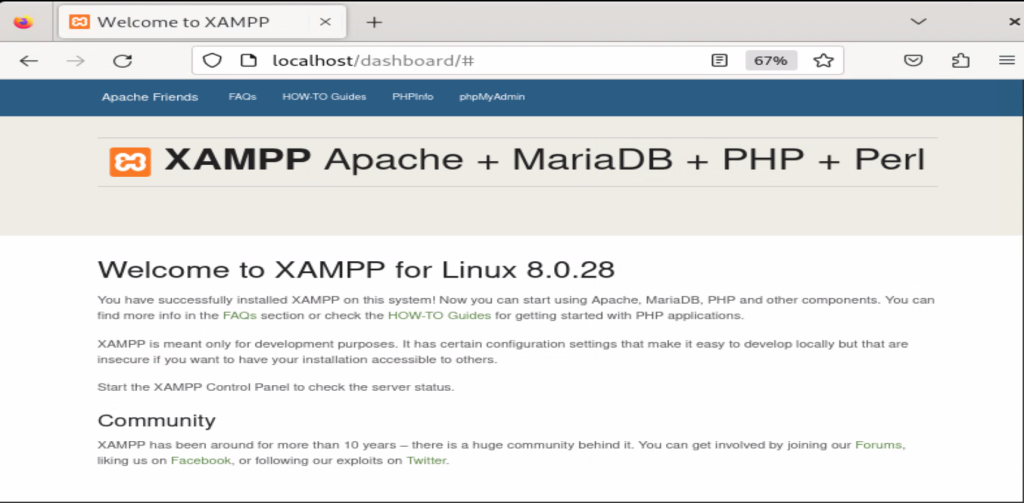
You can also verify if phpmyadmin is running by opening the URL http://localhost/phpmyadmin.

Some More helpful commands
- To set a password, type
/opt/lampp/lampp security
Press
y + Enter.Then enter a new password and re-enter this password again to confirm. - To start XAMPP, execute this command
/opt/lampp/lampp start
- To stop XAMPP, execute this command
/opt/lampp/lampp stop
How to Uninstall XAMPP on Ubuntu System?
The XAMPP and all components have been installed in a particular directory. You can execute the uninstall file available where the XAMPP was installed. In our case, the command provided below will remove the XAMPP:
/opt/lampp/uninstall
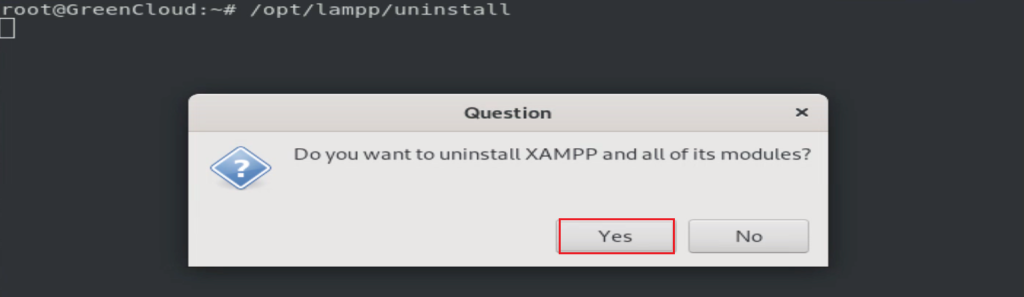
It navigates to the new pop-up window that requires permission to uninstall XAMPP and all its modules. Hit the “Yes” button for the uninstallation process:
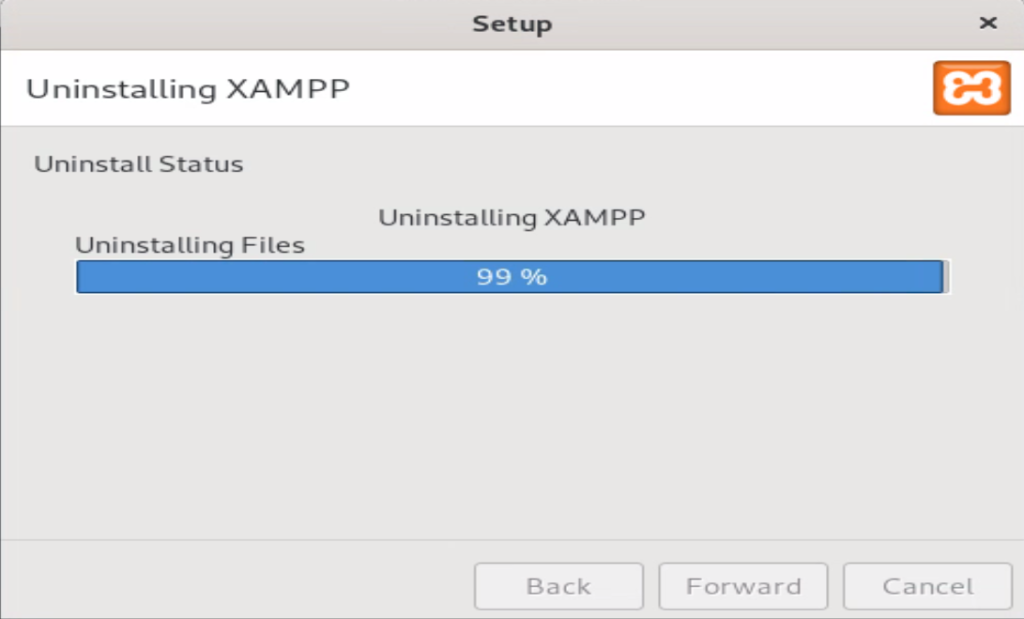
Now, you can verify that the uninstallation of “XAMPP” is proceeding here.
That’s all from the guide.
Conclusion
In Ubuntu, the XAMPP installer is downloaded from their official website. Once downloaded, the installer is granted execution rights. Finally, the installer is executed to install XAMPP on Ubuntu. This guide has explained step-by-step instructions to install XAMPP on Ubuntu. In addition, the method to uninstall XAMPP is also elaborated.

