How to install and configure Nextcloud on CentOS 9 stream
Introduction
Nextcloud provides client applications for Windows, Linux, macOS, Android and iOS which are used to sync files between your Desktop and the Nextcloud file server. It also has a modern and easy-to-use web interface which enables you to access files from a web browser.
In this article, we will show you how to install NextCloud on a CentOS CentOS 9 stream server/VPS instance.
Prerequisites
- an active KVM VPS
- root user
1. Install PHP and httpd
You will have to install PHP and Apache to run Nextcloud on CentOS 9 stream. For PHP, we will use PHP since it is the latest stable release of PHP available for CentOS 9 stream.
dnf install httpd httpd-tools dnf install php php-mysqlnd php-pdo php-gd php-mbstring2. Start and enable Apache service.
# systemctl start httpd.service
# systemctl enable httpd.service
. To access via a browser, we should allow HTTP/S traffic across the firewall.
# firewall-cmd --permanent --zone=public --add-service=http

# firewall-cmd --permanent --zone=public --add-service=https
Reload the firewall to apply the changes
# firewall-cmd --reload
Then install Apache and PHP packages:
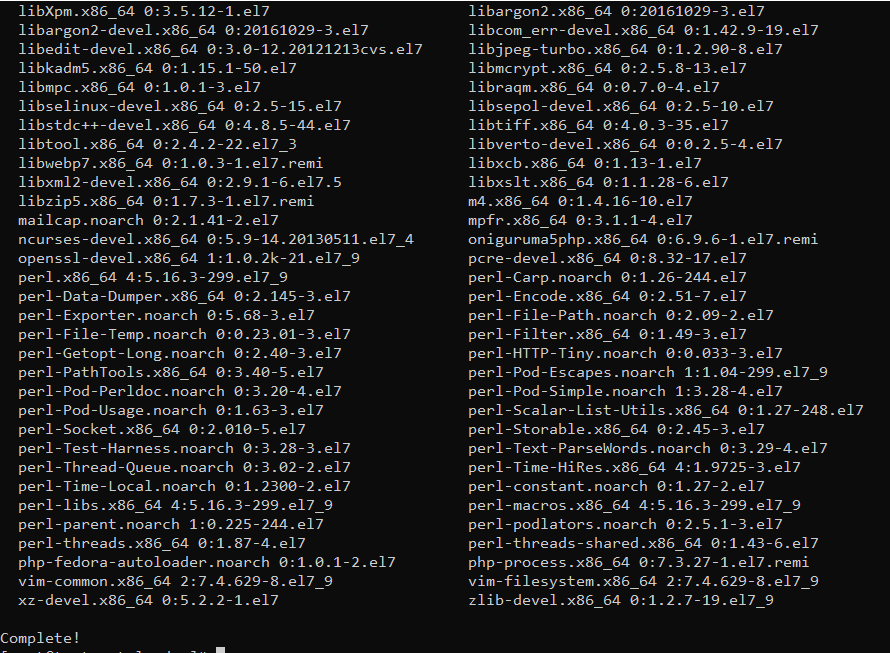
dnf -y install vim httpd php php-cli php-mysqlnd php-zip php-devel php-gd php-mcrypt php-mbstring php-curl php-xml php-pear php-bcmath php-json php-pdo php-pecl-apcu php-pecl-apcu-devel
dnf install php-mysqlnd php-gd php-curl php-ftp php-fpm -y
Confirm your PHP version
php -v
2. Install and configure MariaDB / MySQL
Install MariaDB / MySQL database server on CentOS 9 stream following our previous guides here:
1.Install MariaDB
MariaDB is a popular database server. The installation is simple and requires just a few steps as shown.
dnf install mariadb-server mariadb -yOnce the installation is complete, enable MariaDB (to start automatically upon system boot), start the MariaDB, and verify the status using the commands below.
systemctl start mariadb

systemctl enable mariadb

systemctl status mariadb
Finally, you will want to secure your MariaDB installation by issuing the following command.
mysql_secure_installationOutput:

Once secured, you can connect to MySQL and review the existing databases on your database server by using the following command.
mysql -e "SHOW DATABASES;" -p3. Download and install Nextcloud on CentOS 9 stream
Download Nextcloud latest release of Nextcloud Server from the Download page. Go to the Download Server section and click on Download for Server under Archive file. You can alternatively use the wget command to download it as shown below.
wget https://download.nextcloud.com/server/releases/latest.zipUnzip the file to the /var/www/html/ directory.
sudo unzip latest.zip -d /var/www/htmlCreate a data folder to help with the installation
sudo mkdir /var/www/html/nextcloud/dataSet permissions to Apache for the whole Nextcloud folder.
sudo chown -R apache:apache /var/www/html/nextcloudRestart the Apache server.
sudo systemctl restart httpdCreate the firewall rule to allow apache access.
sudo firewall-cmd --permanent --add-port=80/tcp
sudo firewall-cmd --reload
SELinux Configuration
If you have SELinux enabled on your Linux Distribution. You may need to run some commands to configure Nextcloud. More configuration settings can be found on the SELinux Configuration page. For this guide, Run the following commands.
sudo semanage fcontext -a -t httpd_sys_rw_content_t '/var/www/html/nextcloud/data(/.*)?'
sudo semanage fcontext -a -t httpd_sys_rw_content_t '/var/www/html/nextcloud/config(/.*)?'
sudo semanage fcontext -a -t httpd_sys_rw_content_t '/var/www/html/nextcloud/apps(/.*)?'
sudo semanage fcontext -a -t httpd_sys_rw_content_t '/var/www/html/nextcloud/.htaccess'
sudo semanage fcontext -a -t httpd_sys_rw_content_t '/var/www/html/nextcloud/.user.ini'
sudo semanage fcontext -a -t httpd_sys_rw_content_t '/var/www/html/nextcloud/3rdparty/aws/aws-sdk-php/src/data/logs(/.*)?'

sudo restorecon -R '/var/www/html/nextcloud/'
sudo setsebool -P httpd_can_network_connect on
Configuring Apache vHost
Create a new apache configuration file nextcloud.conf for NextCloud with the following command:
vi /etc/httpd/conf.d/nextcloud.confAdd the following codes:
Add the following content while specifying your server name and the root directory where you will store nextcloud files.
<VirtualHost *:80>
  DocumentRoot /var/www/html/nextcloud/
  ServerName  nextcloud.greencloud.com

  <Directory /var/www/html/nextcloud/>
    Require all granted
    AllowOverride All
    Options FollowSymLinks MultiViews

    <IfModule mod_dav.c>
      Dav off
    </IfModule>

  </Directory>
</VirtualHost>
Now, press the
Esckey, and type in:wq!and press theEnterkey to save and exit the file.Restart apache service
sudo systemctl restart httpd
Configuring Database
Now create a Database, User & Password for NextCloud:
Change strong_password to something more secure/unqiue when using it for your database password.
mysql -u rootEnter the following lines
CREATE USER 'nextcloud'@'localhost' IDENTIFIED BY 'StrongPassword';
CREATE DATABASE IF NOT EXISTS nextcloud CHARACTER SET utf8mb4 COLLATE utf8mb4_general_ci;
GRANT ALL PRIVILEGES on nextcloud.* to 'nextcloud'@'localhost';
FLUSH privileges;
6. Access Nextcloud UI and finish installation
Open up your web browser, point a URL to
http://files.example.com or http://your VPS/Server's IP address, and use the NextCloud admin account to log in.
The browser will take you automatically to NextCloud setup page where you have to begin the setup of NextCloud.
You can choose either SQLite or MySQL/MariaDB. If you want to SQLite database, then you do not have to enter the database details (not recommended for production use). Whereas MariaDB requires database user, password, and database name.
For this tutorial, we will use MariaDB as a backend database.
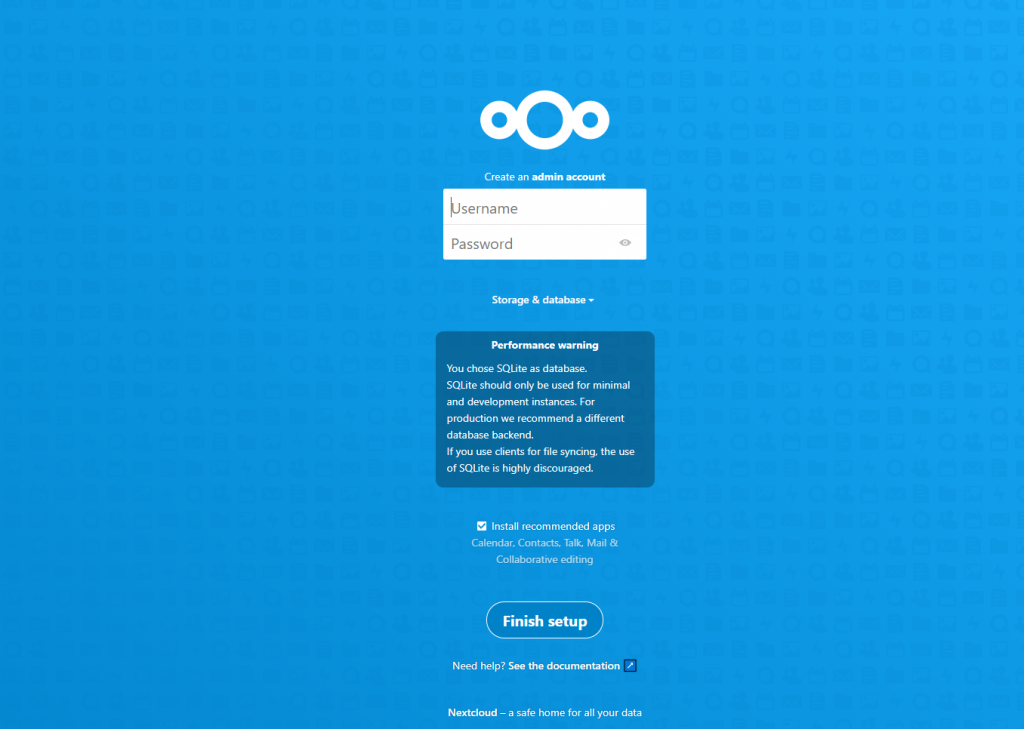
Provide admin username and password. Also configure MySQL / MariaDB database.
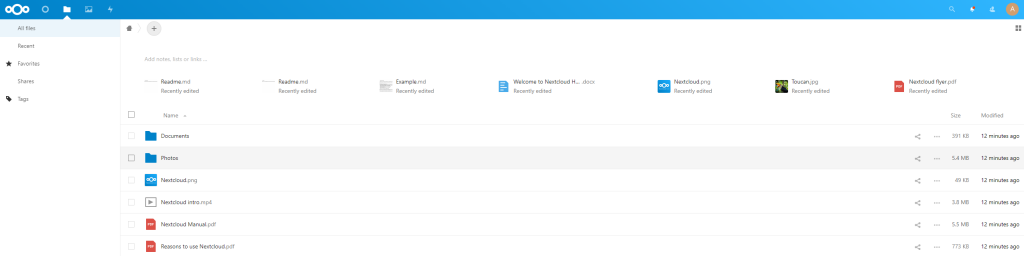
When done click the “Finish Setup” button. You should get the Files dashboard of Nextcloud now.
That’s it! Enjoy GreenCloudVPS services!

