How to install and configure iSCSI Target on Windows Server 2019
Internet Small Computer Systems Interface (iSCSI) is a storage network resource that uses Internet Protocol connectivity to link data storage facilities.
It provides block-level (block) access to storage locations via SCSI commands. iSCSI Target is the network (memory) location and it appears as a local hard drive to the iSCSI Initiator. Basically, the iSCSI Initiator is a client that connects to the iSCSI Target.
When activated and configured, iSCSI Target Server turns Windows Server operating system computers into network storage devices.
Install iSCSI Target
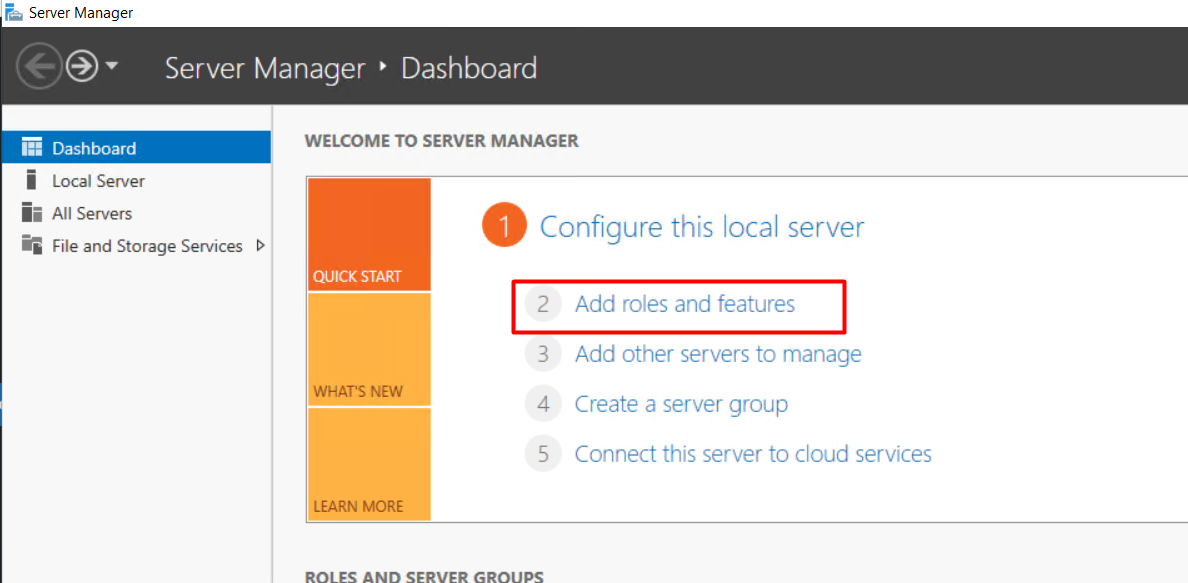
Step 1 – To install iSCSI Target, go to “Server Manager” choose to Manage then click to Add Roles and Features.
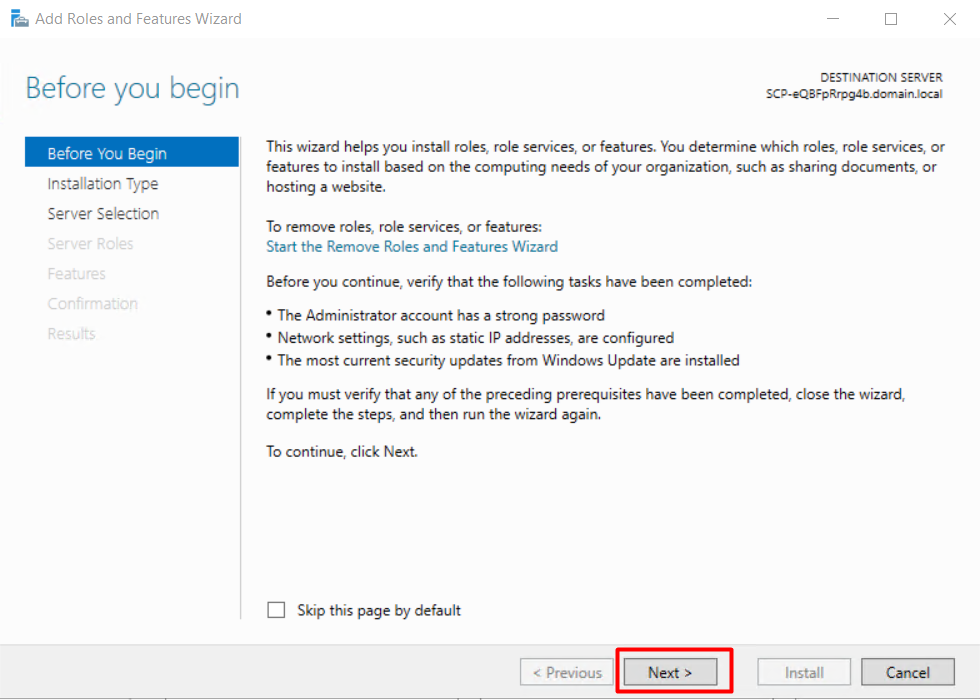
Step 2 – Click Next in the window as shown below.
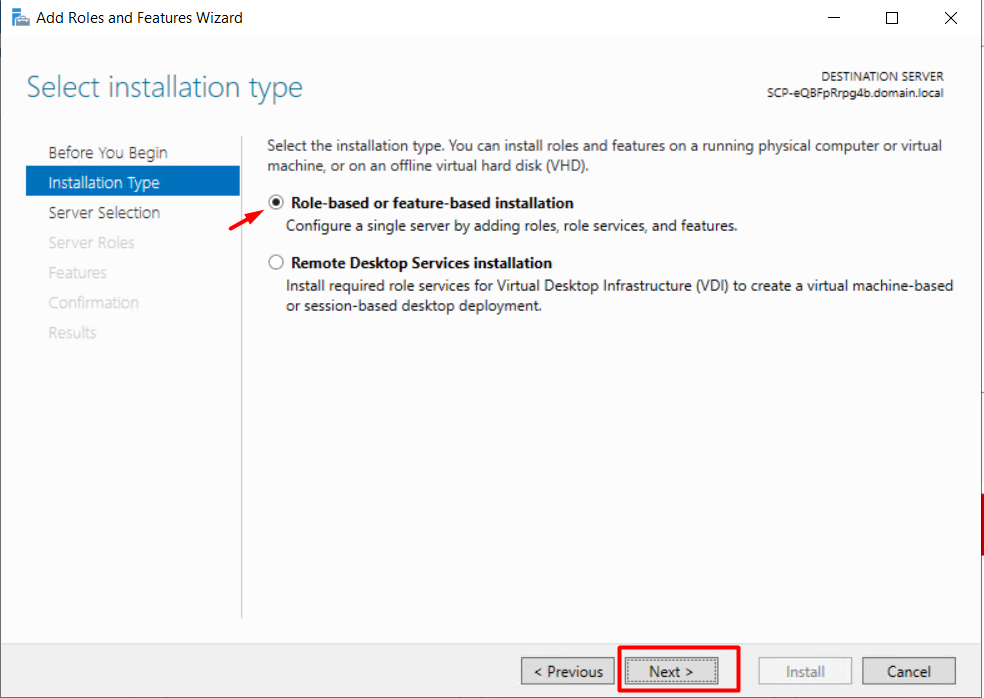
Step 3 – Select the Role-based or feature-based installation option and then click Next.
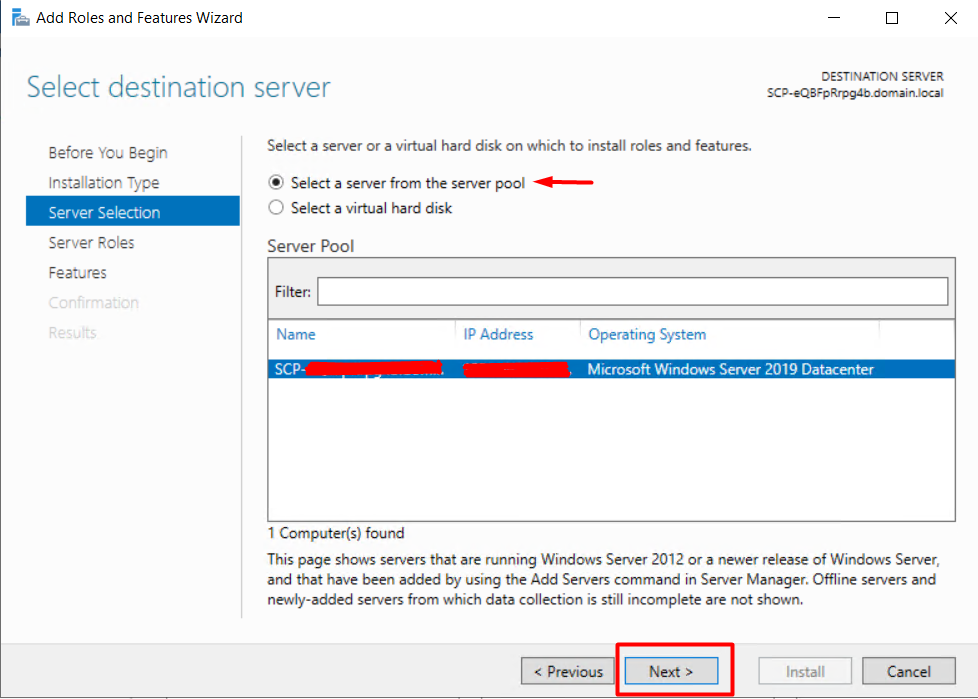
Step 4: Select a host for the iSCSI Target roles and services.
This can be a local server or a virtual hard drive on the server. In the example case, the local server will be used.
Click Next to continue.
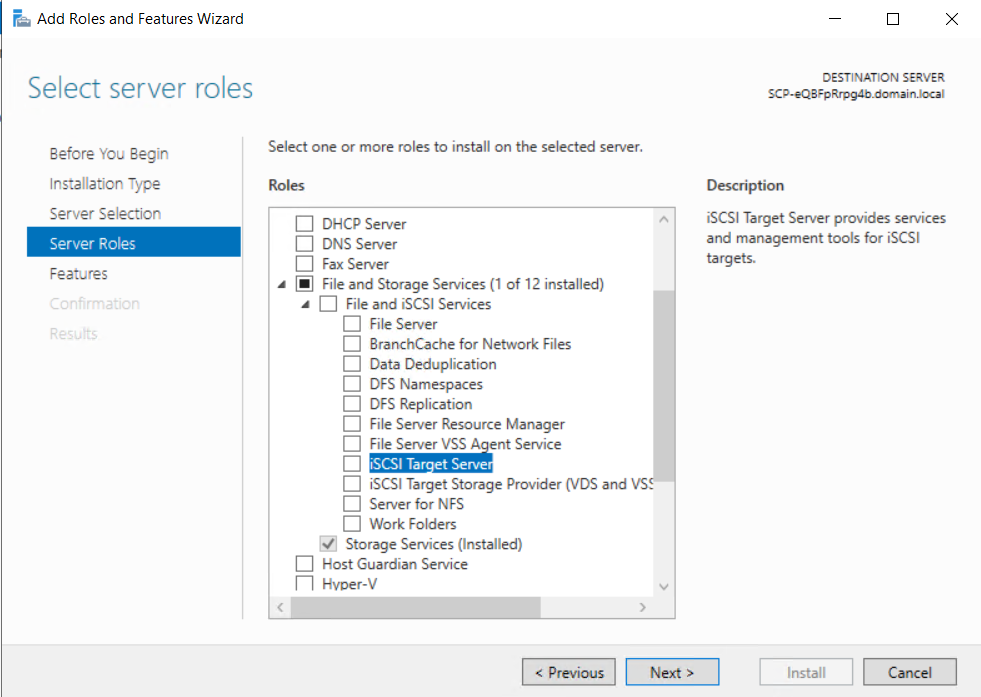
Step 5: Select the iSCSI Server Roles
In this step, we will define a list of server roles to install for the iSCSI Target.
Click the Files and Storage Services tab to expand it.
Select iSCSI Target Server, then check the box iSCSI Target Server
Step 6: Add features to iSCSI Target.
When you selected the iSCSI Target Server in the previous step, a pop-up window titled Add features that are required for iSCSI Target Server? will open.
Here, click the Add Features tab and then click Next.

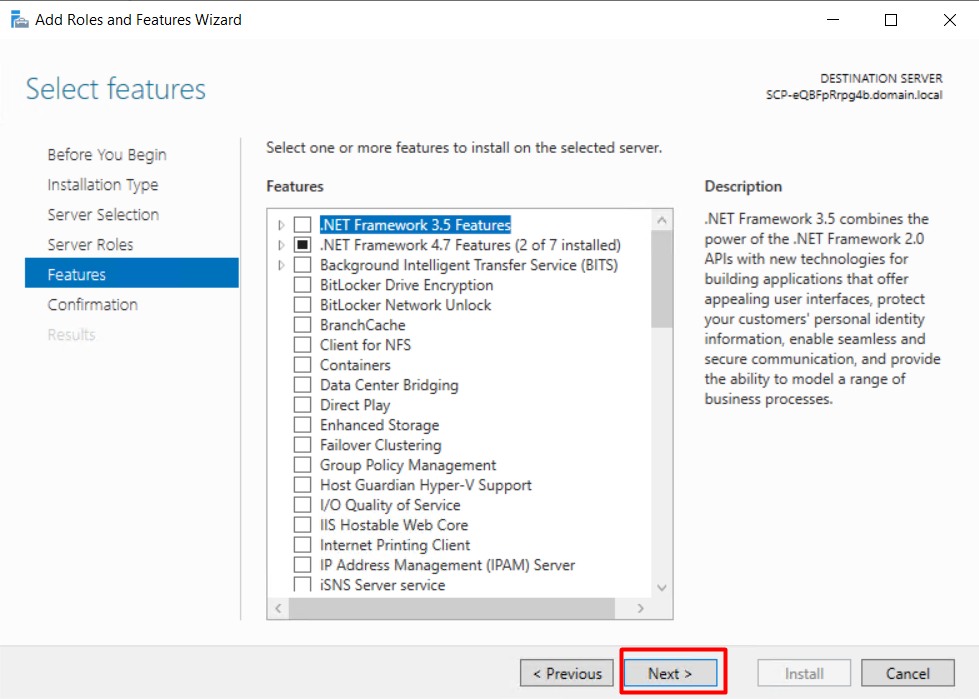
Step 7: Select features.
Check all the additional features required to install iSCSI Target Server and click Next
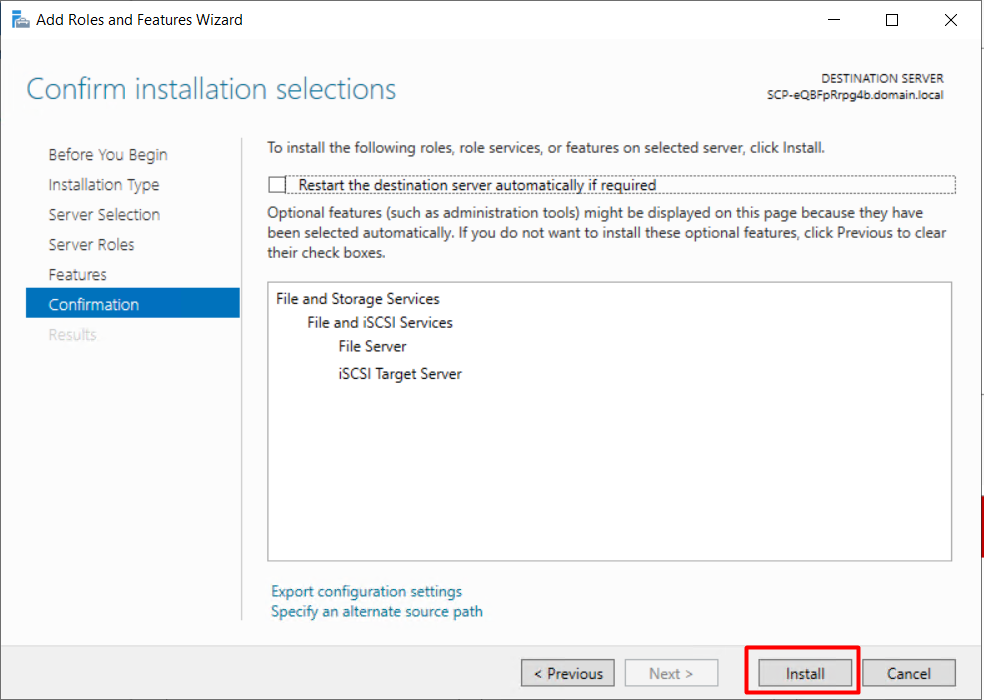
Step 8: Confirm installation selection.
Confirm that the iSCSI Target Server and other choices you made in the steps above are listed, then select Install.
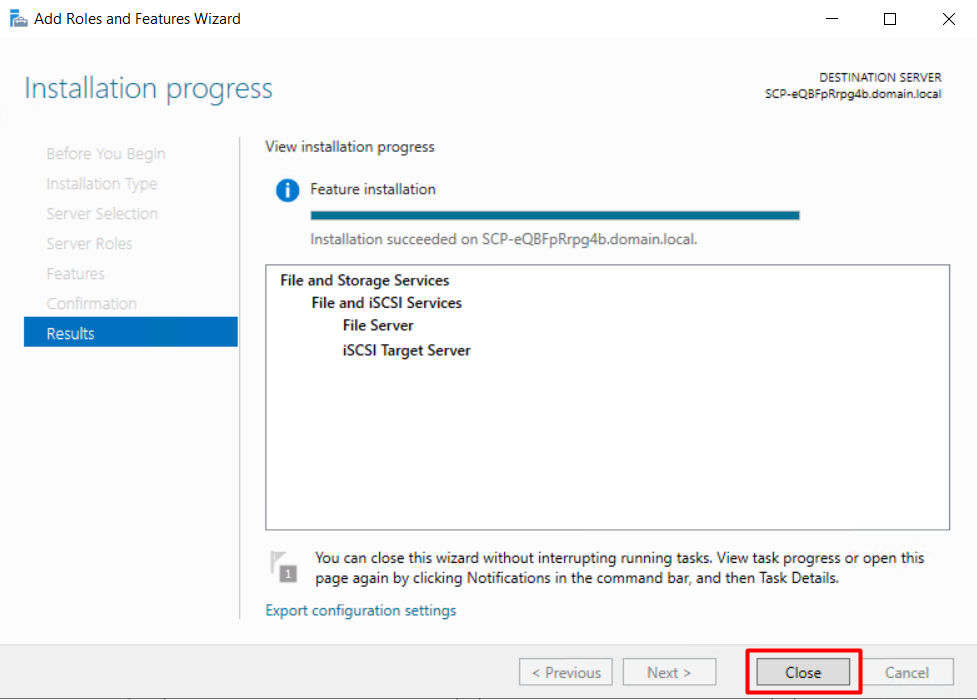
Step 9: Complete the installation of iSCSI Target Server.
When the installation of the selected roles, features, and services is complete, click Close to complete the iSCSI Target Server installation.
Configure iSCSI Target
Step 1: Configure iSCSI Target Folder
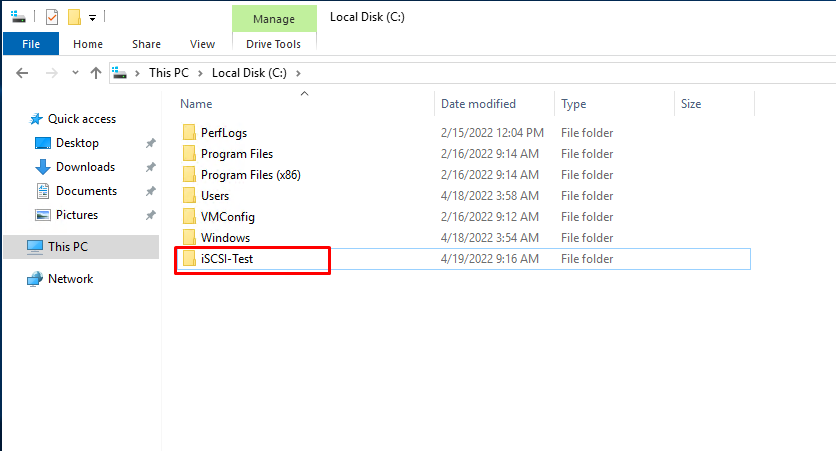
We are now going to configure a folder that we shall be connected to by initiators. Create a directory/folder in your desired disk partition. We will create iSCSI-Test in C partition.
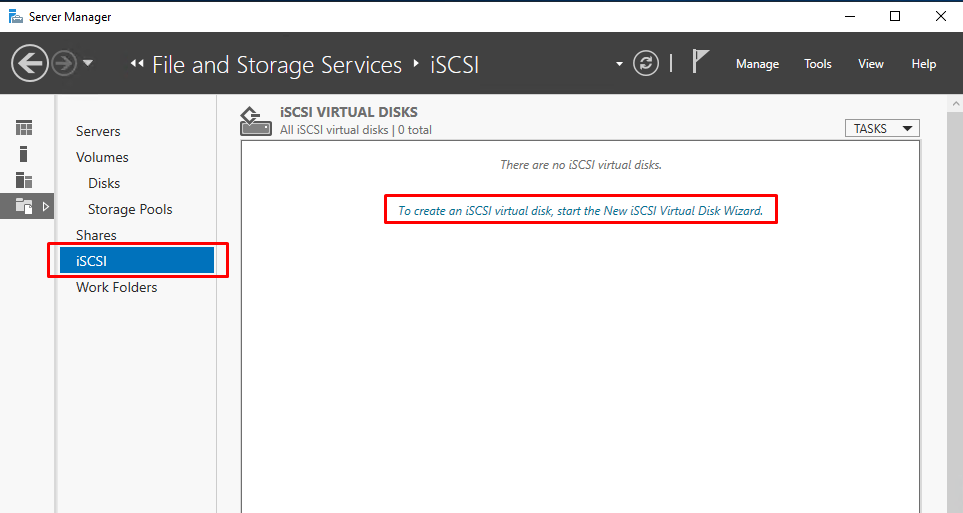
Head over to “Server Manager“. Click “File and Storage Services” and select iSCSI from the expanded menu. You will see “To create an iSCSI virtual disk, start the New iSCSI Virtual Disk Wizard” link on the right pane. Click on it. A wizard pops-up.
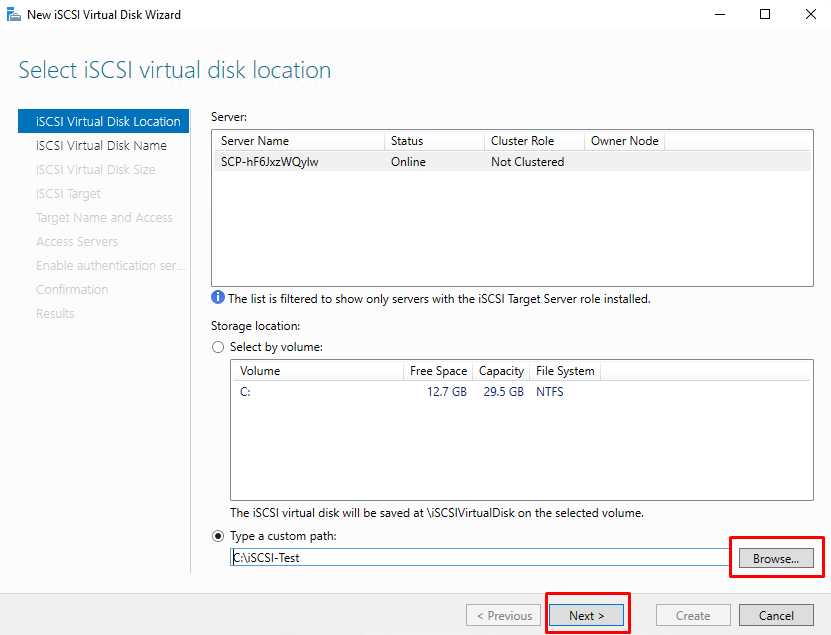
Step 2: Choose the folder we created
Select “Type a custom path” and browse for the folder we created earlier. Click “Next” after that.
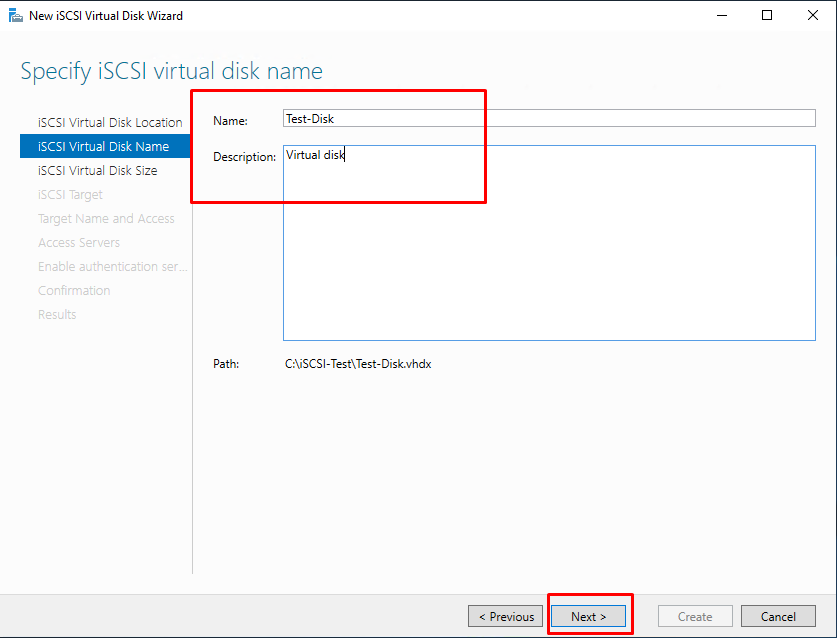
Step 3: Name and describe your virtual disk
This is an easy step of just naming and describing your virtual disk. Click on “Next” after you are done.
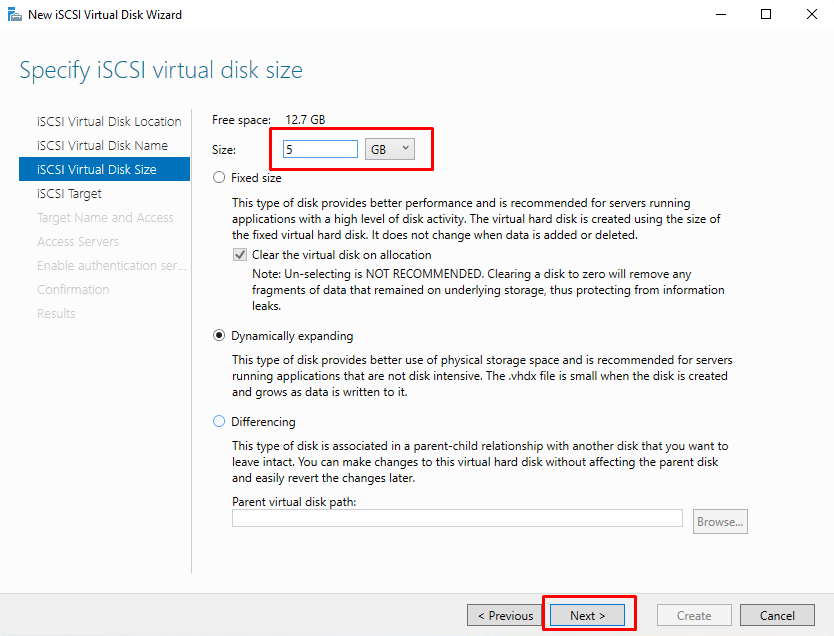
Step 4: Set the size of the virtual disk
In this step, apart from setting the size of the virtual disk, you have the option of choosing if the disk will be fixed, dynamically grow or in differencing modes. All of the three are described adequately in the window. Select the one that makes more sense in your set-up and click “Next“
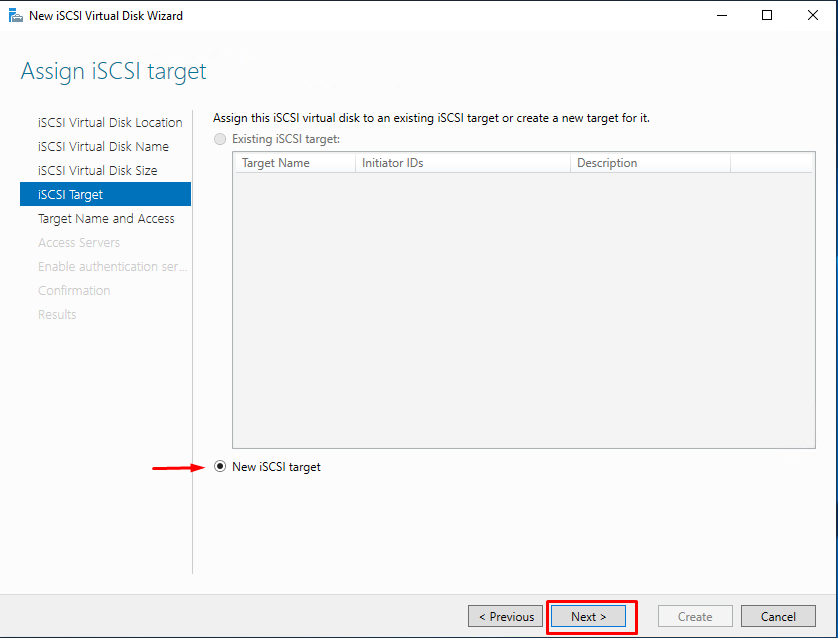
Step 5: Assign iSCSI Target
Since this is a new target, select “New iSCSI target” and click “Next“
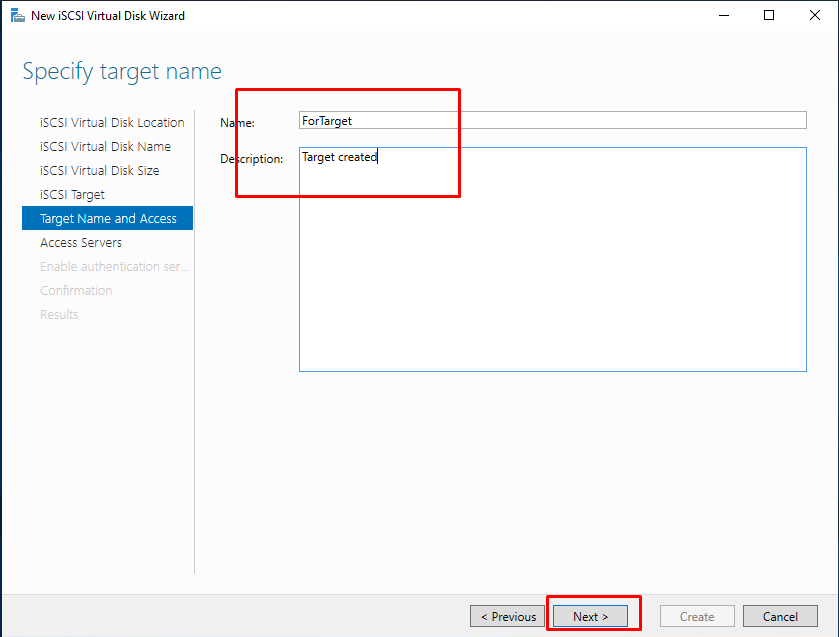
Step 6: Name and describe your target
This is yet another easy step of just naming and describing your target. Click on “Next” after you are done.
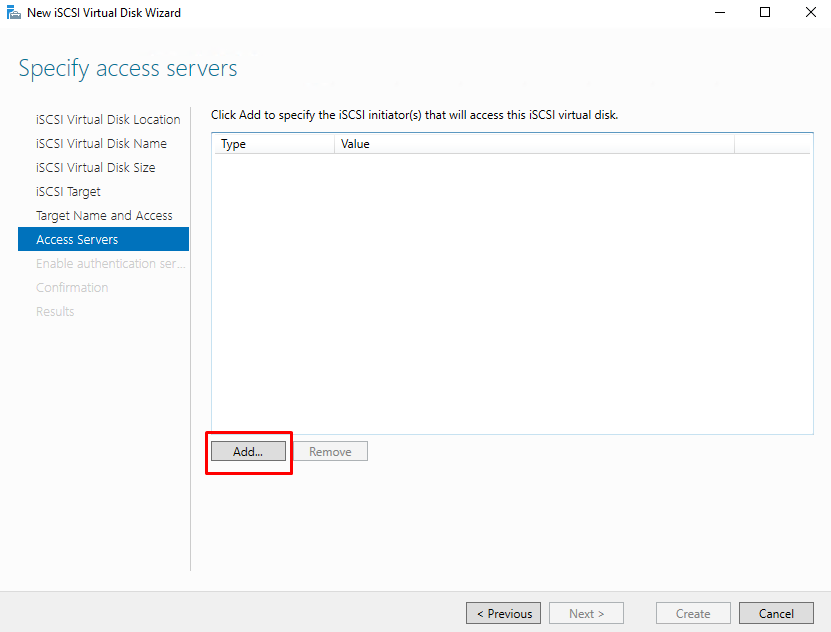
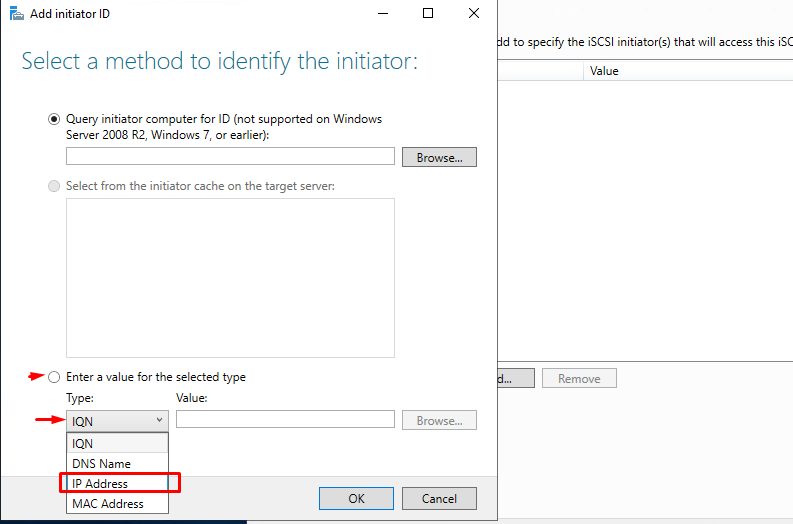
Step 7: Specify access servers
For security, we have to explicitly allow known initiators to our targets. This page gives us that opportunity. Click on “Add” which opens “Add Initiator ID” pop-up window. For simplicity, use “Enter a value for the selected type” and under “Type” choose IP Address from the drop-down menu. Key-in your initiator IP Address and click “OK“.
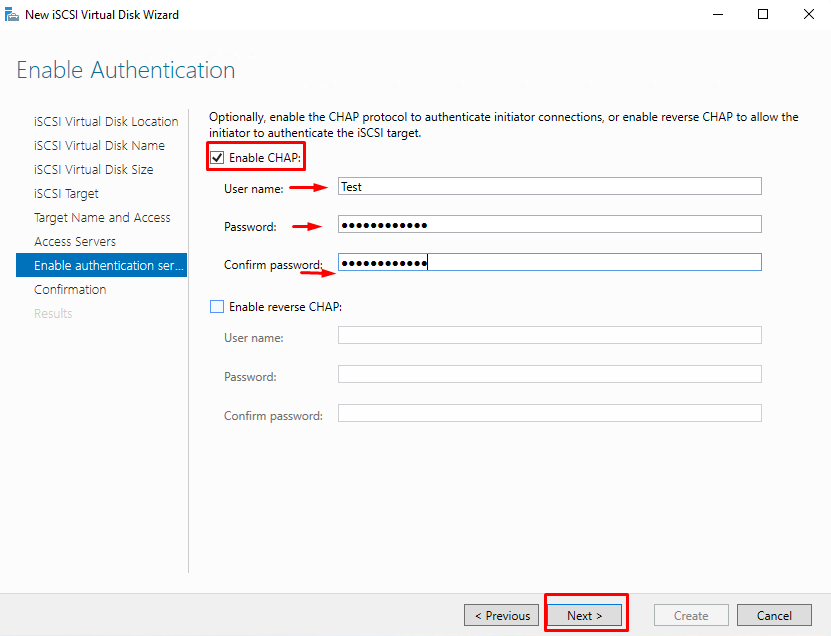
Step 8: Authentication between initiator and Target
You can use either of the two CHAP options provided which are well described in this step. Enter username and passwords. Click on “Next” after you are done.
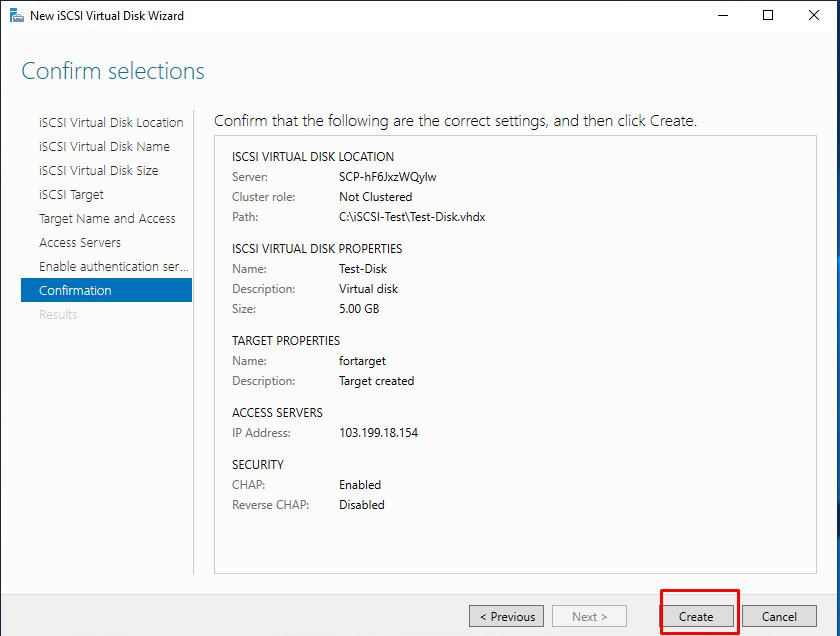
Step 9: Confirm selections and create
On this following page confirm your selections, click create and wait for it to finish.
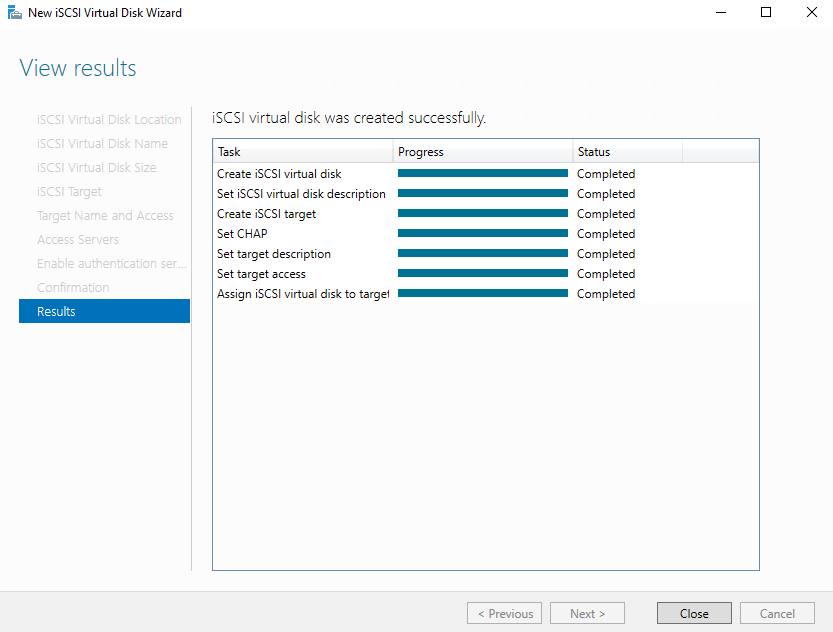
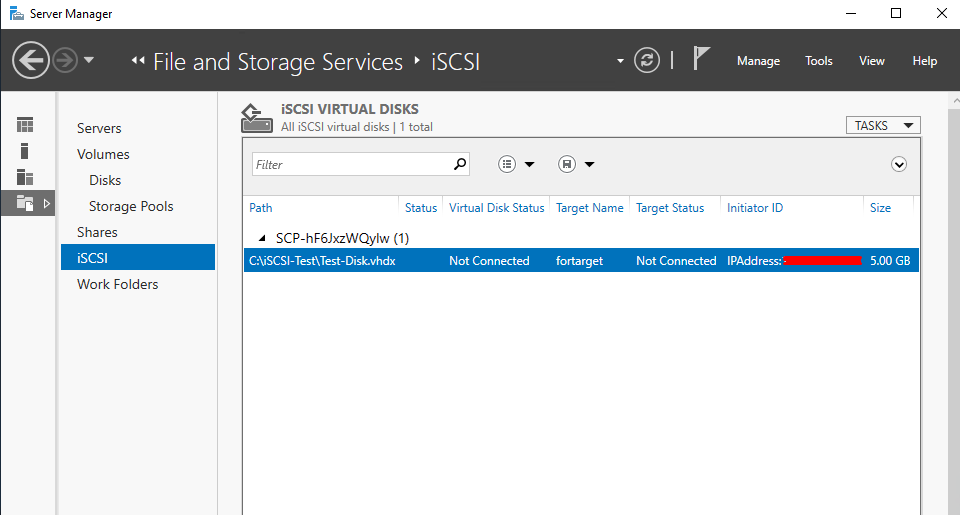
You should see your virtual disk created in the server manager.
That’s all we guide you in this article !

