How to install Plesk panel on Ubuntu 20.04
What is Plesk
Plesk is popular panel to manage your server hosted web-projects. This panel allows you to manage “one-touch” of DNS zones, web-domains, databases, emails and so on.
Before install
One of the Plesk advantages is very “democratic” system requirements. To install this panel you must to have:
- Server under any x64 Linux or even Windows Server OS;
- Privileged account access;
- At least 512MB of available RAM;
- 1024MB of SWAP-space;
- 10GB Persistent Storage.
Panel setup procedure
To install Plesk on the server under Ubuntu 20.04 please do follow steps:
- Login as privileged user;
- Update current system packages;
apt-get update && apt-get upgrade -y- Reboot your server to initialize new software, including new kernel;
- Install wget tool to acquire setup script;
apt install -y wget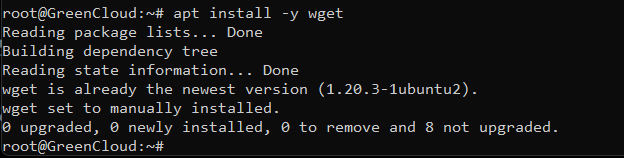
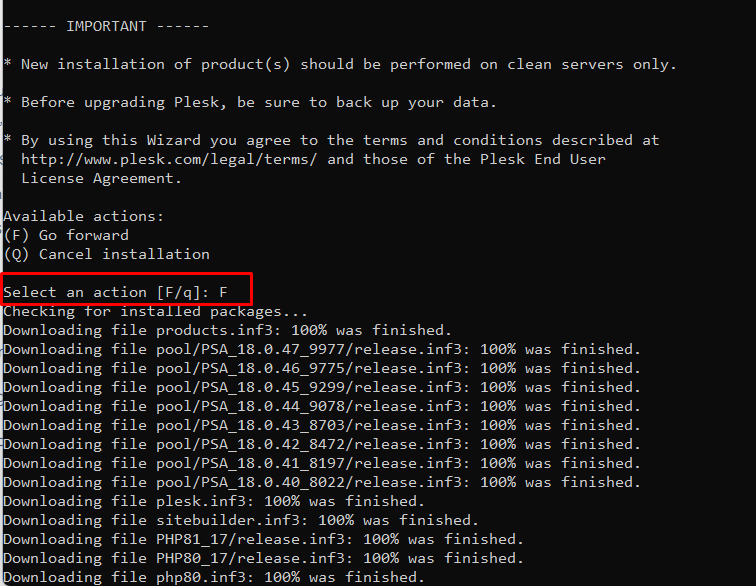
- Download initial file and run it;
cd /tmp && wget http://autoinstall.plesk.com/plesk-installer && bash plesk-installer- Agree with the EULA, accept or decline participation in quality improvement programme;

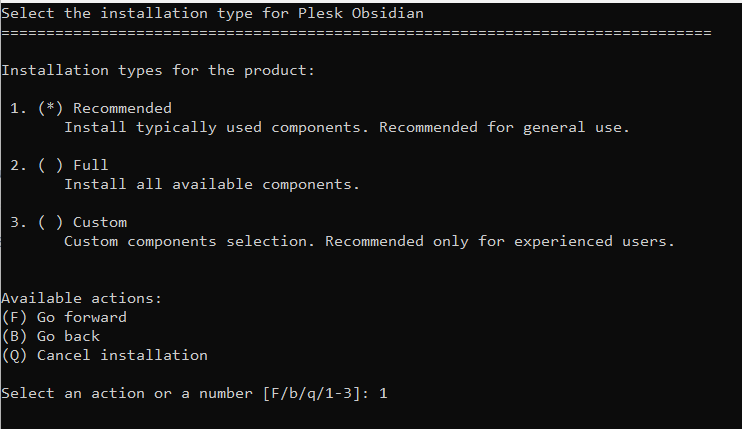
- Select one of predefined services set. First point is enough in most cases. Then confirm your choice;
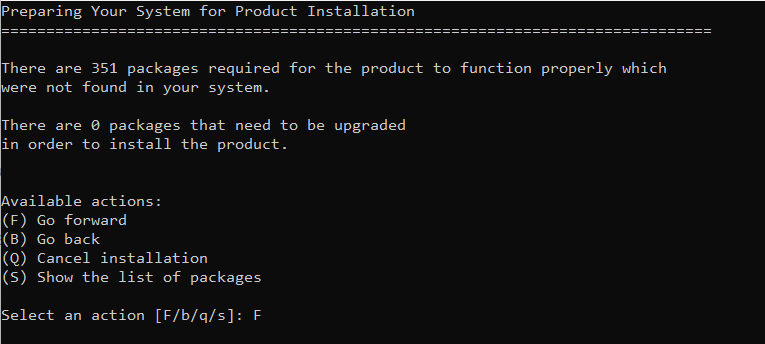
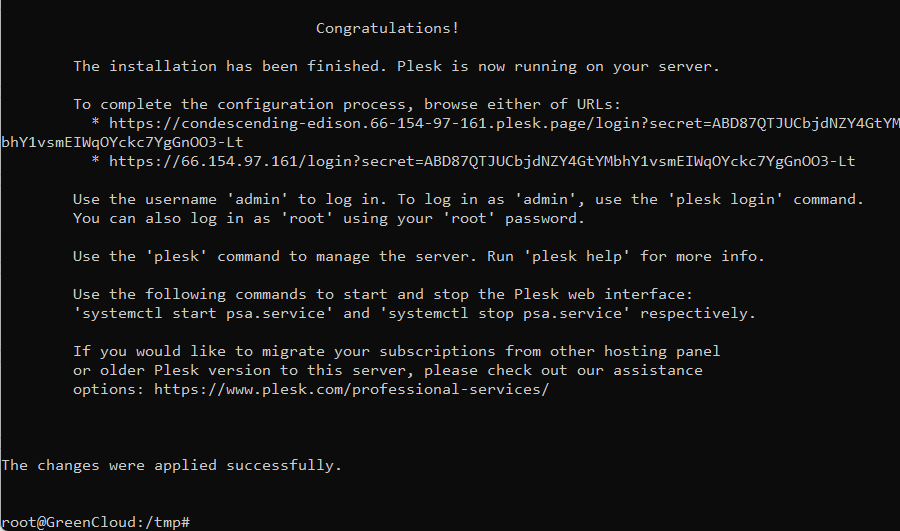
In case install is successful, you should see picture like below:
- Open provided one-time URL in your browser and set your own access credentials;

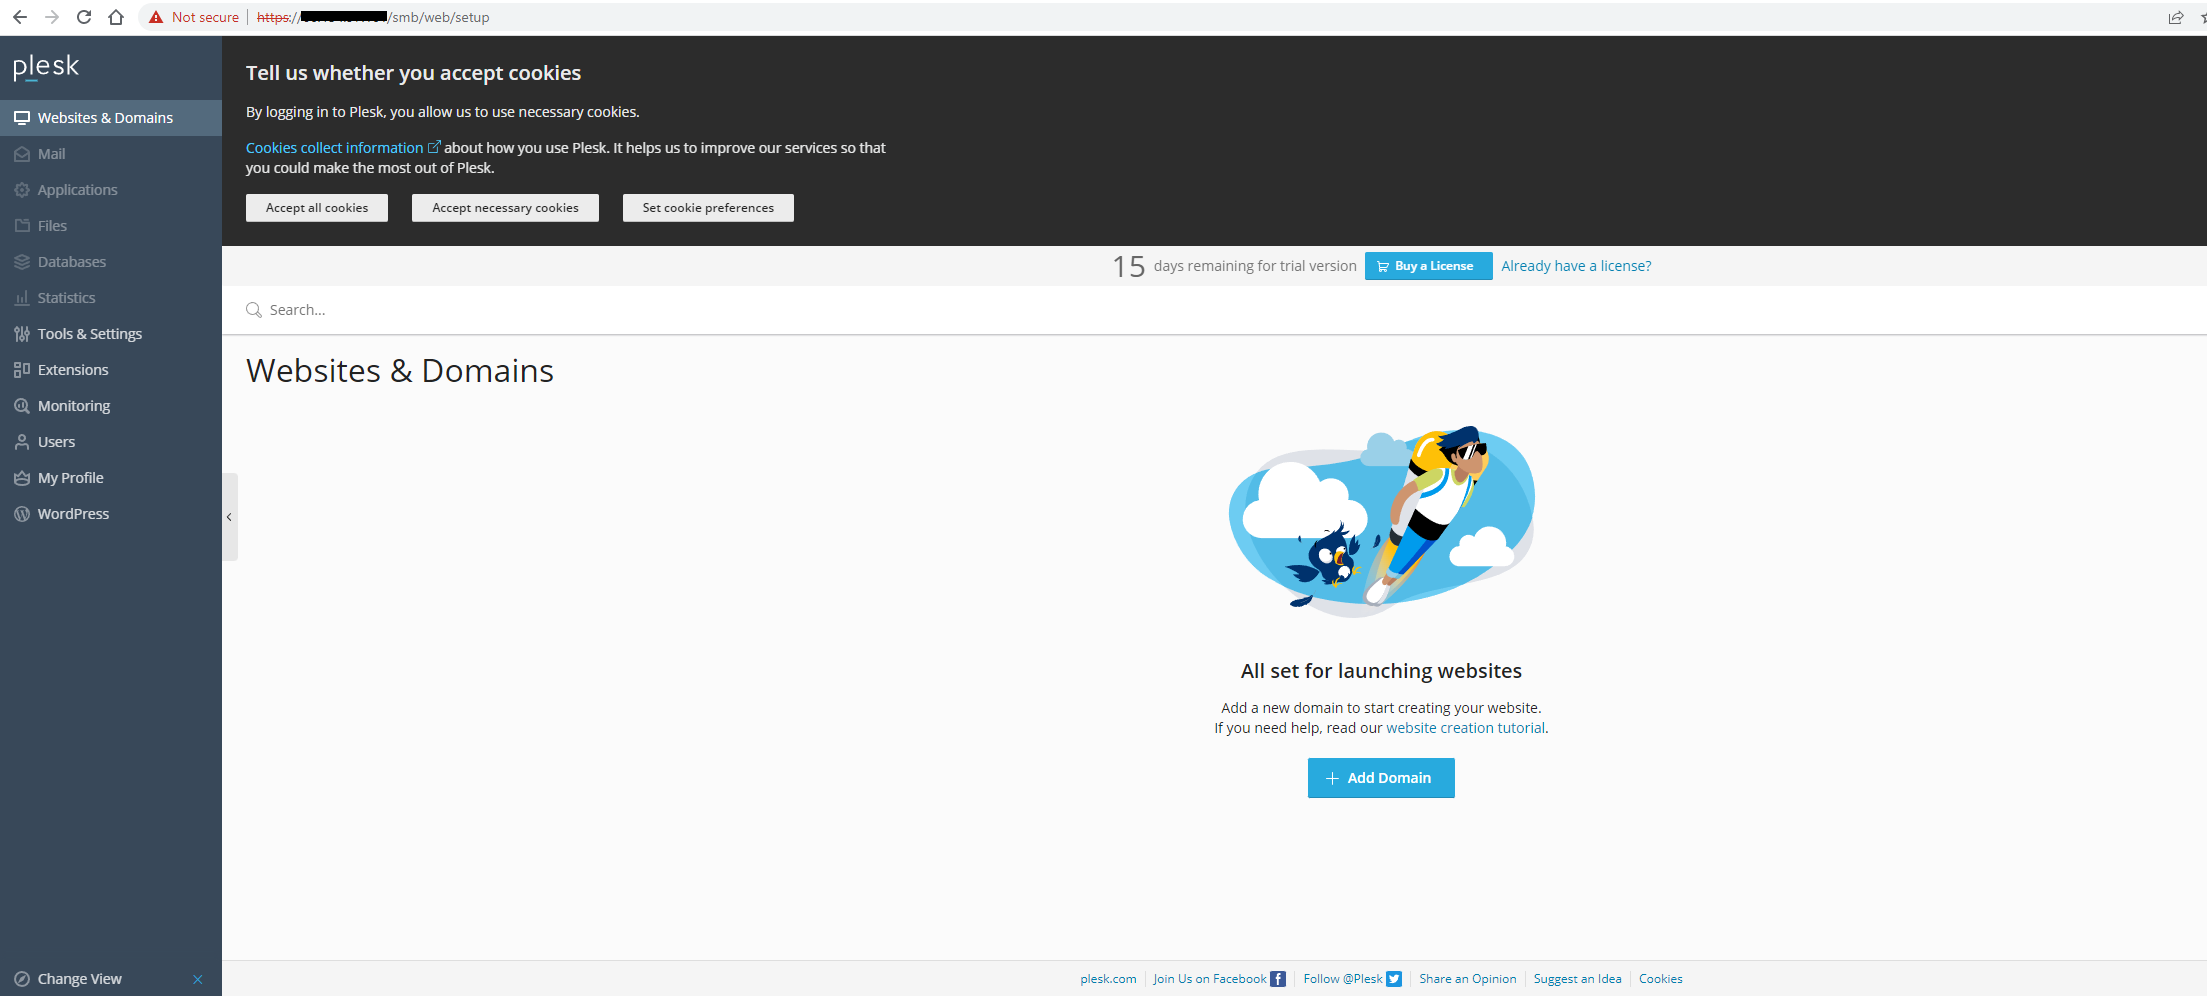
- When setup scripts finished it’s work, panel will be ready to use:
Summary
After this article reading you knew about Plesk panel, aims-to-use it, system requirements and installation steps.

