
How to Install Zeek Network Security Monitoring Tool on Ubuntu 22.04
Zeek, formerly known as Bro, is an open-source network security monitoring tool to analyze real-time network traffic. It captures packets and interprets their contents to provide insights into the activities and behaviors occurring on a network.
Zeek Network Security Monitoring offers a powerful and flexible solution for organizations seeking to enhance their network security posture by gaining deeper insights into network traffic and detecting potential threats in real time.
This tutorial will guide you through the installation of the Zeek tool on Ubuntu 22.04.
Step 1 – Install Zeek
The Zeek package is not included in the Ubuntu default repository, so you will need to add Zeek’s official repository to APT.
First, download the Zeek GPG key.
apt update
apt upgrade -y
apt install curl gnupg2 wget -y
 curl -fsSL https://download.opensuse.org/repositories/security:zeek/xUbuntu_22.04/Release.key | gpg --dearmor | tee /etc/apt/trusted.gpg.d/security_zeek.gpg > /dev/null
echo 'deb http://download.opensuse.org/repositories/security:/zeek/xUbuntu_22.04/ /' | tee /etc/apt/sources.list.d/security:zeek.list
Then, update the repository index and install Zeek using the following command.
apt update -y
apt install zeek -y
During the installation, you will be asked to select your mail server.
Select local only and press the Enter key. You will be asked to provide your mail server hostname.
Once Zeek is installed, add Zeek’s path to the .bashrc file.
echo "export PATH=$PATH:/opt/zeek/bin" >> ~/.bashrc
Reload the .bashrc file using the following command.
source ~/.bashrc
Next, verify the Zeek version using the following command.
zeek --version
Output.

Step 2 – Configure Zeek
Zeek’s default configuration file is located at /opt/zeek/etc/networks.cfg. You can edit it using the Nano editor.
nano /opt/zeek/etc/networks.cfg
Add your internal network as shown below:
64.44.x.0/24 Local Network
Then, edit the Zeek node.cfg configuration file.
nano /opt/zeek/etc/node.cfg
Comment out the following line:
#[zeek]
#type=standalone
#host=localhost
#interface=eth0
Then, add the following configurations.
[zeek-logger]
type=logger
host=your-server-ip
#
[zeek-manager]
type=manager
host=your-server-ip
#
[zeek-proxy]
type=proxy
host=your-server-ip
#
[zeek-worker]
type=worker
host=your-server-ip
interface=eth0

[zeek-worker-lo]
type=worker
host=localhost
interface=lo
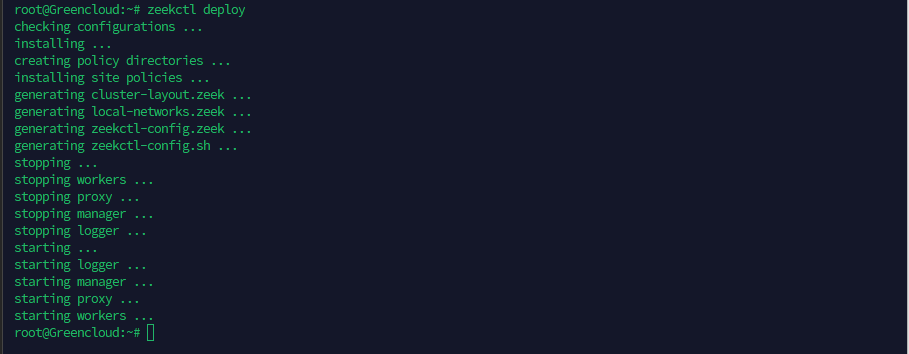
Save and close the file, then apply the above configurations using the following command.
zeekctl deploy
You will see the following output.
You can check Zeek’s status using the zeekctl command.
zeekctl status
Output.

Step 3 – Check Zeek Log Files
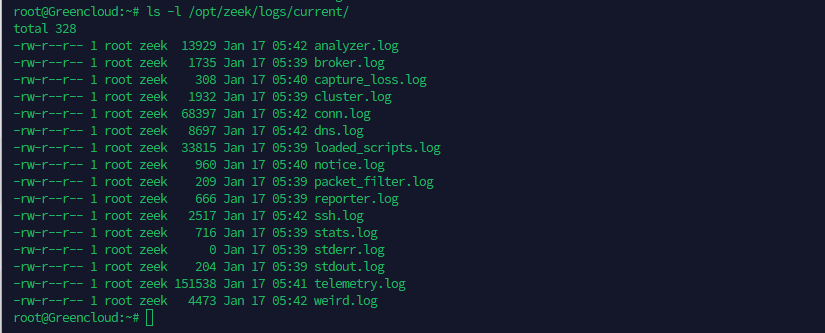
By default, Zeek stores all log files at /opt/zeek/logs/current/.
To see Zeek log files, run the following command.
ls -l /opt/zeek/logs/current/
Output.
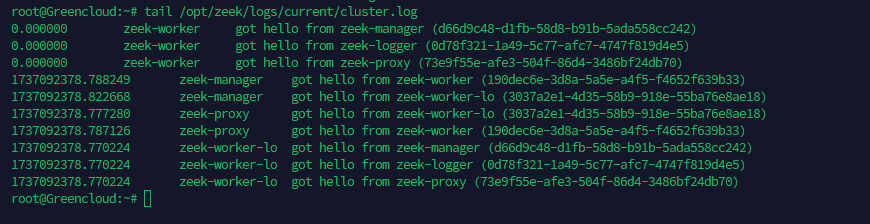
Verify the Zeek cluster log file using the following command.
tail /opt/zeek/logs/current/cluster.log
Output.
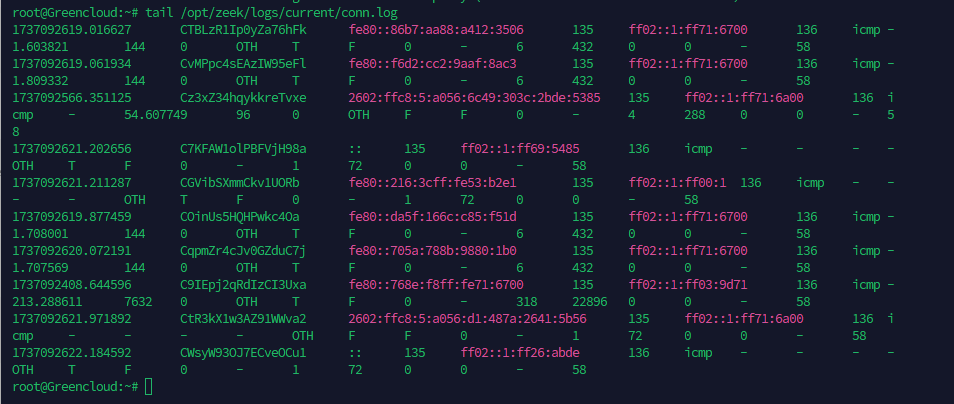
To check the Zeek connection status, run the following command.
tail /opt/zeek/logs/current/conn.log
Output.
To stop Zeek, run the following command.
zeekctl stop
Conclusion
Following the step-by-step installation guide outlined in this article, users can deploy Zeek on Ubuntu 22.04 and leverage its capabilities to enhance their network security posture, detect malicious activities, and safeguard critical assets against cyber threats. Try to deploy Zeek on a VPS from Greencloud!
