How to extend the hard drive after upgrading a MacOS VPS
After you have successfully upgraded your MacOS VPS, you need to do the following to expand the hard drive for your VPS. In this tutorial, we give an example of a hard drive upgrade from 40 GB to 60 GB.
For macOS Mojave/Catalina/Big Sur/Moterey
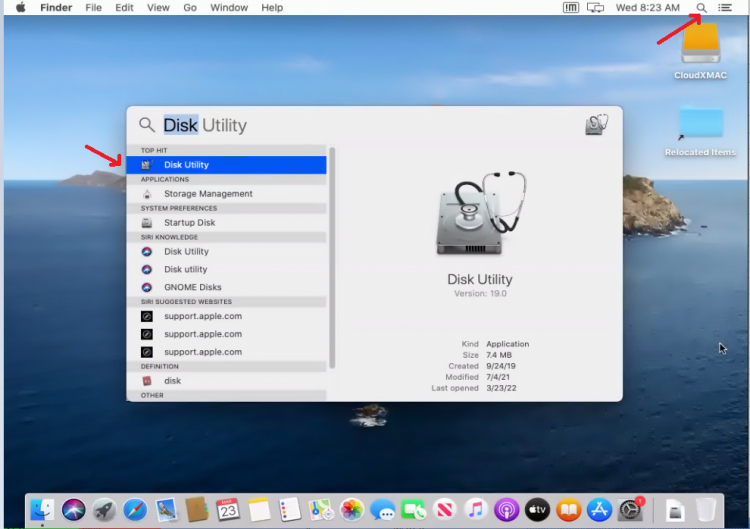
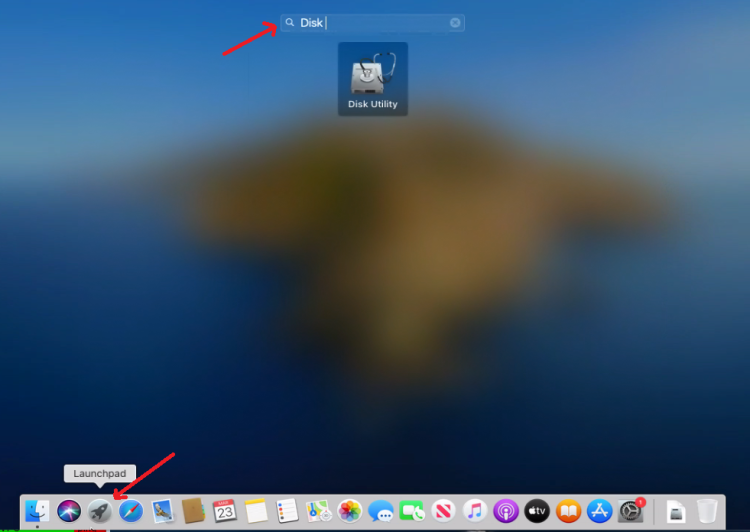
1. First you open Disk Utility (click search or click Launchpad, type Disk to found)
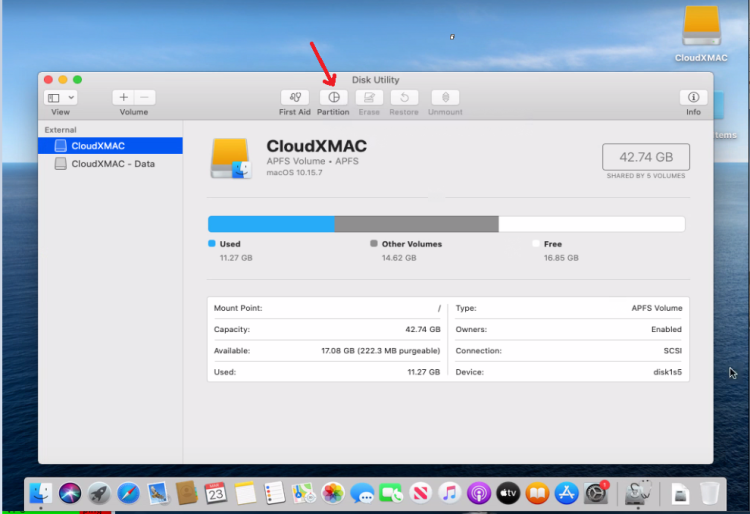
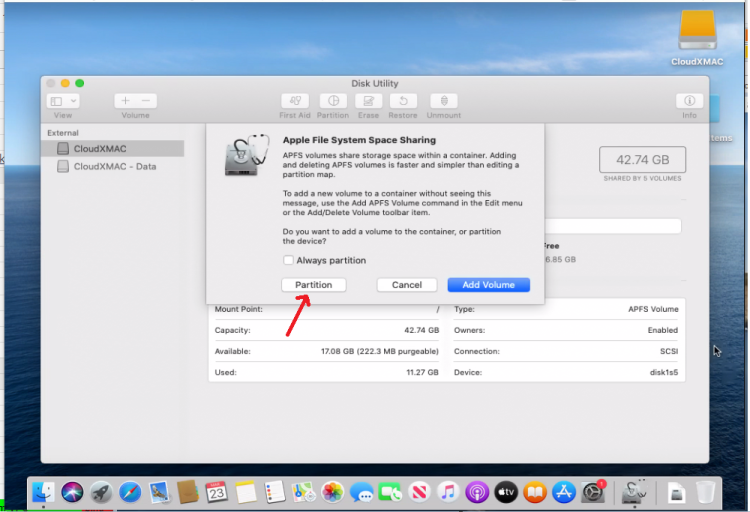
2. At the Disk Utility interface, select Partition ->Partition
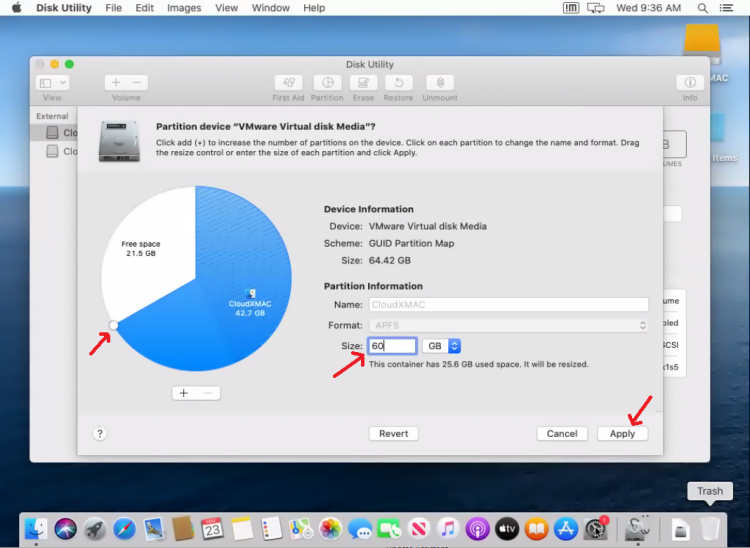
3. When the hard drive area circle appears, please click or drag then edit the hard drive size and then click Apply
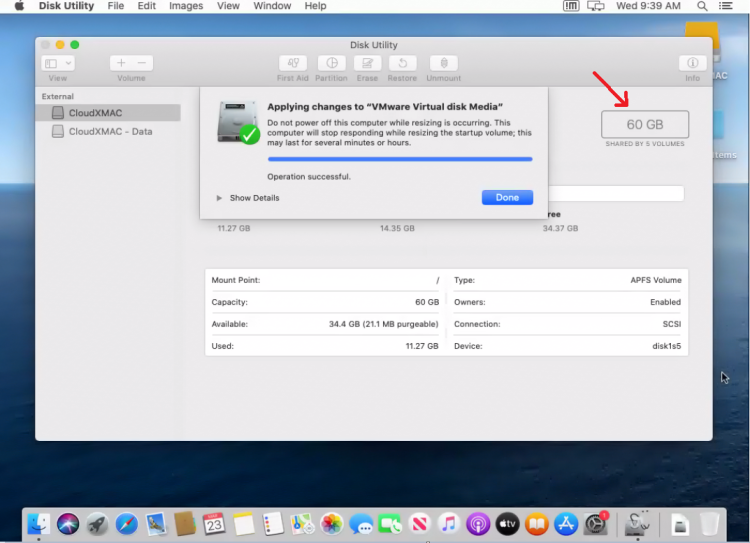
4. Please wait a few minutes for the expand to be done
Good Luck!

