How to configure iSCSI Initiator on Windows Server 2019
In our previous guide, we got to install and configure iSCSI Target in Windows Server 2019. As you know, the target will be useless unless initiators take advantage of them. We are thus going to configure an initiator to connect to the ready target.
Step 1: Open Server Manager

Step 2: Click on Tools and choose “iSCSI Initiator”
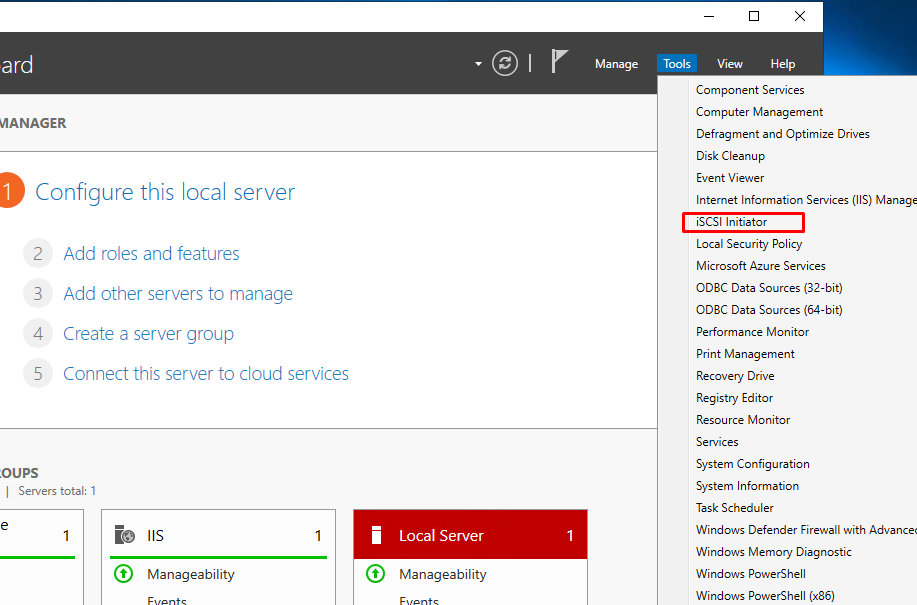
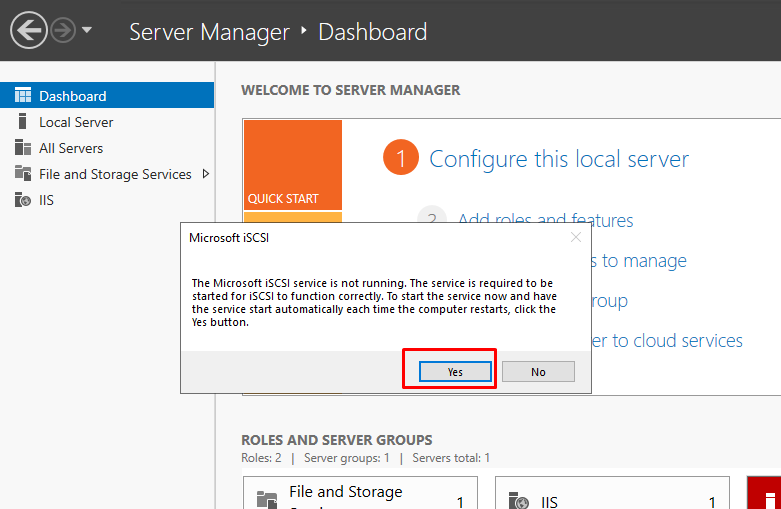
A small pop-up window will come up. Click on “Yes” to iSCSI service run by default and proceed to “iSCSI Initiator Properties” wizard that results.
Step 3: Key in the IP Address of Target Server
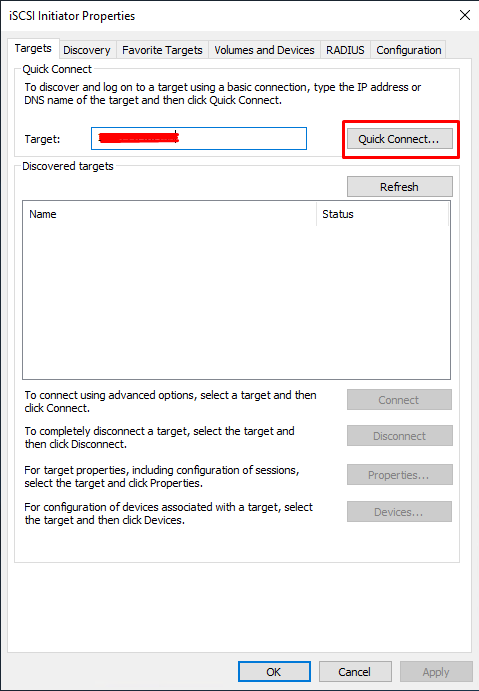
iSCSI Initiator Properties window opens up as shown below:
Key in IP Address of iSCSI Target Server and click on “Quick Connect“
Step 4: iSCSI Target Discovered
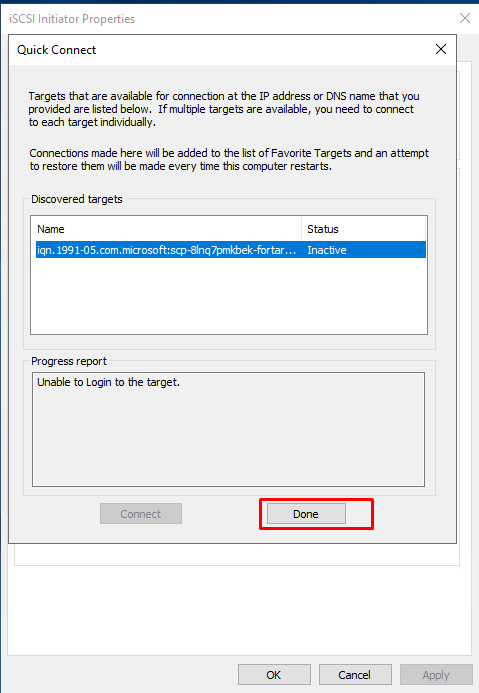
Once you clicked on “Quick Connect“, your target, though inactive, should be discovered as shown below. Click on “Done“.
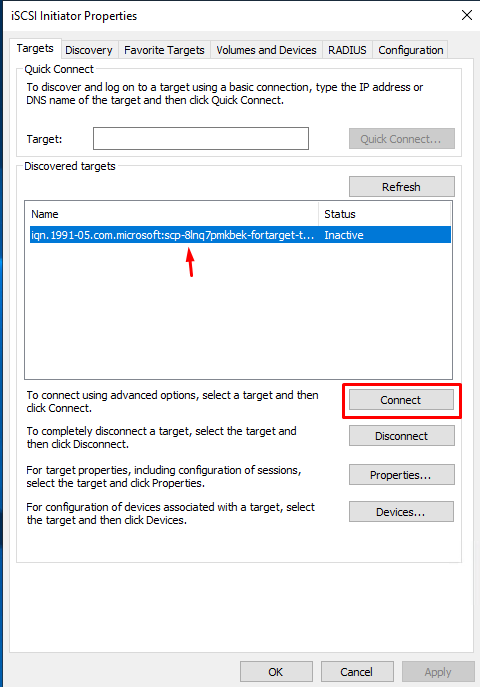
Step 5: Highlight discovered target and connect
Click on the discovered target and click on “Connect“.
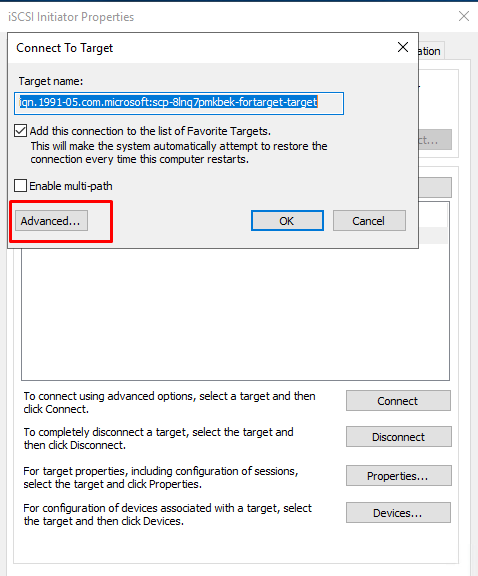
Step 6: Click Advanced to set advanced settings
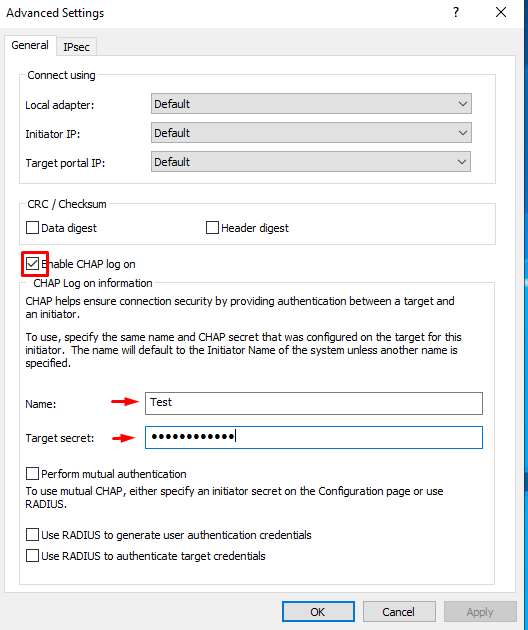
On the advanced settings window, you have four options you can use for authentications as can be seen on the window. We are going to use CHAP in this guide. Check the CHAP box then input your username and password that we set in the target earlier then press enter key.
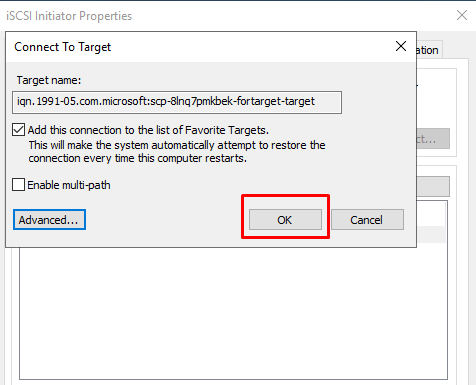
Step 7: Click on “OK” after the previous step
After you hit enter, the familiar “Connect to Target” pop-up results as shown below. Just click on “OK“
Step 8: Connect to the Target
After step 7, the status should change to connected as shown below.

Step 9: Configuring the connected disk in disk manager
Open the disk manager to confirm and configure the new connected device if it exists.

Step 10: Make Disk come online
Once disk management is up, you will notice that the added device is offline and in unknown states. To change this, right-click where you see the label of the disk and choose “online” option as illustrated below.

Step 11: Initialize Disk
Step 10 makes the disk come online but still remains in an uninitialized state. To initialize, right-click on it as before and new items will appear. Select the first option that is “Initialize Disk“.

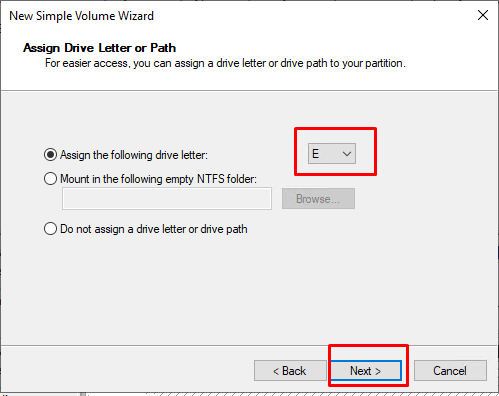
Step 12: Create a new simple volume.
Right-click on the unallocated space and select “New Simple Volume“. That should bring up a “New Simple Volume Wizard“.
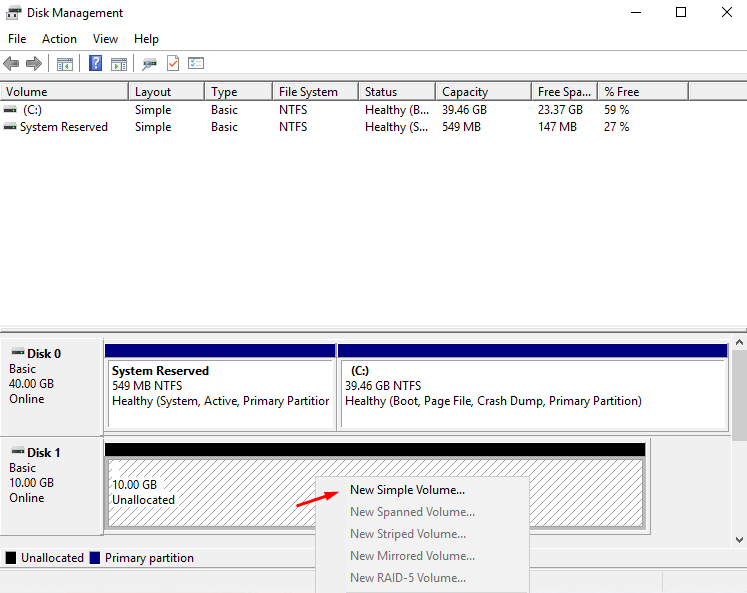
Then select Next until the end.


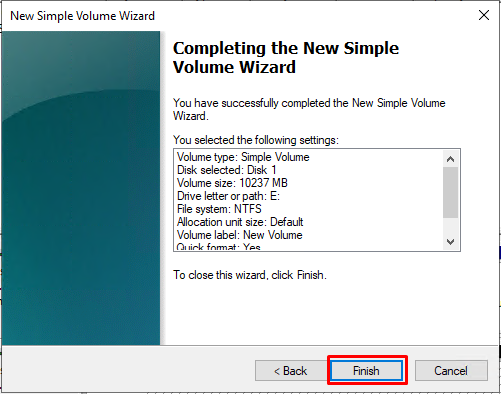
The disk is finally “Online” and Healthy with a disk letter as shown below.

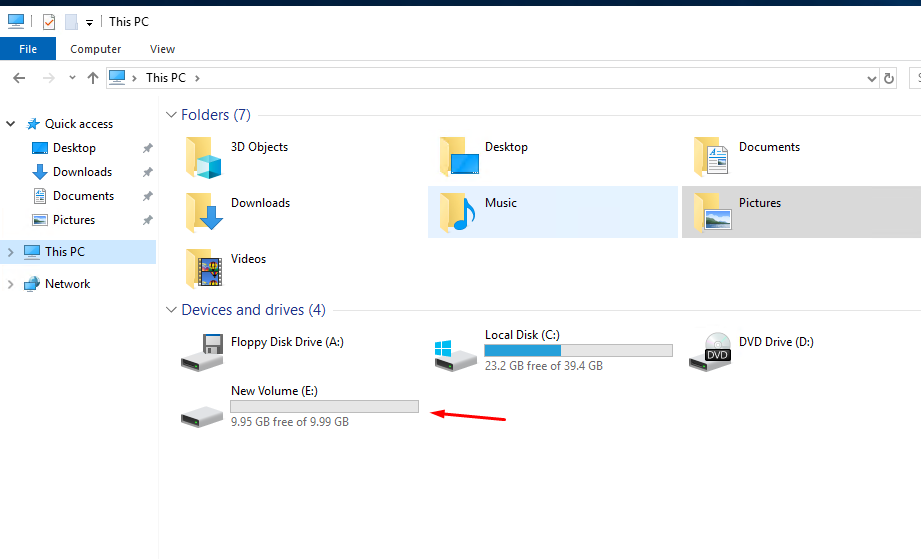
Step 13: Confirm the Disk is available from the file manager
Conclusion
We have successfully managed to connect our iSCSI initiator to the iSCSI Target. Next, we are going to use iSCSI initiator and connect to our Target Server. That’s all we guide you in this article !

