How to Install Debian 12 iso in SolusVM Control Panel
Estimated reading: 5 minutes
1161 views
Welcome to this comprehensive guide on installing Debian 12, Debian 12 brings many enhancements, including updated software packages, improved hardware support, and increased stability. This step-by-step tutorial will walk you through the steps to install Debian 12, ensuring a smooth and successful setup of Debian 12 on your system. Let’s dive in and get Debian 12 up and running on your machine!
In this tutorial, we are installing Debian 12 on a KVM virtualization
2. Boot the System with Bootable Media and choose the install type
Select Install (this will start the text installer – if you prefer a graphical Installer, select Graphical install)
3. Language Selection
In this step, you will be prompted to select the language that will be used for both the installation process and the system language in Debian 12. Choose your preferred language from the available options to proceed with the installation.
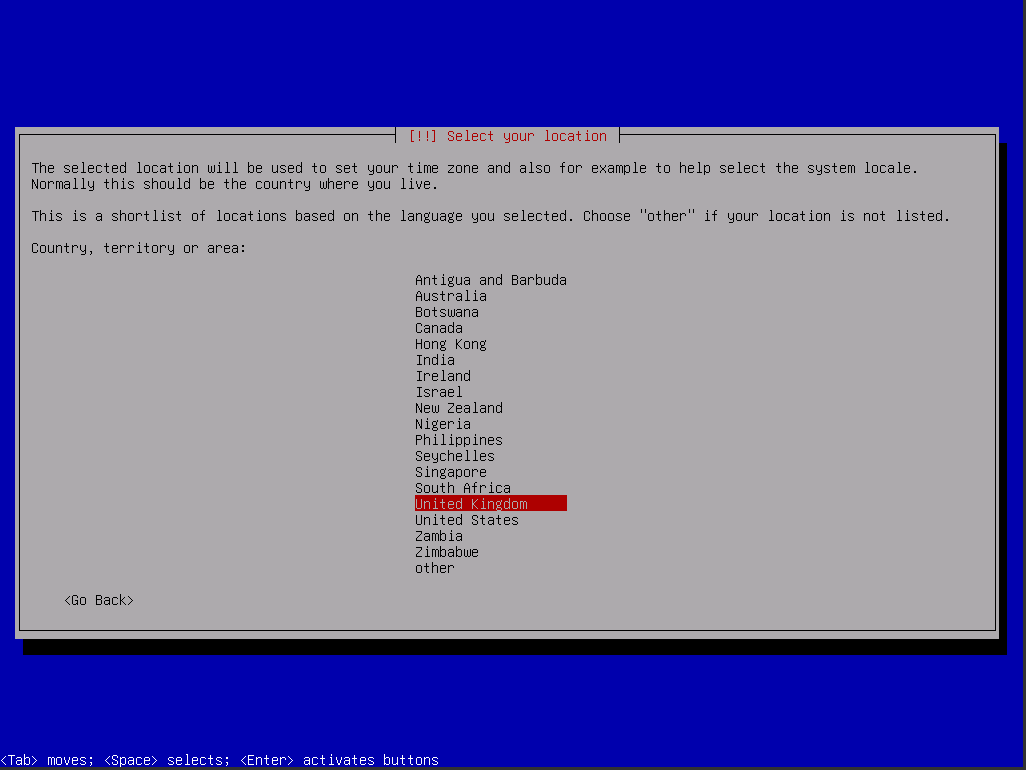
4. Select Your Location
In this step, you will be required to select your location, which will automatically set the appropriate time zone for your Debian 12 installation.
5. Keyboard Configuration
Select the appropriate keyboard layout from the available options that match your physical keyboard and click Continue.
After choosing the Keyboard layout, click Continue. Now, some installer components will be loaded from the disk before going to the next step.
The installer checks the installation CD and your hardware and configures the network with DHCP if there is a DHCP server in the network
Enter hostname. In this example, my system is called server1.example.com, so I enter server1:
Enter your domain name. In this example, this is greencloudvps.com
Afterward, give the root user a password
Confirm that password to avoid typos:
Create a Linux user account, e.g. your name or nickname. For this example installation, I will choose the name “administrator” with the user name administrator (don’t use the user name admin as it is a reserved name on Debian Linux)
Now you have to partition your hard disk. For simplicity’s sake, I select Guided – use entire disk – this will create a large partition for the / file system and another one for swap (of course, the partitioning is totally up to you – if you know what you’re doing, you can also set up your partitions manually). For hosting systems like the ISPConfig 3 perfect server tutorials, you might want to choose e.g., 60GB for / and a large /var partition, as all website and email data is stored in subdirectories of /var.
Select the disk that you want to partition
Then select the partitioning scheme. As mentioned before, I select All files in one partition (recommended for new users) for simplicity’s sake – it’s up to your liking what you choose here:
When you’re finished, select Finish partitioning and write changes to disk:
Select Yes when you’re asked: “Write changes to disk?”:
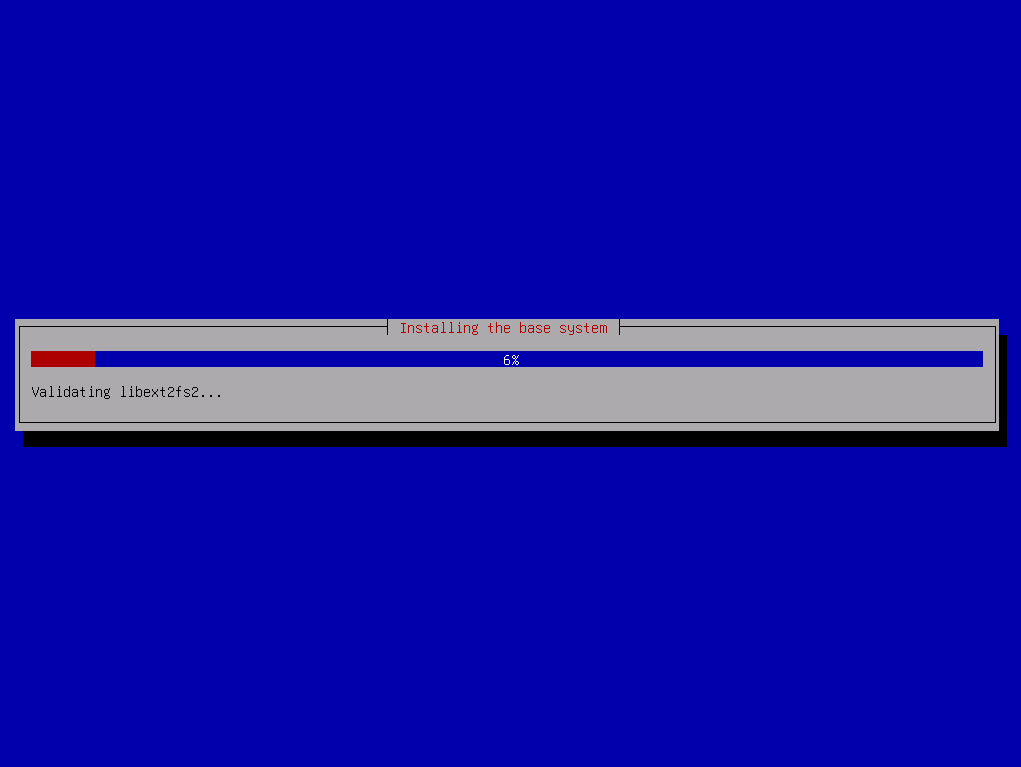
Afterward, your new partitions are created and formatted. Now the partitions are created, and the base system is installed:
It might be that the following screen pop’s up, depending on your install media. I will do a network-based installation (all additional installation packages get downloaded from the internet), so I choose here not to scan any additional install disks.
You can skip the package usage survey by selecting No:
We select Standard system utilities and SSH server (so I can immediately connect to the system with an SSH client such as PuTTY after the installation has finished) and then hit Continue.
Some might argue that one should not install Standard System Utilities on a minimal server. Still, in my opinion, you will need most of the standard utilities later anyway, so I will install them on this server as part of the base setup.
When you’re asked to Install the GRUB boot loader to the master boot record?, select Yes:
The installer might ask you which partition Grub shall be installed to. This server has just one hard disk, so I choose /dev/vda here.
Press enter and the Installer will install Grub and finish the installation.
The base system installation is now finished. Remove the Debian Netinstall CD from the CD drive and hit Continue to reboot the system:
Note: Don’t forget to change the boot medium from "(1) Hard Disk (2) CDROM" and unmount iso file in SolusVM then reboot If you are installing on another computer/device other than our SolusVM then you can skip without doing that
6. Login Screen After Installation
A few seconds later, the login prompt should show up
Log in with the username “root” and the root password that you have chosen during installation. When you log in by SSH, use the username “administrator” as the root user is disabled for remote logins. Then run the command “su -“: To become the root user. It is important that you use the command su with ‘-‘ or use ‘su –login’ as this is required to initialize the PATH variable correctly for the root user.
Please note: If you are installing on another computer/device other than our SolusVM then you need to configure the network on your debian server according to the instructions here
Perfect, the above confirms that Debian 12 has been installed successfully. That’s all from this guide. Please don’t hesitate to post your queries and feedback in below comments section below.