
How to Install Nexus Repository Manager on Ubuntu 24.04
In this article, we will cover how to install Nexus Repository Manager on Ubuntu 24.04 LTS.
Effective dependency management and artifact storage are essential for high-quality applications in today’s software development environment. Nexus Repository, an open-source tool by Sonatype, offers a powerful solution for managing binaries, libraries, and other artifacts throughout the development lifecycle. It streamlines collaboration by enabling teams to share and deploy artifacts efficiently.
This article provides a step-by-step guide to installing Nexus Repository on Ubuntu 24.04 LTS. Whether you’re an experienced developer or just starting, this guide will help you set up your Nexus instance to enhance your development workflow. Let’s get started!
Prerequisites
- Ubuntu 24.04 LTS with minimal installation
- SSH Access with admin privileges
Install OpenJDK 17 on Ubuntu 24.04 LTS
apt update
apt install openjdk-17-jdk -y
Verify the installation:
java -version

Download and Install Nexus Repository Manager on Ubuntu 24.04 LTS
Go to the Nexus Repository downloads page and copy the link for the latest version. Then, use get to download it.
cd /opt
wget https://download.sonatype.com/nexus/3/nexus-unix-x86-64-3.78.2-04.tar.gz
Once the download is complete, extract the tarball:
tar -xvzf nexus-unix-x86-64-3.78.2-04.tar.gz
Rename the extracted Nexus setup folder to nexus:
mv /opt/nexus-3.78.2-04 /opt/nexus
As a security practice, do not run the Nexus service using the root user, so let’s create a new user named nexus to run the Nexus service:
adduser nexusTo set no password for the Nexus user, open the visudo file in Ubuntu:
visudoAdd the below line into it, save, and exit:
nexus ALL=(ALL) NOPASSWD: ALLPermit the nexus files and the nexus directory for the nexus user:
chown -R nexus:nexus /opt/nexus
chown -R nexus:nexus /opt/sonatype-worknano /opt/nexus/bin/nexus.rcUncomment and add:
run_as_user="nexus"Open the /opt/nexus/bin/nexus.vmoptions file:
nano /opt/nexus/bin/nexus.vmoptionsTo increase the nexus JVM heap size, you can modify the size as shown below:
-Xms1024m
-Xmx1024m
-XX:MaxDirectMemorySize=1024m
Run Nexus as a service using Systemd
sudo nano /etc/systemd/system/nexus.service
Insert the content:
[Unit]
Description=nexus service
After=network.target

[Service]
Type=forking
LimitNOFILE=65536
ExecStart=/opt/nexus/bin/nexus start
ExecStop=/opt/nexus/bin/nexus stop
User=nexus
Restart=on-abort

[Install]
WantedBy=multi-user.targetsystemctl start nexusEnable Nexus service at system startup:
systemctl enable nexusCheck Nexus service status:
systemctl status nexus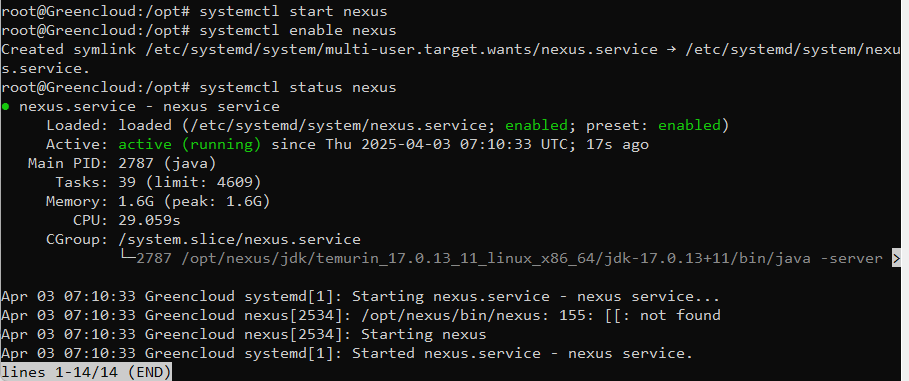
Access Nexus Repository on Web Interface
If you are running UFW firewall on Ubuntu, open the firewall port 8081 using the command below:
ufw allow 8081/tcpUse the command below to open the Nexus repository web interface:
http://server_IP:8081You will see below the default Nexus page:
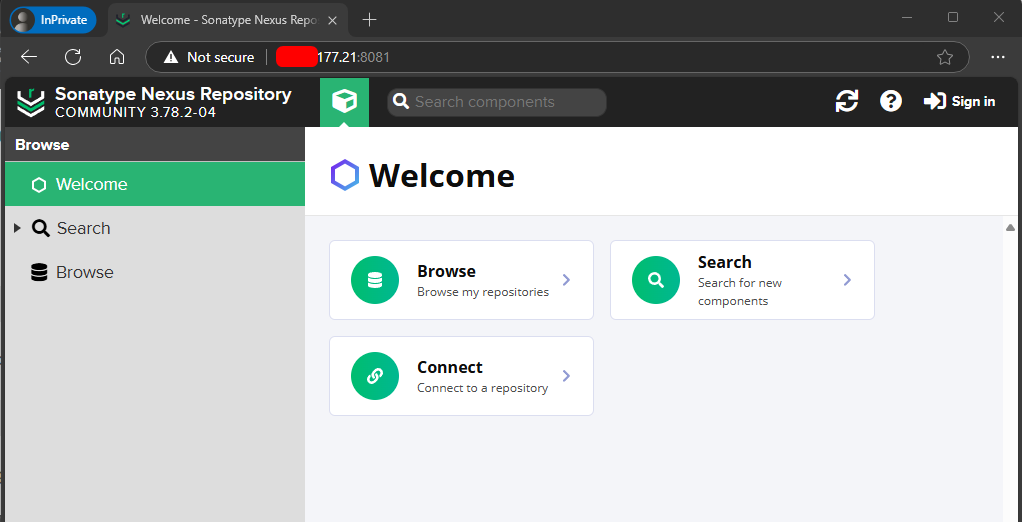
To log in to Nexus, click on Sign In. The default username is admin
To find the default password, run the following command:
nano /opt/sonatype-work/nexus3/admin.passwordCopy the default Nexus password and login. You can reset the password once logged in to Nexus:
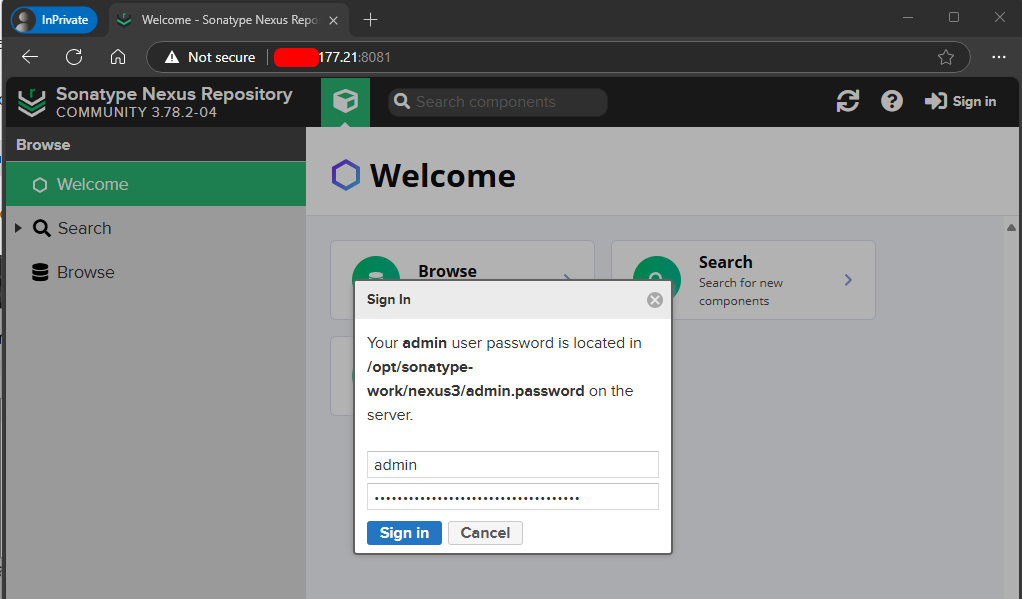
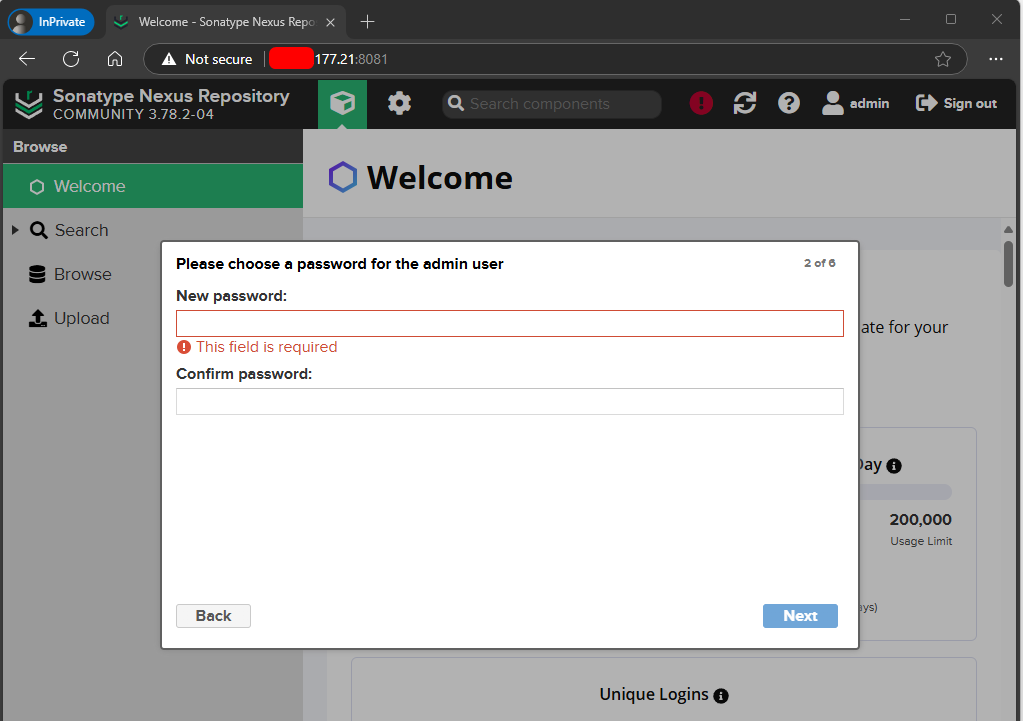
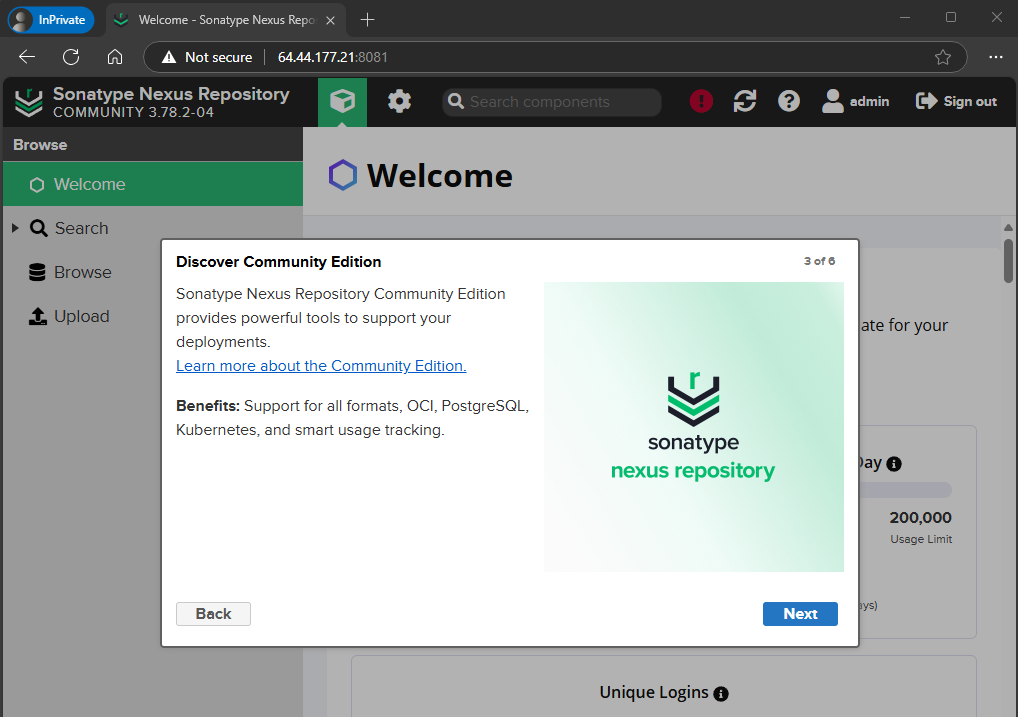
The below Nexus setup wizard will show:
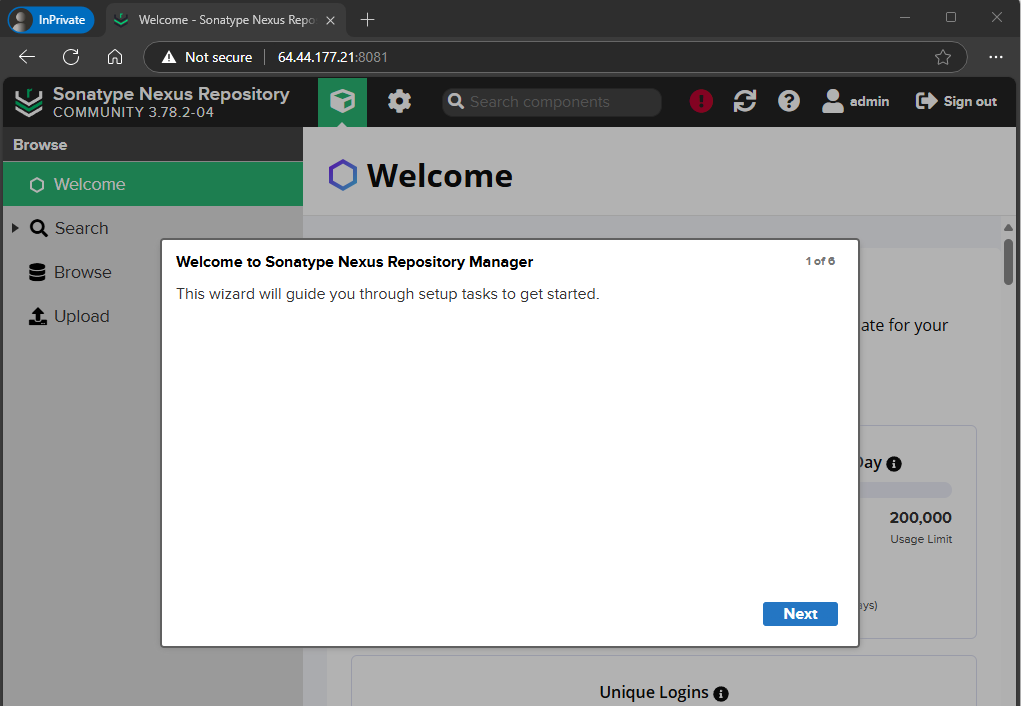
Change the default Nexus admin password:
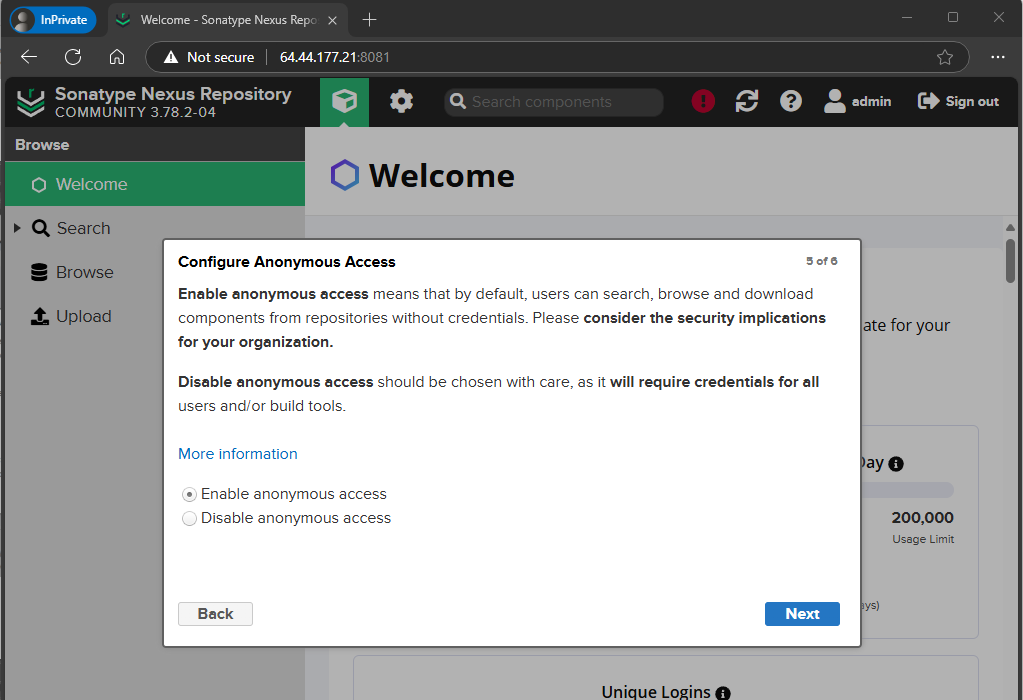
Configure Anonymous Access:
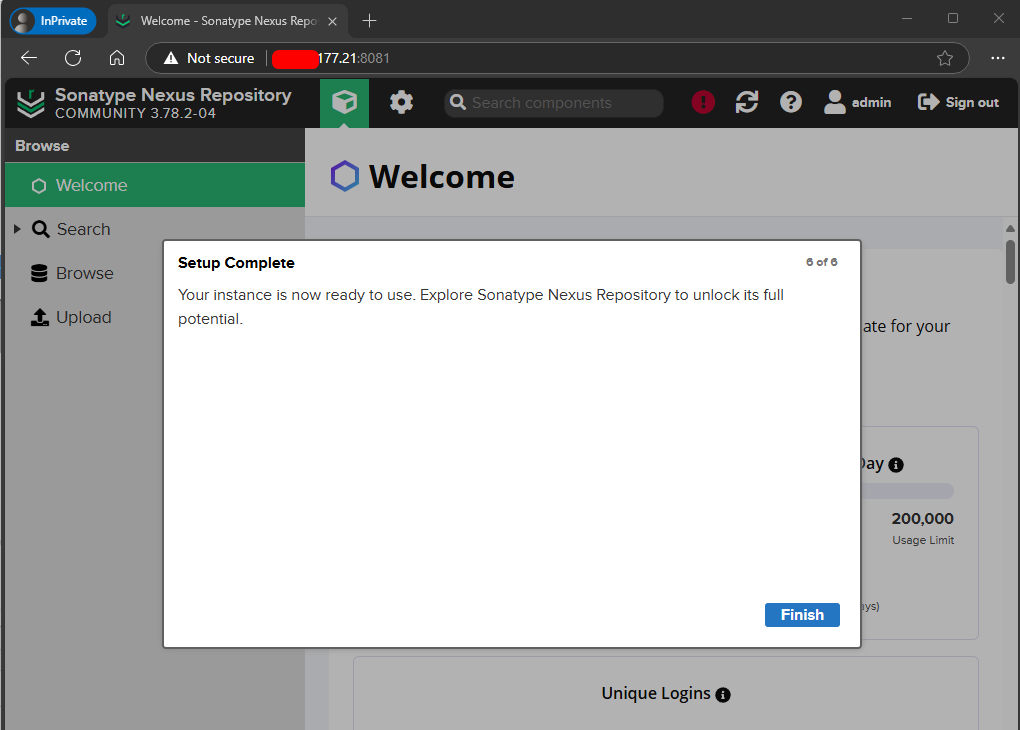
Click on Finish:
Conclusion:
In this article, we have covered how to install Nexus Repository Manager on Ubuntu 24.04 LTS.
You have successfully installed Nexus Repository on Ubuntu 24.04 LTS! With your Nexus instance operational, you can now efficiently manage and store your software artifacts, enhancing your development workflow. Explore its features to customize your artifact management and consider integrating it with your CI/CD pipelines for even greater efficiency.
