How to install Gradle on Ubuntu 22.04
Gradle is a general-purpose build tool used primarily for Java projects. It combines the best features of Ant and Maven. Unlike its predecessors which use XML for scripting, Gradle uses Groovy, a dynamic, object-oriented programming language for the Java platform to define the project and build scripts.
In this tutorial, we will show you how to install Gradle on Ubuntu 22.04. The same instructions apply for Ubuntu 20.04 and any Ubuntu-based distribution, including Linux Mint and Elementary OS.
Prerequisites
In order to be able to install packages on your Ubuntu system, you must be logged in as a user with sudo privileges
Installing Gradle on Ubuntu
The following sections provide step-by-step instructions about how to install the latest Gradle version on Ubuntu 22.04. We’ll be downloading the latest release of Gradle from their official website
1. Install OpenJDK
Gradle is dependent on Java, so we will first install the latest version of Java available in the default repository of Ubuntu. Start by updating the package index:
# apt update
Install the OpenJDK package by typing:
# apt install default-jdk -y
Verify the Java installation by running the following command which will print the Java version:
# java -version
The output should look something like this:

2. Download Gradle
Now after installing the Java, we will download the package Gradle from its official website in the tmp directory of Ubuntu using the wget command:
# wget -c https://services.gradle.org/distributions/gradle-7.4.2-bin.zip -P /tmp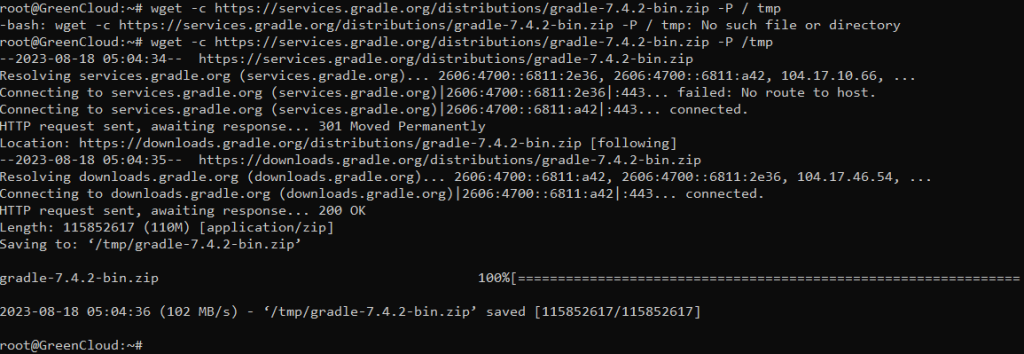
Once the download is completed, extract the zip file in the /opt/gradle directory:
# apt install unzip
# unzip -d /opt/gradle /tmp/gradle-*.zip
Now again list down the unzipped files by executing the ls command:
# ls /opt/gradle

3. Setup environment variables
Next, we’ll need to configure the PATH environment variable to include the Gradle bin directory. To do so, open your text editor and create a new file named gradle.sh inside of the /etc/profile.d/ directory.
# nano /etc/profile.d/gradle.sh
Paste the following configuration:
export PATH=/opt/gradle/gradle-7.4.2/bin:$PATH
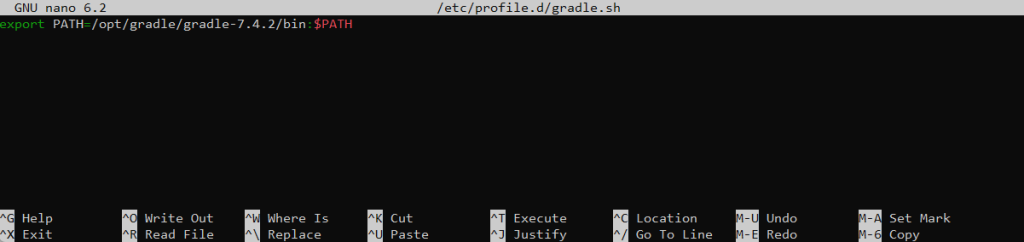
Save and close the file. This script will be sourced at shell startup.
Make the script executable by issuing the following chmod command:
# chmod +x /etc/profile.d/gradle.sh
Load the environment variables using the source command :
# source /etc/profile.d/gradle.sh
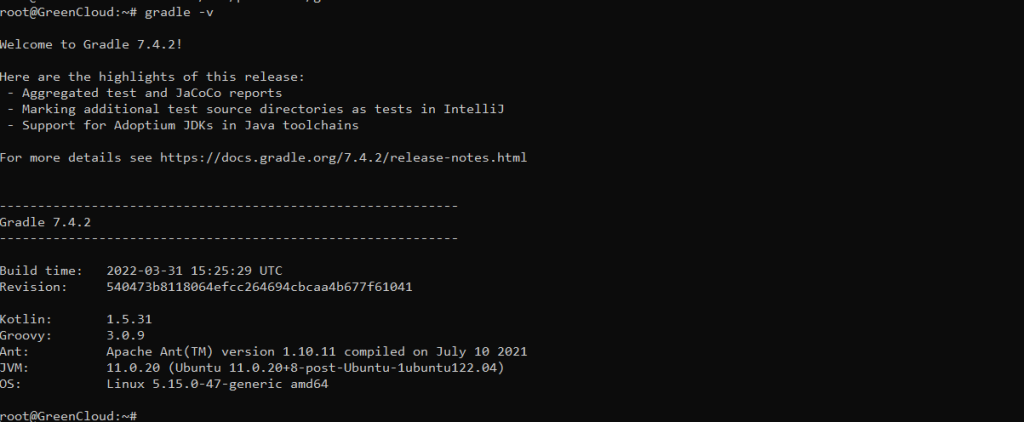
4. Verify the Gradle installation
To validate that Gradle is installed properly use the gradle -v command which will display the Gradle version:
# gradle -v
You should see something like the following:
That’s it. The latest version of Gradle is now installed on your Ubuntu system.
Conclusion
Gradle is a tool used to build, automate, test, and maintain applications, whether they are mobile applications or applications designed to provide microservices. In this guide, Gradle’s installation method on Ubuntu has been explored by downloading its package from its official website.
Good Luck!

