How to file Share through RDP from MacOS
In this article we will show you how to share files from your MacOS to RDP efficiently.
File Share through RDP from MacOS
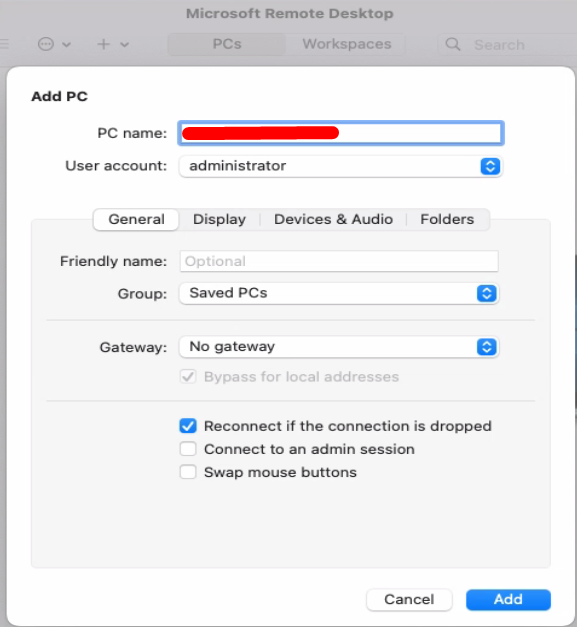
Step 1: Launch the Microsoft Remote Desktop application and fill out the computer and username fields, following our guide here if you would like instructions:
How to Use RDP – Best Remote Desktop for Mac
Step 2: Click on the “folders” tab, and then click the “Redirect folders” check box.
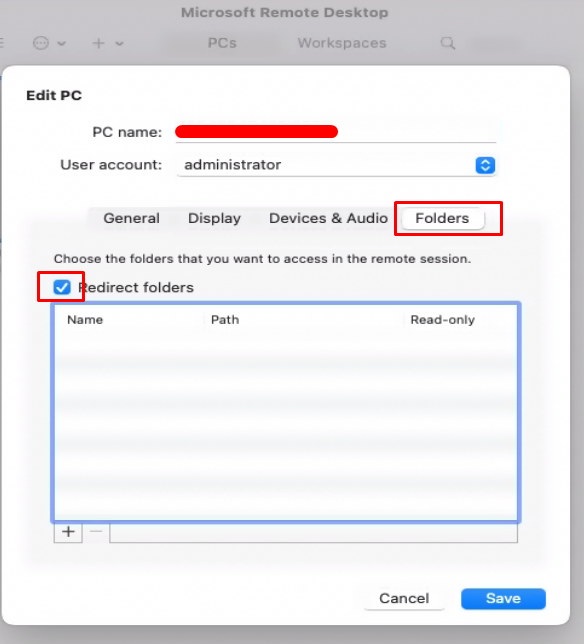
Step 3: Click the plus (“+”) button in the lower left corner to select a new folder to make available for folder sharing.
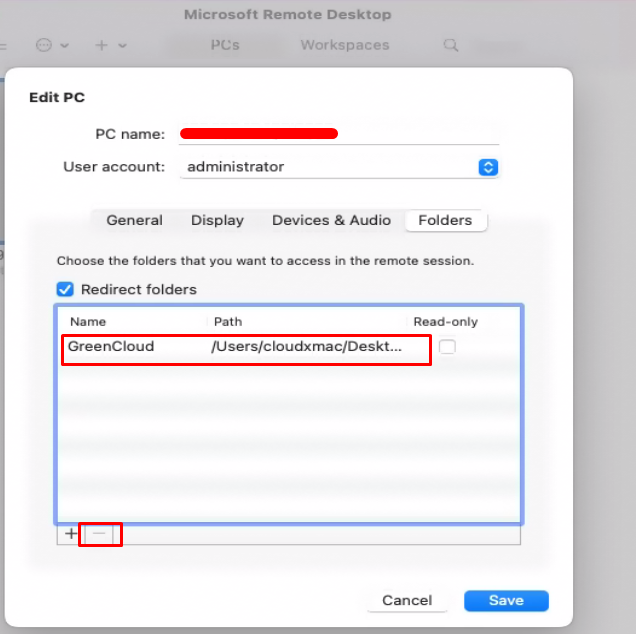
Select the file you want to share then select OPEN.

Once a folder has been added (in this case, desktop), it will appear in the list of shared folders, as shown below. The minus (“-“) button in the lower left hand corner can be used to remove a folder you no longer want to be available for sharing.
Step 4: Log in to RDP, from within the remote session, navigate to “This PC” within the File Explorer. The drives that you have selected will appear under the “Redirected drives and folders” section.

Drag files to and from the drive like you would any other folder.
That’s all about File Share via RDP from MacOS in this article. Good Luck!
