How to create a bind-mount on AlmaLinux 9
A bind mount allows us to mount a file system or a subset of a file system in two places at once. They can be used for different reasons when parts of the file system need to be made available in various locations.
In this article, we will guide you in creating a bind-mount on AlmaLinux 9.
Create Bind-Mount
Step 1: Navigate to a directory where you want to create a bind-mount by using the below command.
cd /mnt/
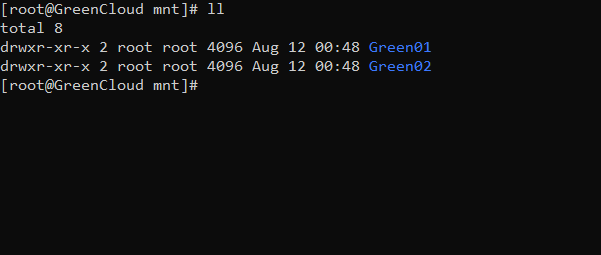
Step 2: Create two directories Green01 and Green02, where use Green01 as the source and Green02 as a bind-mount by using the below command.
mkdir Green01 Green02

Use the following command to list the directories.
ll
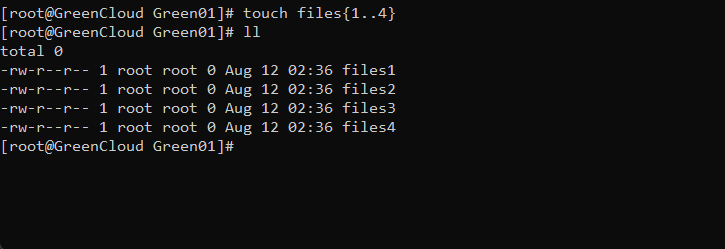
Step 3: Change the directory to directory 1 and Create multiple files by using the below commands.
cd Green01
touch files{1..4}
ll
Step 4: Create the bind-mount by using the below command.
mount --bind /mnt/Green01 /mnt/Green02/

Step 5: Navigate to the destination directory and list the contents in the directory by using the below command.
cd ../Green02/
ll
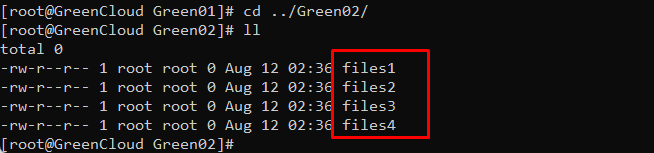
As you can see the files in the source folder Green01 have been copied to the destination folder Green02.
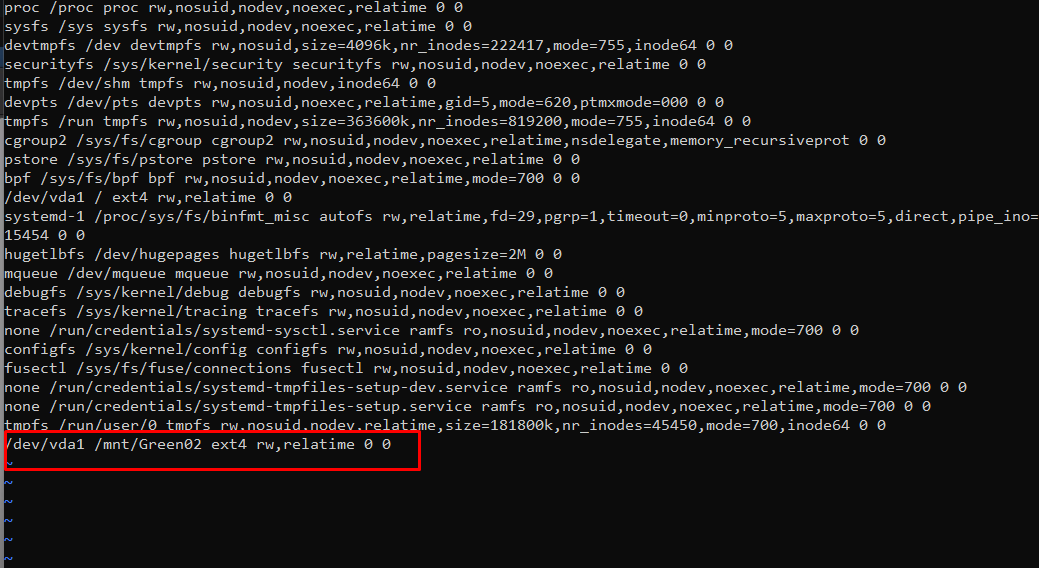
Step 6: To Check the bind-mounts entry, navigate to the following location by using the below command.
vi /etc/mtab
You can see the mounted link folders.
Step 7: Next, unbind the mount by using the below command.
cd ..
umount -l /mnt/Green02

Step 8: Verify the bind-mount directory where the contents of the source directory are removed by using the below command.
cd Green02
ll

So after unmounting, files were deleted from the destination folder Green02.
Step 9. Finally, verify the bind-mount entry in mtab by using the below command.
cat /etc/mtab
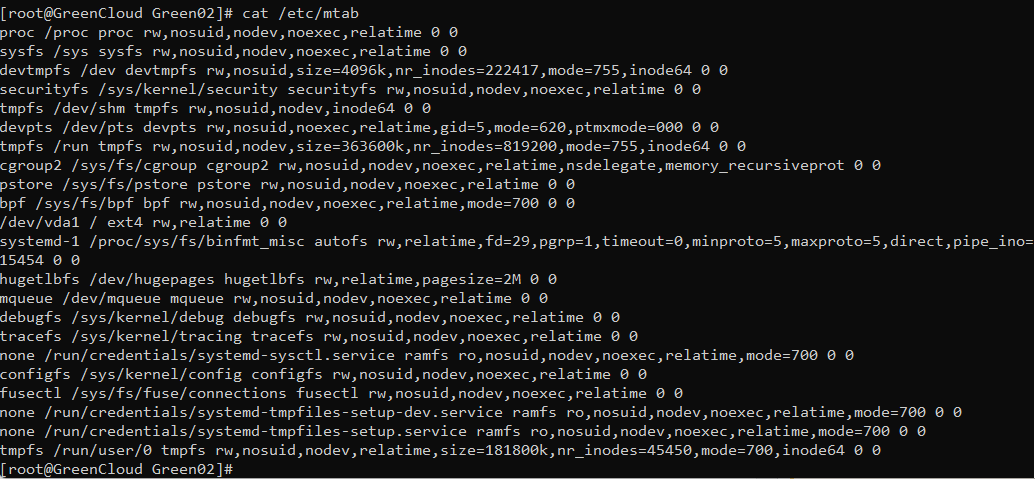
So, the bind-mount has been removed.
Conclusion
In this guide, we have walked you through the steps required to create a Bind-Mount on AlmaLinux 9. Your feedback is much welcome.

