How to install Varnish Cache for Apache on CentOS 7
Estimated reading: 4 minutes
1071 views
Introduction
Varnish Cache is a web application accelerator also known as a caching HTTP reverse proxy. You install it in front of any server that speaks HTTP and configure it to cache the contents. Varnish Cache is really, really fast. It typically speeds up delivery with a factor of 300 – 1000x, depending on your architecture.
This guide explains how to install Varnish Cache 6.0 with Apache on CentOS 7.
If you need to disable SELinux, see our article: “How to Disable SELinux on CentOS”
Prerequisites
A VPS/server running CentOS 7
Full root access
1. Configure Firewall
If you use FirewallD, modify the firewall rules to allow inbound traffic on port 80. If you are unsure of your firewall configuration, see our articles about FirewallD. These commands assume you have a freshly-deployed CentOS 7 instance:
Verify Varnish is installed and the correct version.
$ sudo varnishd -V
varnishd (varnish-6.0.8 revision 97e54ada6ac578af332e52b44d2038bb4fa4cd4a)
Copyright (c) 2006 Verdens Gang AS
Copyright (c) 2006-2020 Varnish Software AS
Enable Varnish at system boot.
$ systemctl enable --now varnish
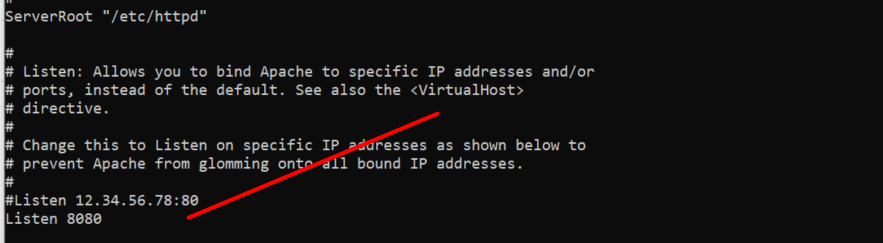
Configure Varnish to listen at port 80, from the default of 6081. Edit varnish.service with vi.
$ vi /usr/lib/systemd/system/varnish.service
Change the line beginning with ExecStart from port 6081 to port 80, then save and close the file.
Restart the Varnish service.
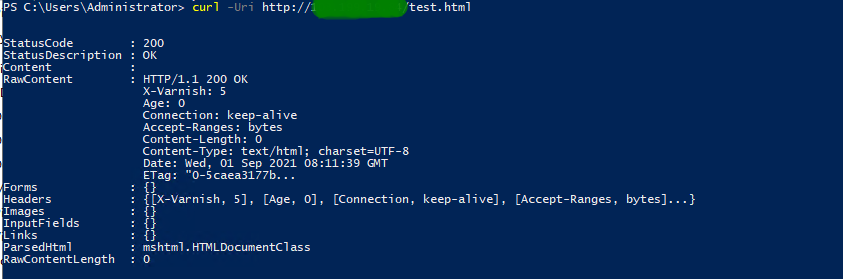
The output should resemble this. The X-Varnish: 2 and Via: 1.1 varnish (Varnish/6.0) headers appear when Varnish Cache is running.
Test from your local workstation, substitute your instance’s IP address. Verify the Varnish headers appear.
Linux:
$ curl -I http://(your VPS's IP)/test.html
Windows PowerShell:
PS> curl -Uri http://(your VPS's IP)/test.html
Troubleshooting
Check ports
Use the ss utility to verify which processes are listening on which ports.
 Start the Apache service.

 Restart the Varnish service.
 Test from your local workstation, substitute your instance’s IP address. Verify the Varnish headers appear.
Linux:
Test from your local workstation, substitute your instance’s IP address. Verify the Varnish headers appear.
Linux: