How to install Composer on CentOS 9
Composer is an application for tracking dependencies of a project. It pulls in all the required PHP packages your project depends on and manage them for you.
Instead of replacing system package managers (like apt or yum), Composer allows you to specify a set of libraries for a specific project. With the libraries established, Composer then identifies the versions and dependencies and installs them to the corresponding project.
Steps For Installing PHP Composer
Step 1: Update Local Repository
Before you download and install anything on your system, make sure always to update the local repository:
dnf update
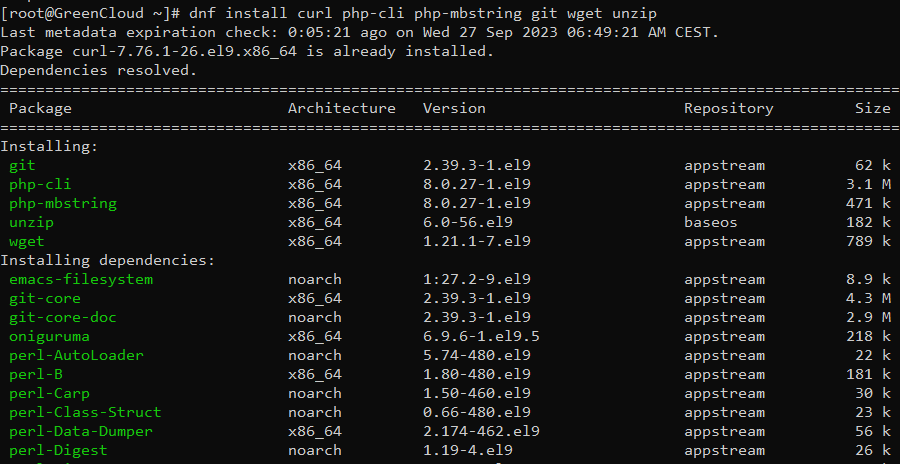
Step 2: Install Software Dependencies
Start with installing the supporting software. Type the following command in the terminal:
dnf install curl php-cli php-mbstring git wget unzip
Step 3: Installing the Composer
The composer comes with an installer that is developed in PHP. Run the command below to download the installer:
curl -sS https://getcomposer.org/installer -o composer-setup.php
![]()
Step 4: Verify Integrity of the Download
Once you have the installer script, you’ll need to verify its integrity.
To authenticate this installer, download a SHA-384 and then copy and store this hash as a CentOS shell variable:
HASH=55ce33d7678c5a611085589f1f3ddf8b3c52d662cd01d4ba75c0ee0459970c2200a51f492d557530c71c15d8dba01eae
Alternatively, you can do it automatically by executing the following command:
HASH="$(wget -q -O - https://composer.github.io/installer.sig)"

Then, use the following script to compare the official hash against the one you’ve downloaded:
php -r "if (hash_file('SHA384', 'composer-setup.php') === '$HASH') { echo 'Installer verified'; } else { echo 'Installer corrupt'; unlink('composer-setup.php'); } echo PHP_EOL;"
The two signatures match, the output shows the message: Installer verified.

Step 5: Install Composer
After verifying the integrity of the file you can move on to installing Composer.
You’ll want to install Composer in the /usr/local/bin directory, as a command accessible from the whole system.
1. To install composer, use the command:
php composer-setup.php --install-dir=/usr/local/bin --filename=composer
Once the installation has been initialized, the following message will appear:

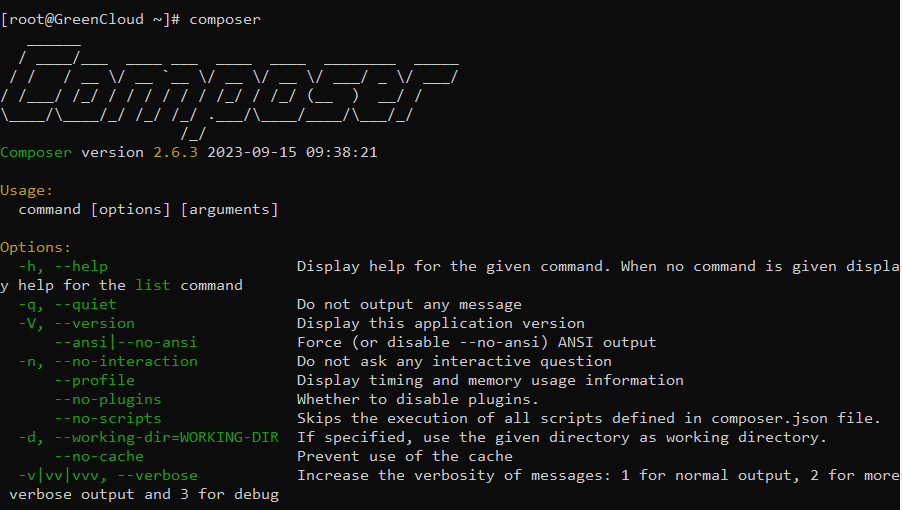
2. When the installer completes the process, check whether it’s running correctly:
composer
The system should display the running version, along with its syntax and available options :
Basic Composer Usage
Composer helps track dependencies on a per-project basis, allowing other users to create an identical environment easily. It keeps track of the required software and allowed versions by using a composer.json file.
Additionally, it maintains consistency if someone copies the directory through the composer.lock files, which are automatically generated using the require command.
Now, let’s see how to utilize Composer when starting a new PHP project.
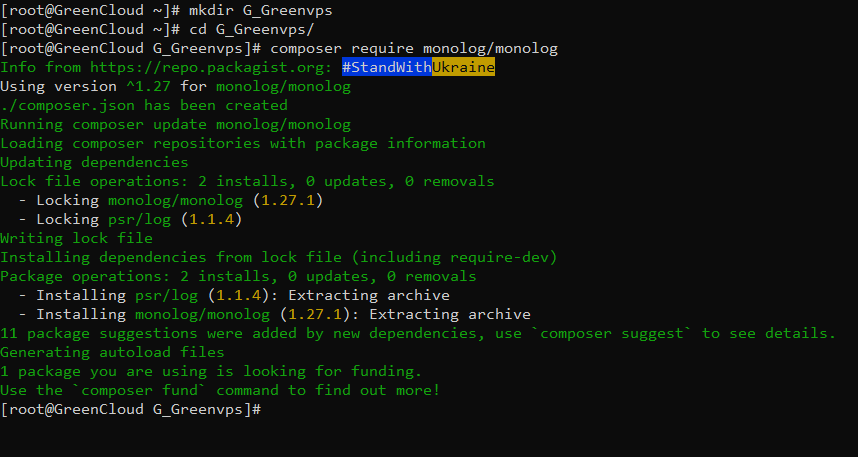
1. Open a terminal and create a project root directory for a file with the project description, its dependencies, and other additional information (the composer.json file):
mkdir G_Greenvps
2. Then, move it to the new directory:
cd G_Greenvps
3. The next step is loading a package. The website packagist.org has a broad range of different PHP packages to choose from.
In this example, we’ll download and use the monolog/monolog package for our project. The information after the slash is the package name, while the name before the slash is the vendor.
Along with downloading the software, your system will automatically create the composer.json file and the composer.lock file with the command:
composer require monolog/monolog
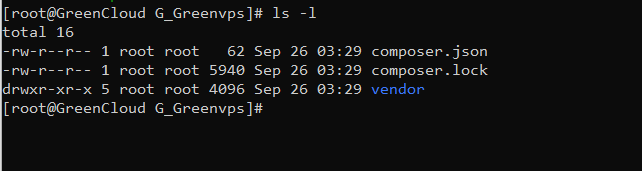
4. Now, check to see whether all the files were created by listing the content of the directory:
ls -l
Among the content, you should see the composer.json and composer.lock files, as well as a vendor directory.
5. Next, open the composer.json file:
cat composer.json
Among the content, you should see the composer.json and composer.lock files, as well as a vendor directory.

Update Dependencies
If you need to update all the dependencies in your composer.json file you can do so with:
composer update
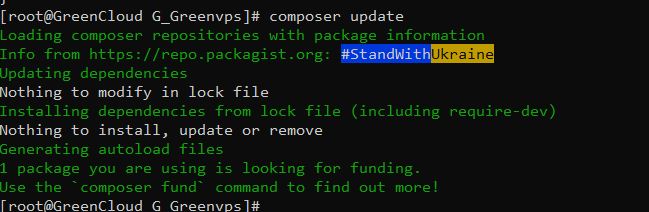
This command updates dependencies according to the version specified in the file.
You can also update one (or more) dependencies individually:
composer update vendor/package vendor_b/package_b
Conclusion
After reading this guide, you should now know how to set up and configure Composer on CentOS 7 safely. Also, you learned composers basic usage, including creating a PHP project and updating dependencies. Happy developing!
