How to install MongoDB on AlmaLinux 8
MongoDB is a cross-platform, open-source, and document-based database management system. It facilitates users by providing full index support, high availability, replication, and auto-sharding, etc. As we mentioned earlier, MongoDB is a cross-platform database. However, the data integration process is much easier and comparatively faster than other databases. Due to the free availability of the MongoDB database, it is used in many organizations.
This tutorial will help you to install MongoDB on AlmaLinux 8.
Step 1: Update the system packages list
Update the all system packages list by running the following ‘dnf’ command:
$ dnf update
Step 2: Create MongoDB repository
MongoDB can not be directly installed on AlmaLinux 8 by using the system default repository. Create a file repository using the ” vi ” text editor to include the MongoDB official repository in your system. To create MongoDB repo, use the following command:
$ vi /etc/yum.repos.d/mongodb.repo
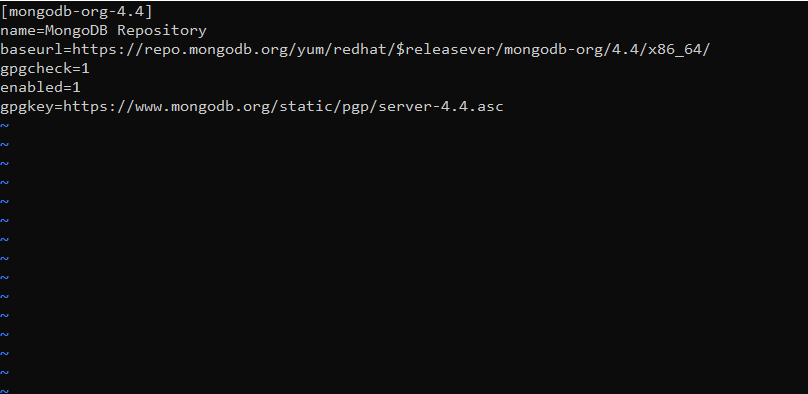
Paste the following content in this repository file:
[mongodb-org-4.4]
name=MongoDB Repository
baseurl=https://repo.mongodb.org/yum/redhat/$releasever/mongodb-org/4.4/x86_64/
gpgcheck=1
enabled=1
gpgkey=https://www.mongodb.org/static/pgp/server-4.4.asc
To check that the MongoDB repository has been added to your system, use the following ‘repolist’ command:
$ dnf repolist

Step 3: Install MongoDB on AlmaLinux 8
You can install the MongoDB by using the following command.
$ dnf install mongodb-org mongosh
Now, to prevent unattended upgrades with the upgrade of yum, pin the package by adding this package in the exclude directive ‘/etc/yum.conf‘ using the following commands:
$ cat >> /etc/yum.conf << EOF
> exclude=mongodb-org,mongodb-org-database,mongodb-org-server,mongodb-org-shell,mongodb-org-mongos,mongodb-org-tools
EOF

Step 4: Enable MongoDB service
Once the installation of MongoDB is completed, start and enable service of MongoDB by using the following ‘systemctl’ command:
$ systemctl start mongod
$ systemctl enable mongod
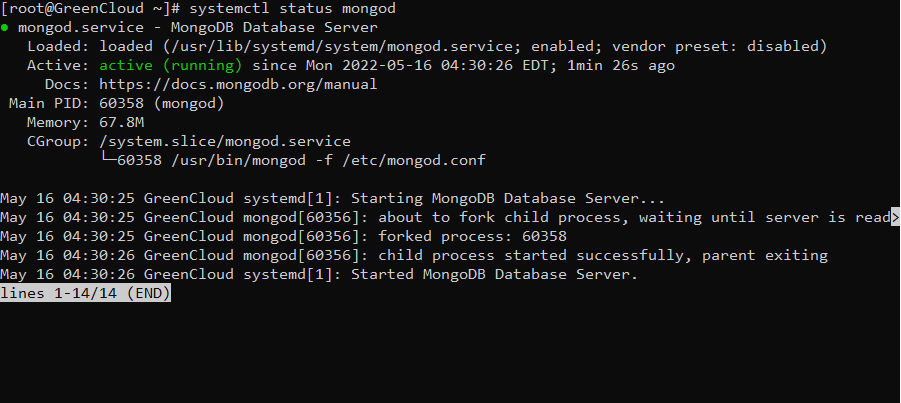
After enabling the service, check the running status of mongod service by using the below-mentioned command:
$ systemctl status mongod
Step 5: Access MongoDB
You can access the MongoDB shell by running the below-mentioned terminal command:
$ mongo
To create a new user with privileges to manage the database, we will need to connect to the admin database first. To do so, run the following command at the prompt.
> use admin
Now, create a new user and assigned role, name, and password by running the below-given command:
> db.createUser(
{
user: "Greencloud ",
pwd: "******",
roles: [ { role: "userAdminAnyDatabase", db: "admin" } ]
}
)

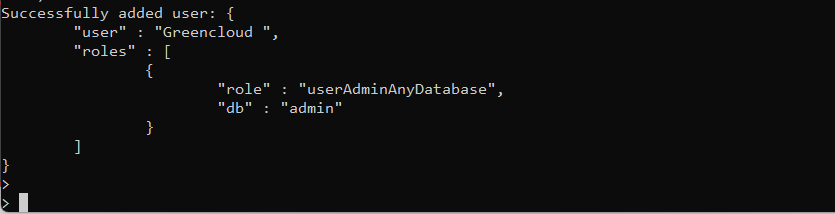
Press ‘Enter’ to execute the above database query. You will receive the following output on the terminal screen:
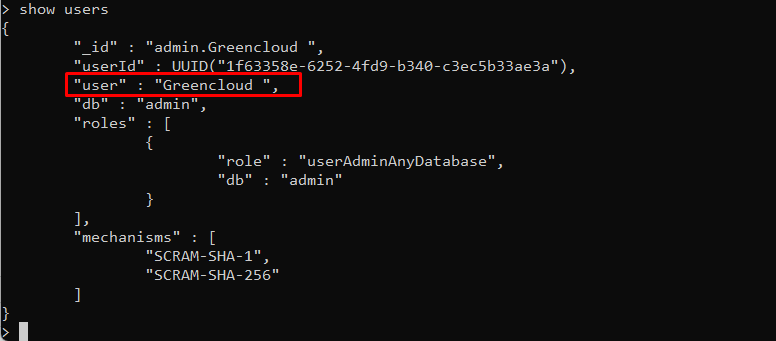
To check your new user, run the following command.
> show users
This command should return a list of users that currently exist in the system, including the newly created user.
Conclusion
In this tutorial, we have guided you to install MongoDB on AlmaLinux 8 system. Now you can start creating databases and adding data to them as per your requirement.

