
How to Install Tiki Wiki on Ubuntu 22.04
Tiki, also known as TikiWiki, is an open-source wiki-based content management system. It helps beginner users host their Wiki sites within a minute. It is based on PHP and uses MariaDB/MySQL to store its content. Tiki provides tools for creating robust knowledge bases, collaboration and project management, website and blog publishing, CRM helpdesk, e-learning, and more. It offers rich features such as wiki pages, blogs, forums, files, multilingual support, tightly integrated, and image galleries.
This tutorial will guide you through the installation of Tiki Wiki on an Ubuntu 22.04 server.
Prerequisites
- A server running Ubuntu 22.04.
- A domain name is pointed to your server’s IP.
- A root password is configured on the server.
Step 1: Update the System
First, updating your system packages to the latest version is recommended. You can update them with the following command:
apt-get update -y
apt upgrade -y
Once all the packages are updated, you can proceed to the next step.
Step 2: Install Required Dependencies
Tiki Wiki requires several dependencies, including a web server, a database server, and PHP. We’ll start by installing these necessary packages.
- Install Apache Web Server:
apt-get install apache2 unzip git gnupg -y- Install MySQL Database Server:
apt install -y mysql-server- Install PHP and Required Extensions:
apt install php8.1 php8.1-tidy php8.1-gd php8.1-xmlrpc php8.1-mbstring libapache2-mod-php8.1 php8.1-mysql php-apcu php8.1-curl php8.1-intl php8.1-sqlite3 php8.1-zip php-memcache php8.1-pspell php8.1-zip php8.1-memcached php-pear php8.1-common php8.1-opcache php8.1-xml php8.1-zip -yStep 3: Create a MySQL Database and User for Tiki Wiki
Next, we’ll set up a MySQL database and user for Tiki Wiki.
- Log in to the MySQL shell:
mysql -u root -p- Create a new database for Tiki Wiki:
CREATE DATABASE tikidb;- Create a new MySQL user and grant privileges:
   CREATE USER 'tikigreencloud'@'localhost' IDENTIFIED BY 'Green@1234';
   GRANT ALL PRIVILEGES ON tikidb.* TO 'tikigreencloud'@'localhost';
   FLUSH PRIVILEGES;
   EXIT;
Replace yourpassword With a strong password.
Step 4: Download and Extract the Tiki Wiki
Download the latest stable release of Tiki Wiki from the official website and extract it to the web server’s root directory.
- Navigate to the /tmp directory:
cd /tmp- Download Tiki Wiki:
wget https://sourceforge.net/projects/tikiwiki/files/latest/download -O tikiwiki.zip- Extract the downloaded archive:
unzip tikiwiki.zip -d /tmp/tikiwiki- Move the extracted files to the web server root directory:
mv /tmp/tikiwiki/* /var/www/html/tikiwikiStep 5:Configure Apache for Tiki Wiki
Please set up an Apache virtual host for Tiki Wiki to make it accessible via your domain name or IP address.
- Create a new Apache configuration file:
nano /etc/apache2/sites-available/tikiwiki.conf- Add the following configuration:
   <VirtualHost *:80>
       ServerAdmin [email protected]
       DocumentRoot /var/www/html/tikiwiki
       ServerName your_domain_or_IP

       <Directory /var/www/html/tikiwiki>
           Options FollowSymLinks
           AllowOverride All
           Require all granted
       </Directory>

       ErrorLog ${APACHE_LOG_DIR}/error.log
       CustomLog ${APACHE_LOG_DIR}/access.log combined
   </VirtualHost>
Replace your_domain_or_IP With your actual domain name or IP address.
- Enable the new virtual host and the rewrite module:
   a2ensite tikiwiki.conf
a2enmod rewrite- Restart Apache to apply the changes:
systemctl restart apache2
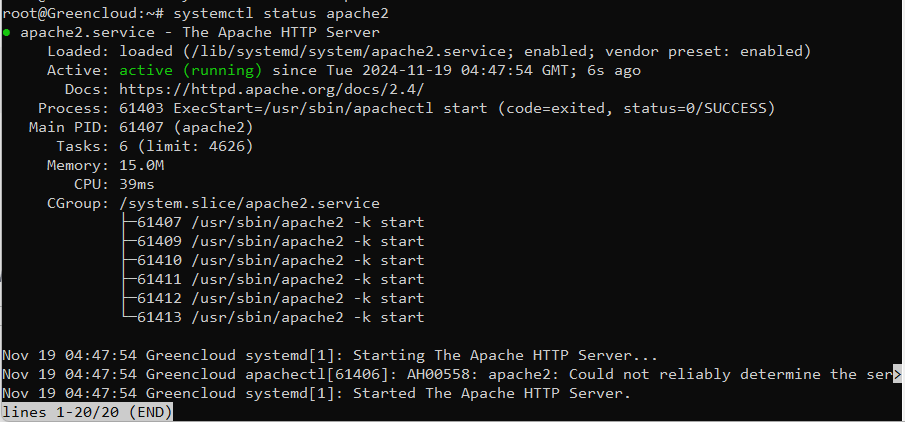
You can also check the status of Apache with the following command:
systemctl status apache2
You will get the following output:
Step 6: Set Permissions
Ensure that the web server has the correct permissions to write to the Tiki Wiki directory.
chown -R www-data:www-data /var/www/html/tikiwiki
chmod -R 755 /var/www/html/tikiwiki
Step 7: Complete the Installation via Web Browser
Open your web browser and navigate to your Tiki Wiki instance:
   http://your_IP/tikiwiki

Or: http:/your_domain/tiki-install.php
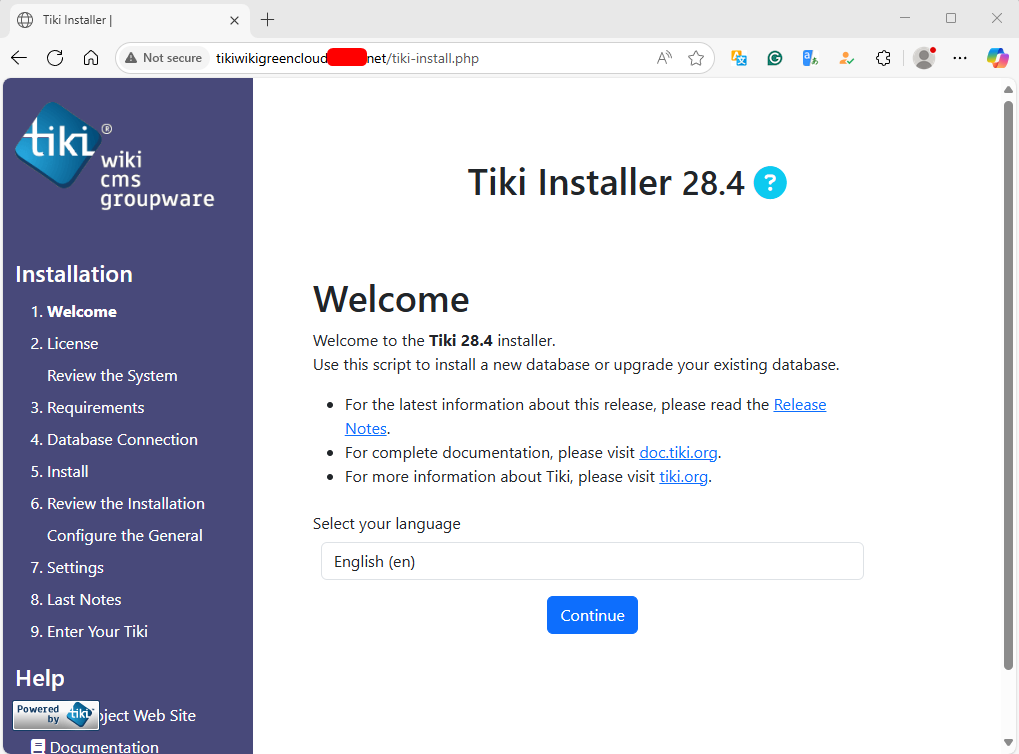
Select your language and click on the Continue button. You should see the following page:
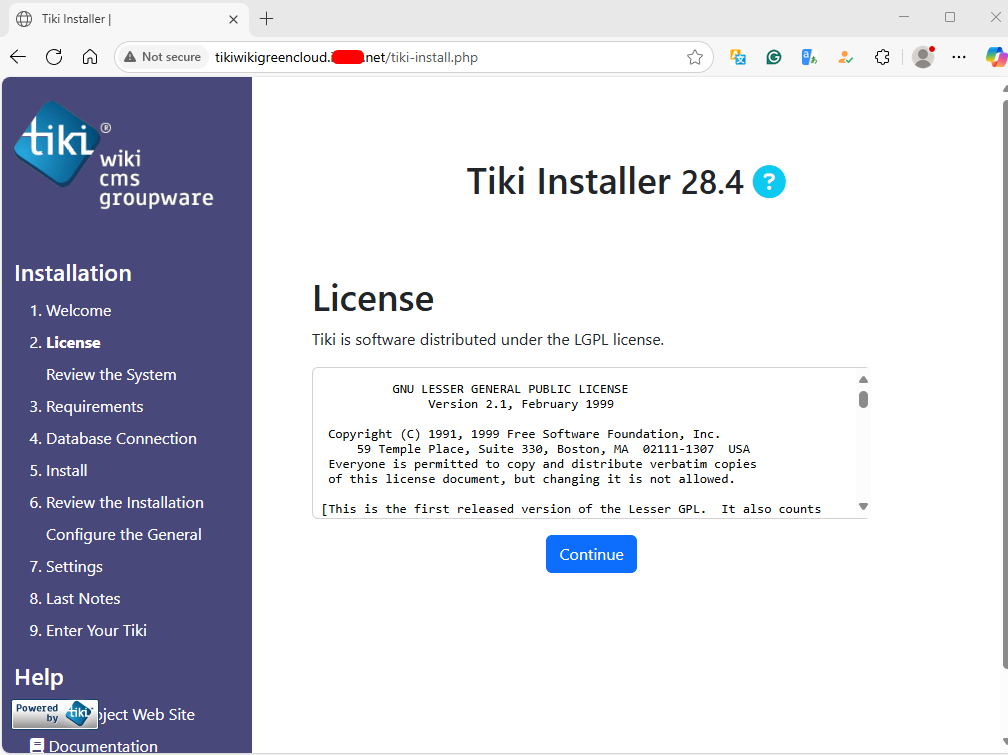
Click on Continue to agree to the license agreement. You should see the following page:
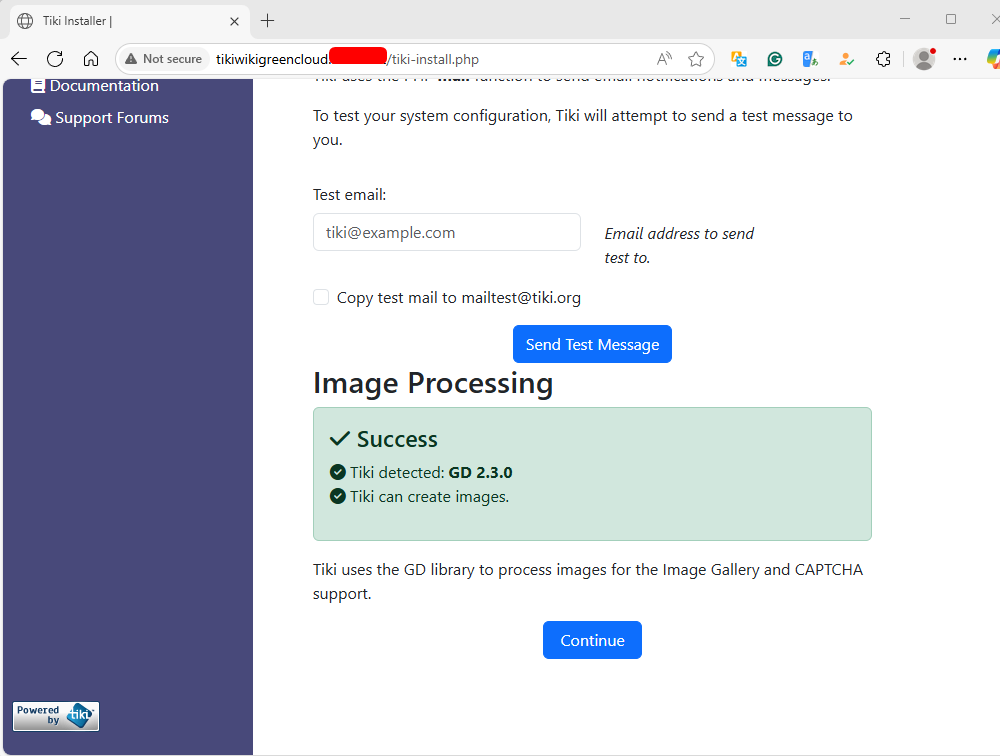
Make sure all tests are green, then click on Continue. You should see the following page:
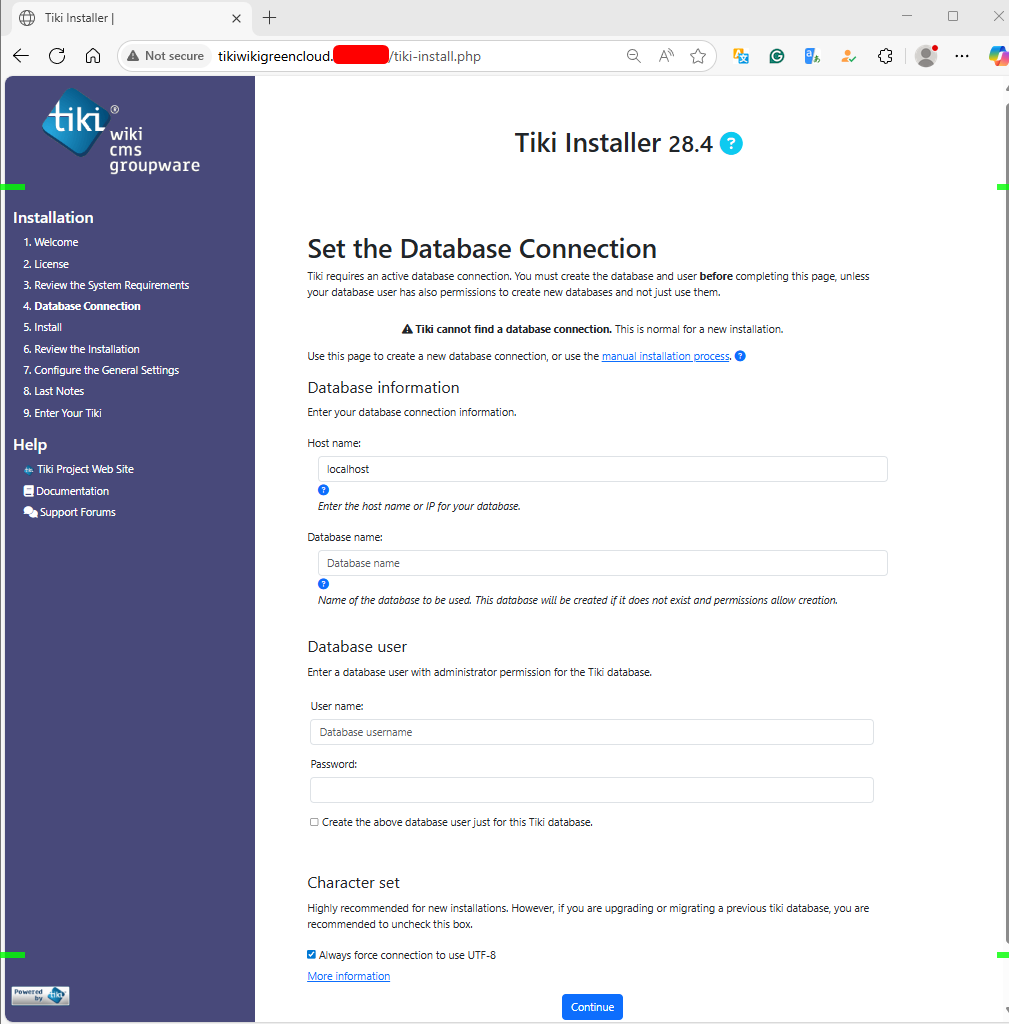
Provide your database details and click on the Continue button. You should see the following page:
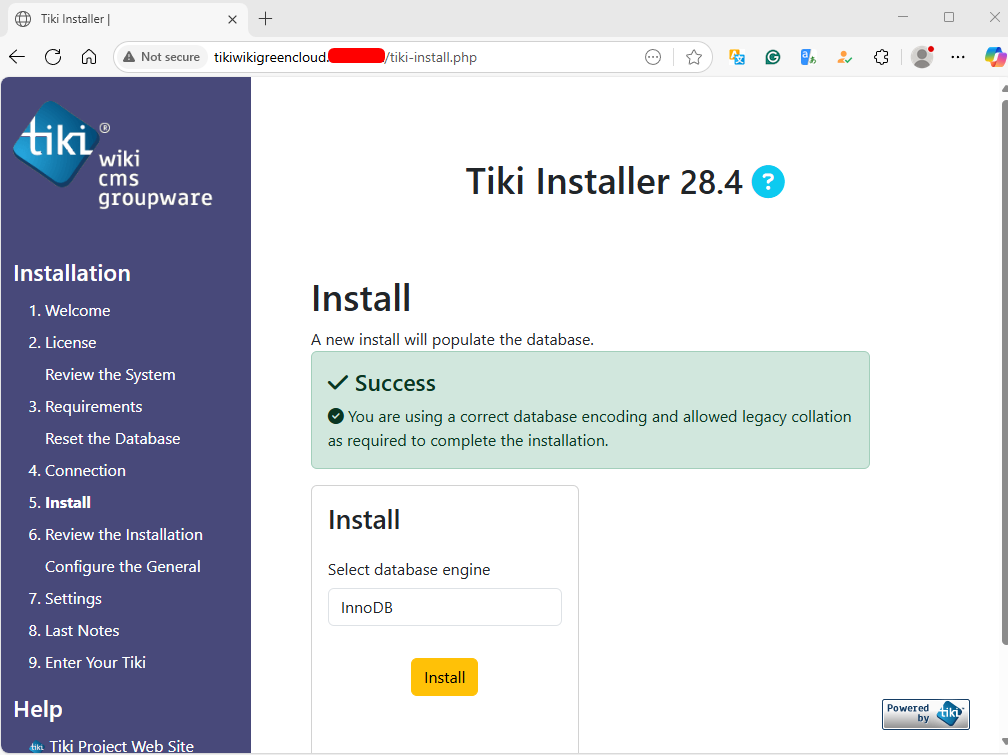
Choose your Database engine and click on the Install button. Once the installation has been completed, you should see the following page:
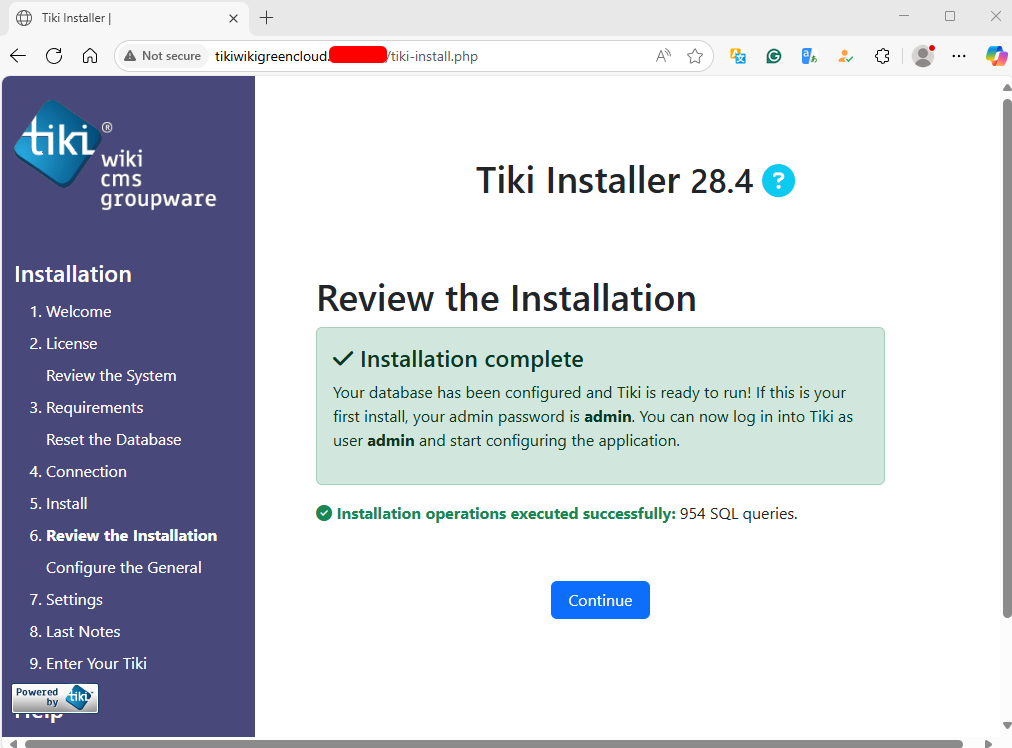
Click on the Continue button. You should see the following page:
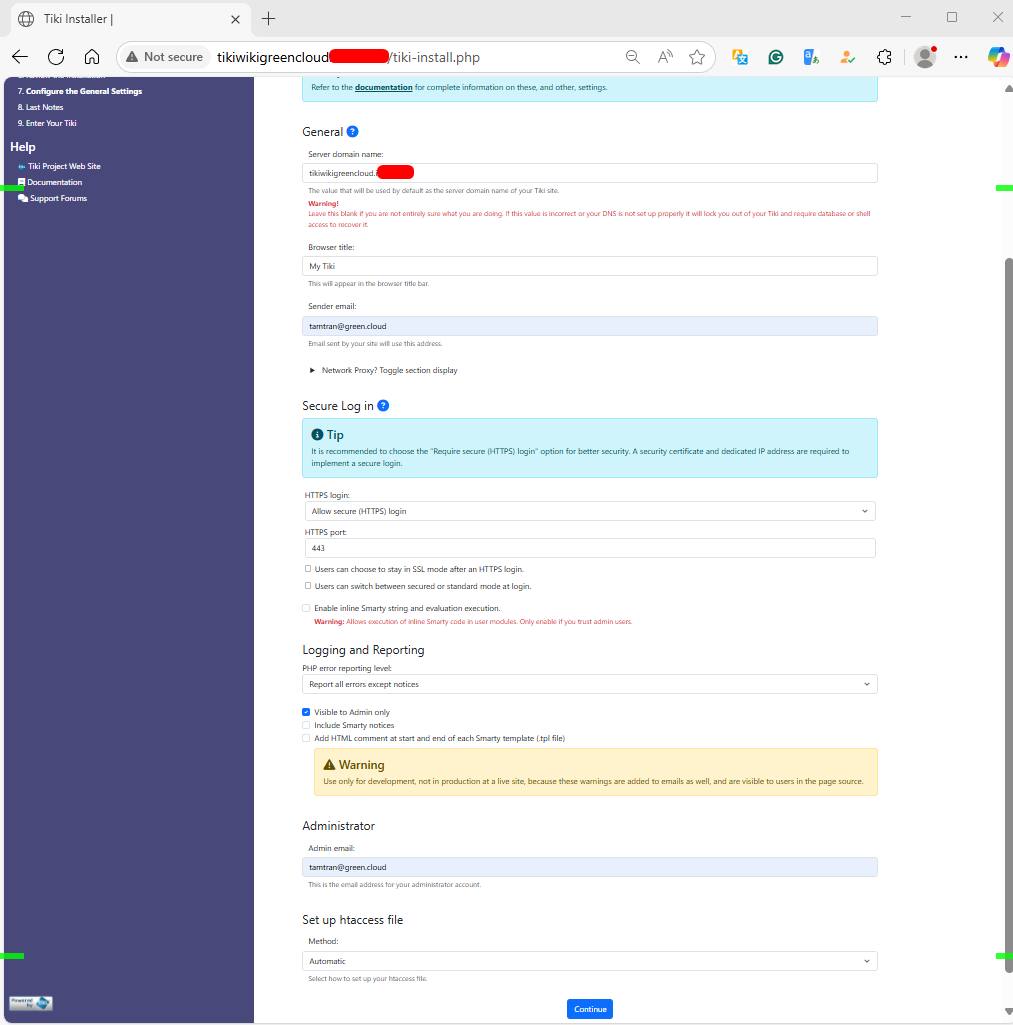
Please provide your site information and click the Continue button. You should see the following page:
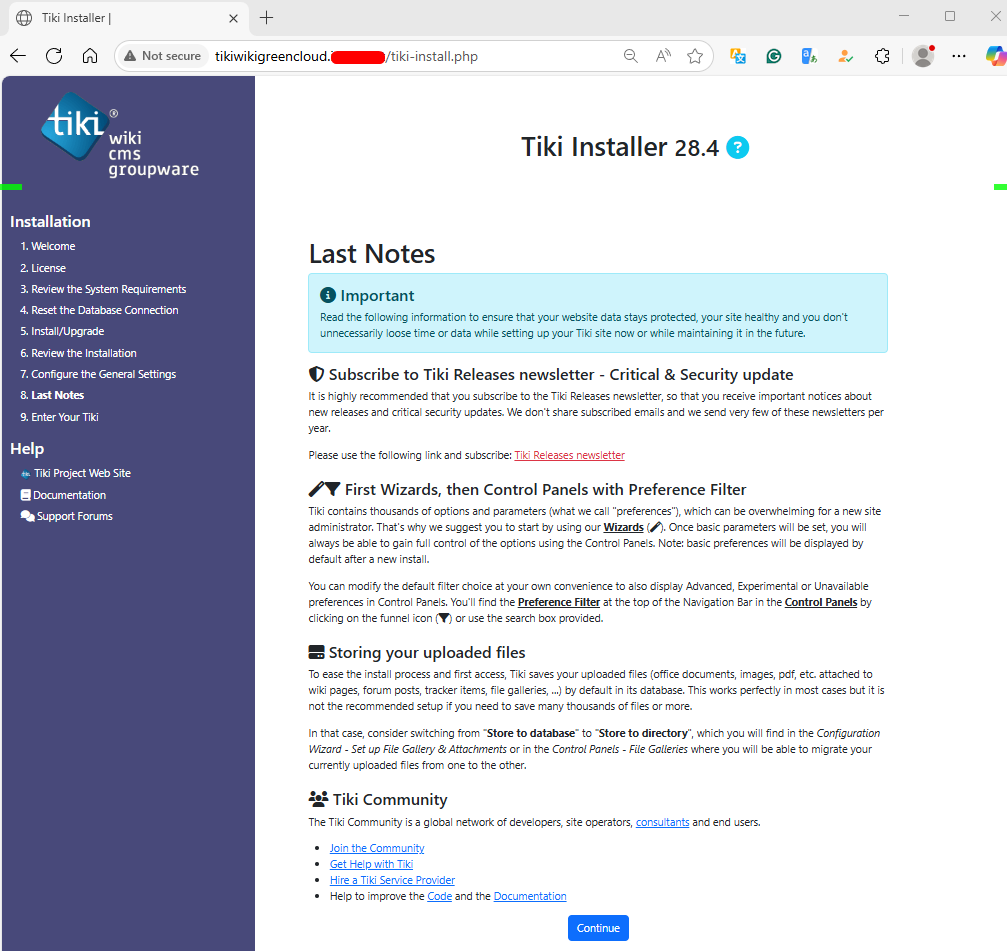
Click on the Continue button. You should see the admin user creation page:
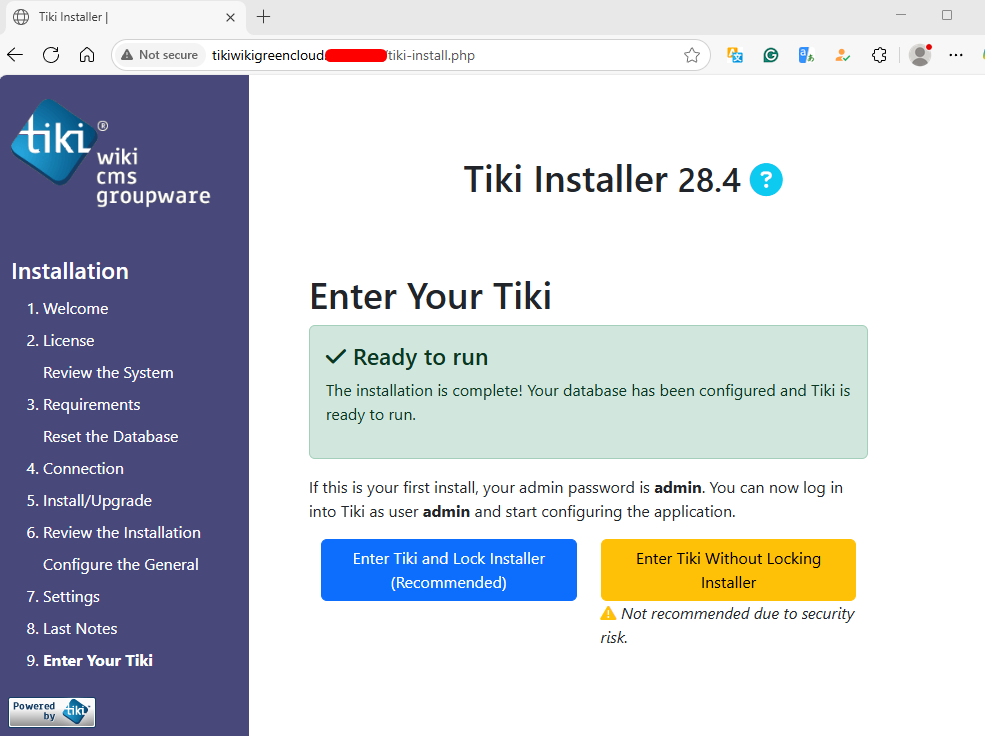
Click on the “Enter Tiki and Lock Installer”. You should see the admin user creation page:
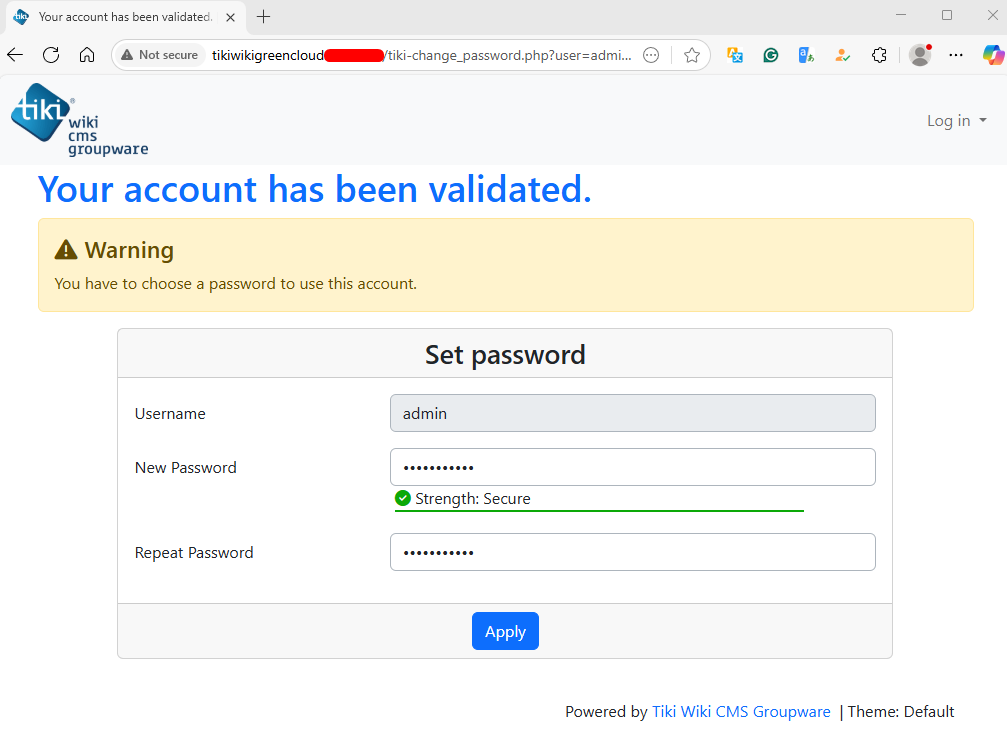
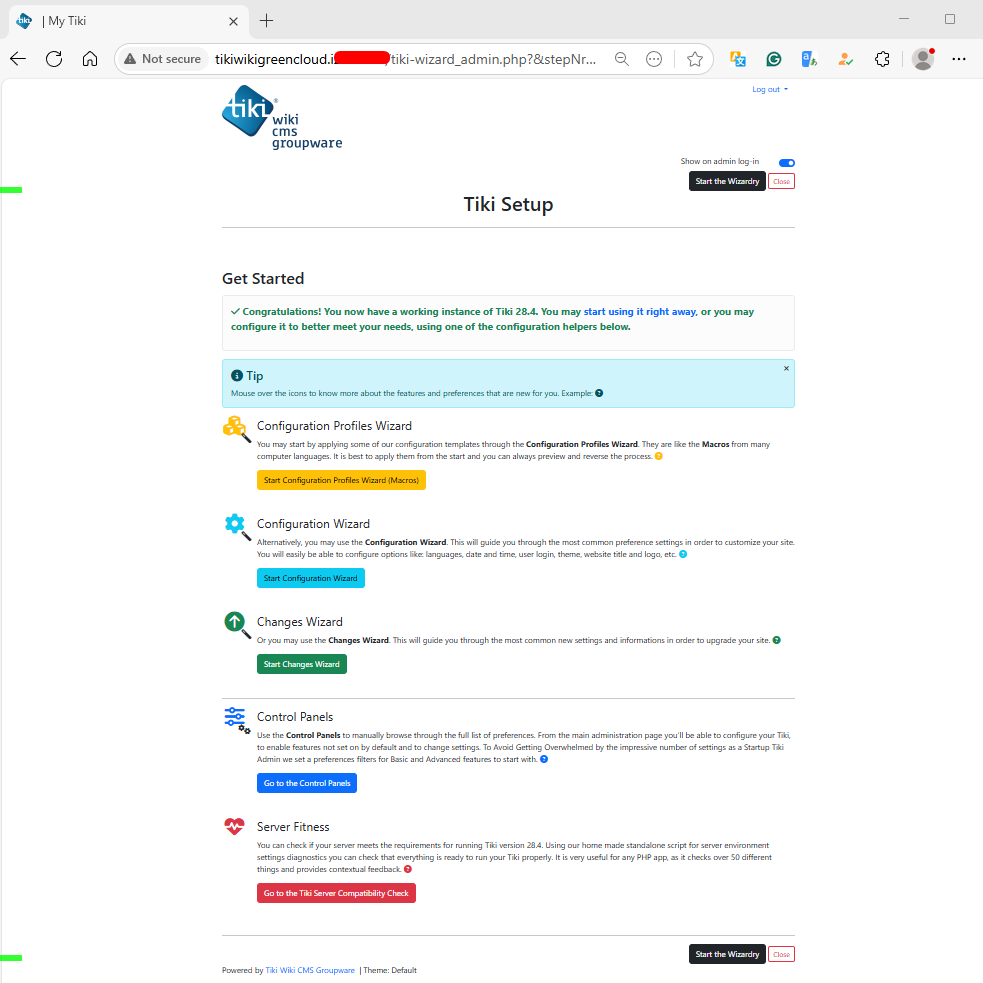
Set your admin password and click on the Apply button. You should see the Tiki Wiki dashboard on the following page:
Conclusion
Congratulations! You have successfully installed Tiki Wiki on the Ubuntu 22.04 server. You can now host your own Wiki using the Tiki Wiki. For more information, you can visit the Tiki Wiki documentation page. Feel free to ask me if you have any questions.
