
How to Deploy FreeScout HelpDesk on Debian 12
Introduction
In this tutorial, we’ll walk you through installing FreeScout — a free, open-source, self-hosted help desk and shared inbox system — on a Debian 12 server using the LEMP stack (Linux, Nginx, MariaDB, PHP). FreeScout is a lightweight alternative to services like Help Scout, Zendesk, and Freshdesk, and it’s ideal for small to mid-sized support teams.
Whether you want full control over your data or you’re building a scalable internal support system, this step-by-step guide will help you deploy FreeScout reliably on your infrastructure.
Step 1: Update the System
Keep your system up to date:
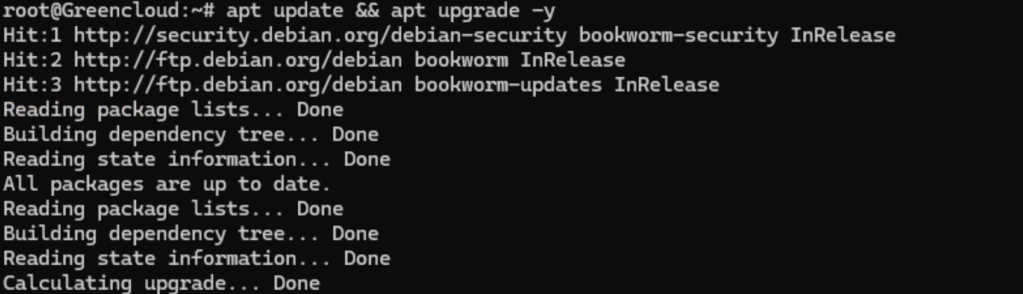
Step 2: Install Required Packages
Install Nginx, MariaDB, PHP-FPM, and necessary PHP extensions:
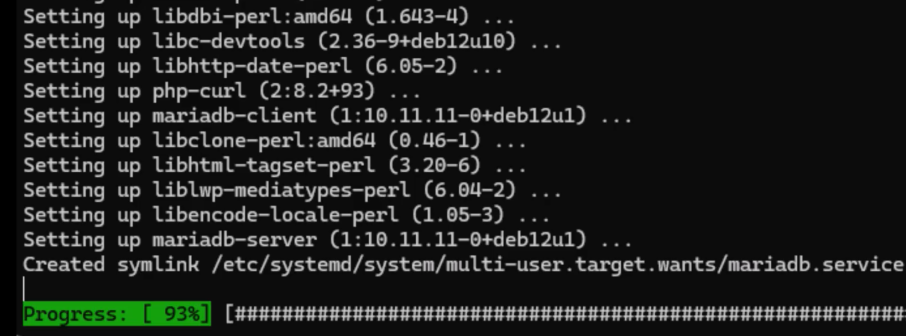
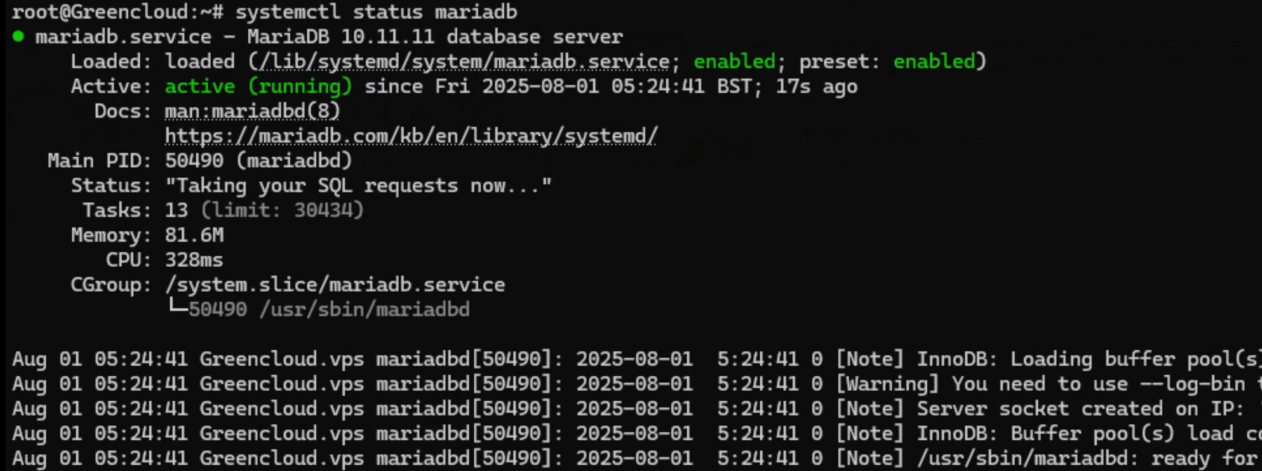
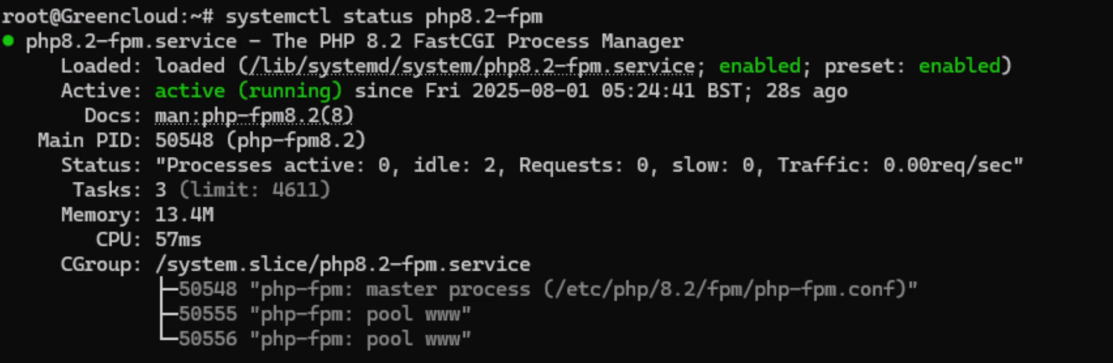
Check services:
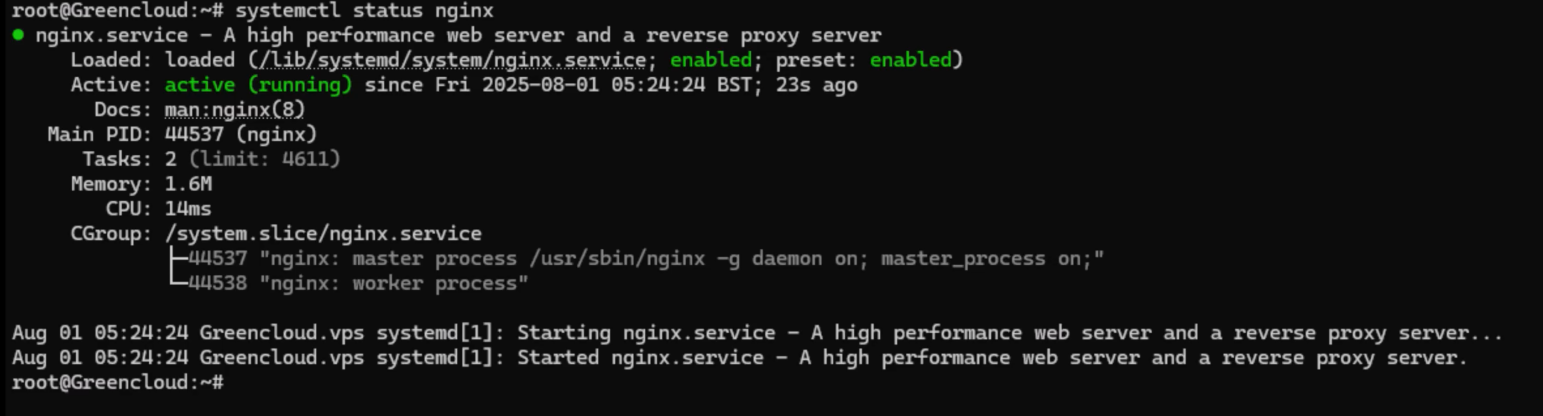
sudo systemctl status mariadb
sudo systemctl status php8.2-fpm
php -v
php -m

Step 3: Configure PHP
Edit the PHP config:
sudo nano /etc/php/8.2/fpm/php.ini
Update the following settings:
memory_limit = 512M
upload_max_filesize = 16M
cgi.fix_pathinfo = 0
Restart PHP-FPM:
sudo systemctl restart php8.2-fpm
Step 4: Secure MariaDB and Create a Database
Secure the MariaDB installation:
sudo mariadb-secure-installation
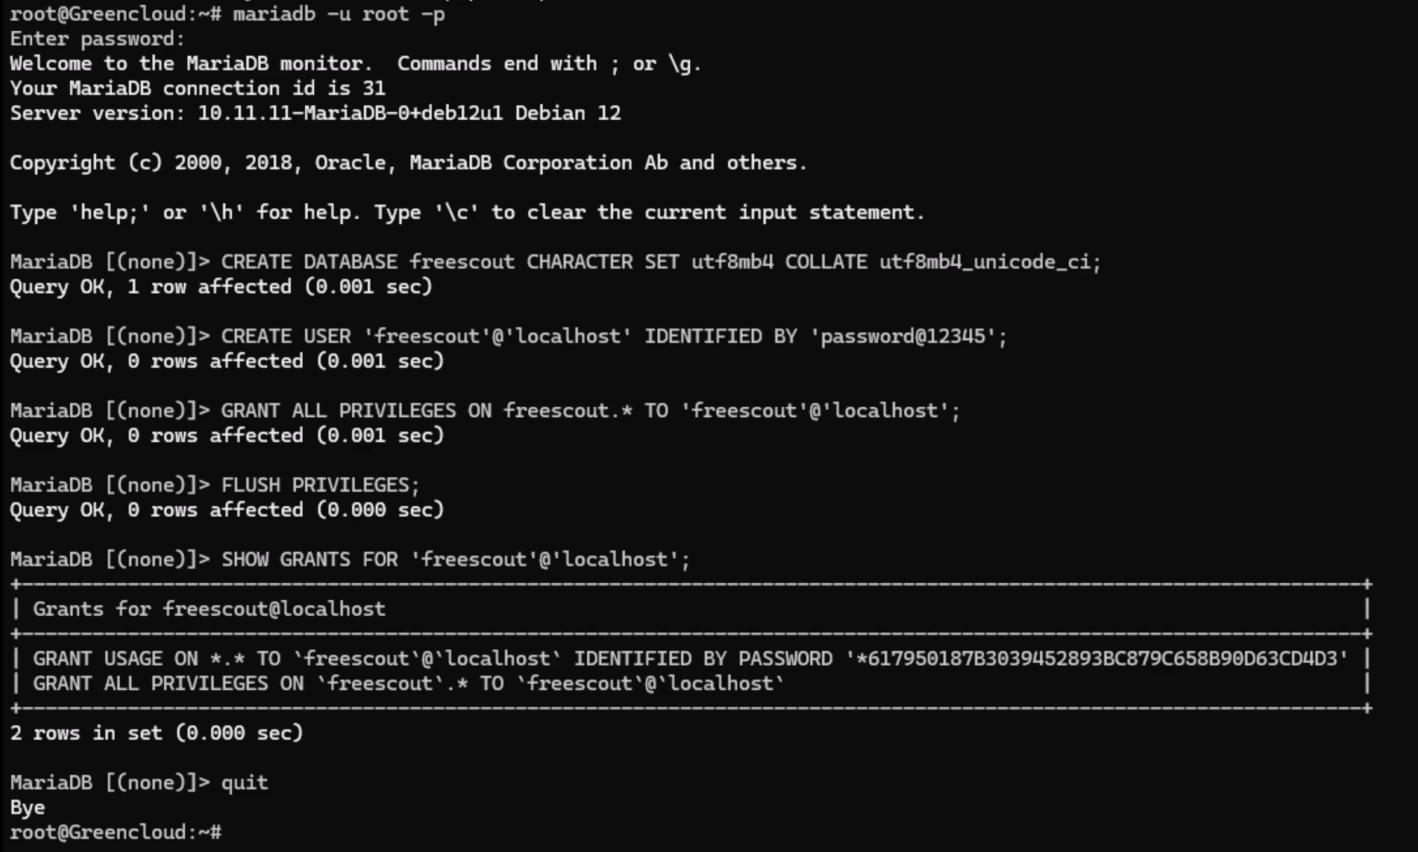
Then, log in and create the database:
sudo mariadb -u root -p
Inside the MariaDB shell:
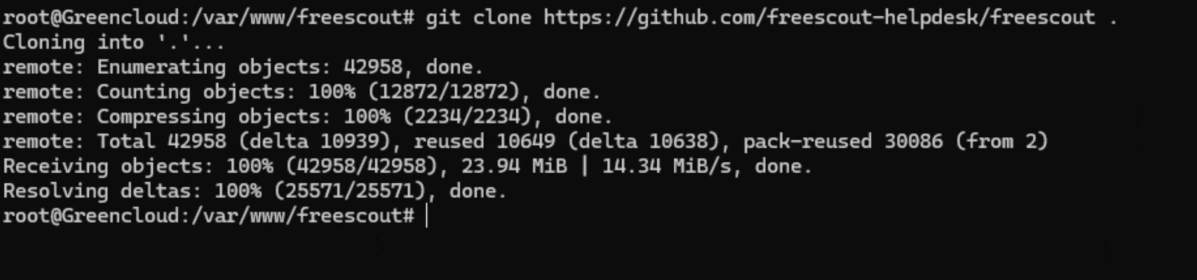
Step 5: Clone FreeScout
Step 6: Set Permissions

Step 7: Configure Nginx
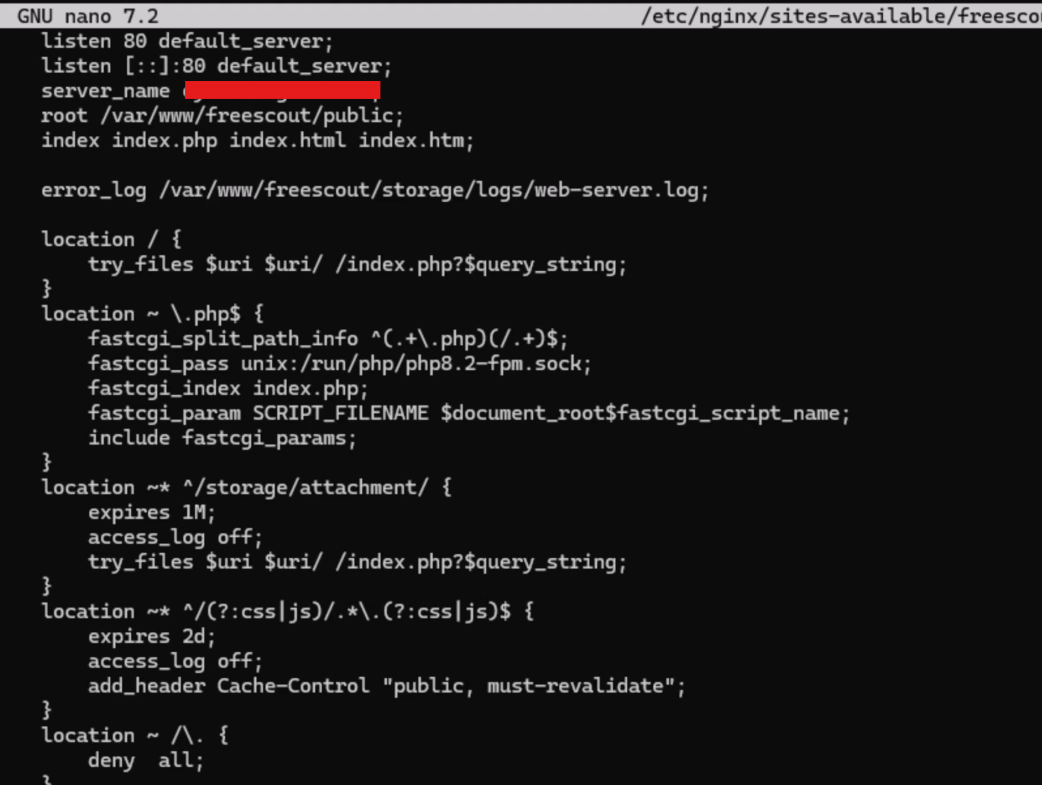
Create a new Nginx config file:
Paste in this configuration (change yourdomain.com):
server {
server_name yourdomain.com;
root /var/www/freescout/public;
index index.php index.html index.htm;
error_log /var/www/freescout/storage/logs/web-server.log;
location / {
try_files $uri $uri/ /index.php?$query_string;
}
location ~ \.php$ {
fastcgi_split_path_info ^(.+\.php)(/.+)$;
fastcgi_pass unix:/run/php/php8.2-fpm.sock;
fastcgi_index index.php;
fastcgi_param SCRIPT_FILENAME $document_root$fastcgi_script_name;
include fastcgi_params;
}
location ~* ^/storage/attachment/ {
expires 1M;
access_log off;
try_files $uri $uri/ /index.php?$query_string;
}
location ~* ^/(?:css|js)/.*\.(?:css|js)$ {
expires 2d;
access_log off;
add_header Cache-Control “public, must-revalidate”;
}
location ~ /\. {
deny all;
}
Create a symbolic link to enable the Nginx configuration:
ln -s /etc/nginx/sites-available/freescout /etc/nginx/sites-enabled/
Step 8: (Optional) Enable HTTPS with Let’s Encrypt
Install Certbot and set up SSL for your domain:
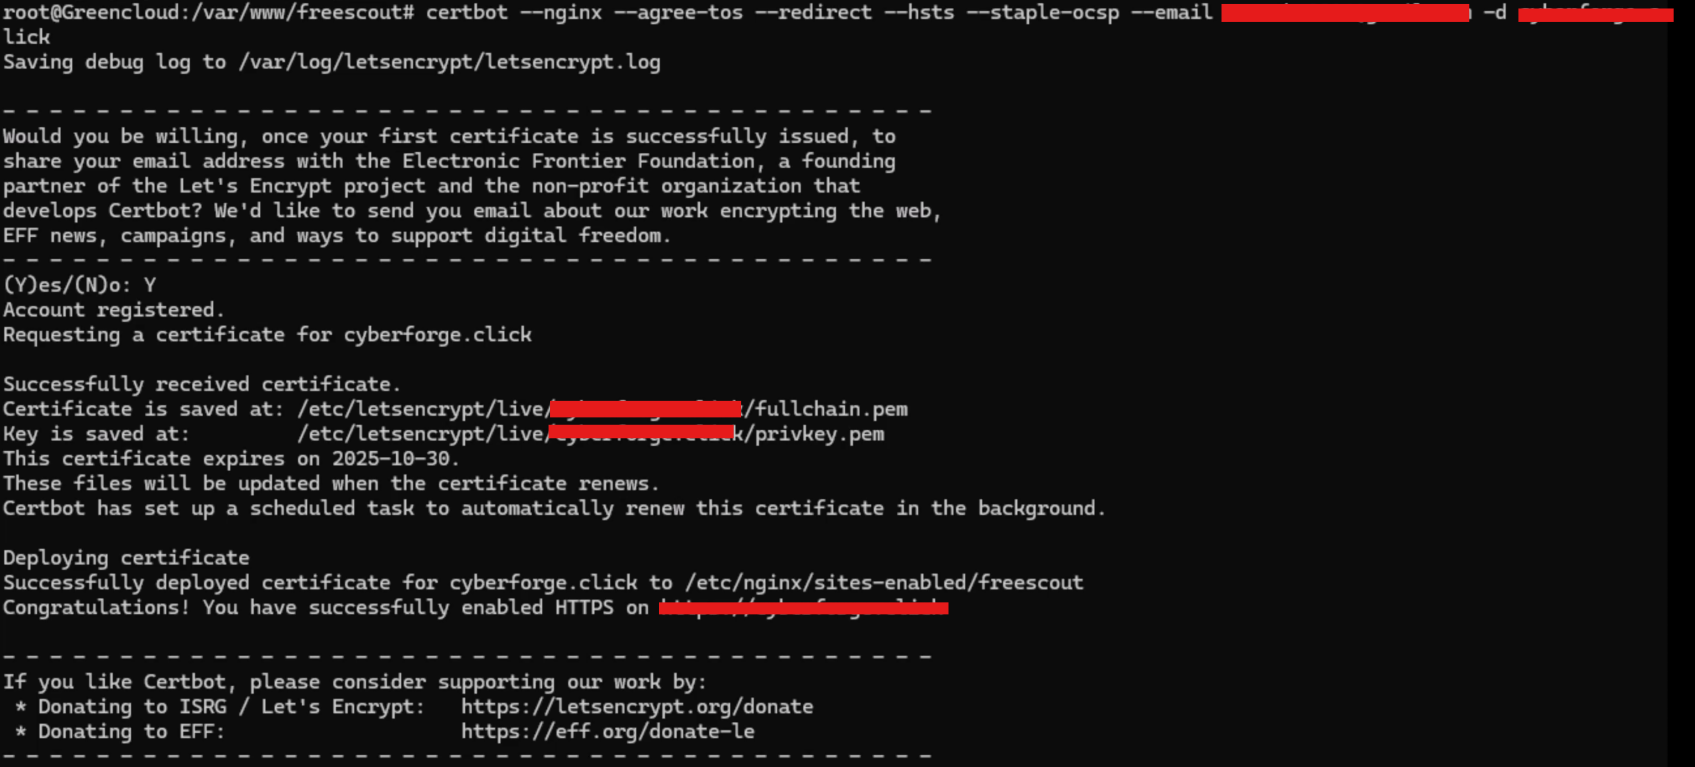
Choose to redirect all HTTP traffic to HTTPS when prompted.
Step 9: Allow Firewall Access
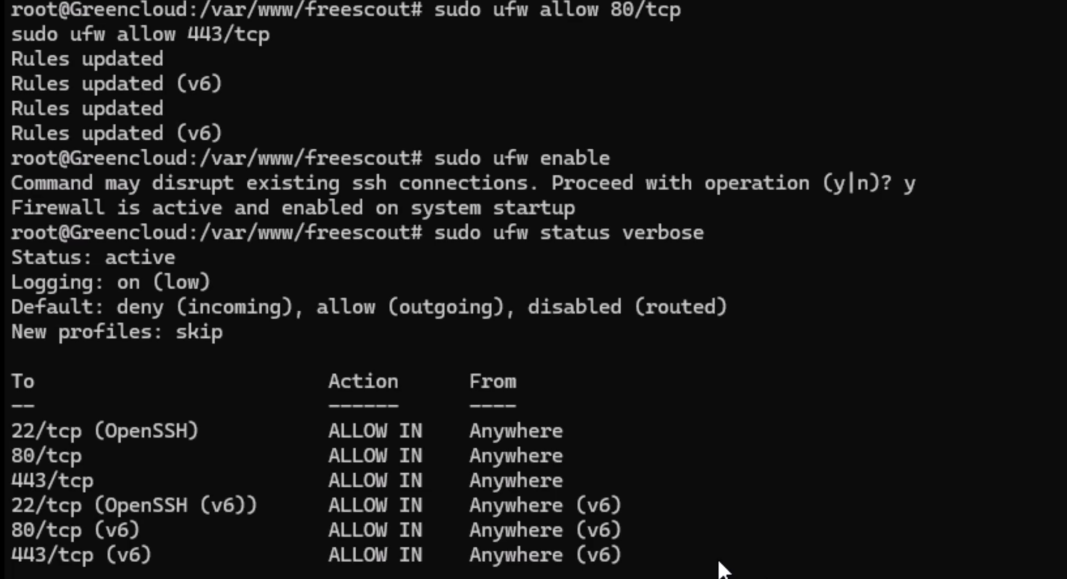
Allow HTTP (port 80) and HTTPS (port 443) via TCP\
sudo ufw allow 80/tcp
sudo ufw allow 443/tcp
Enable the firewall (if not already enabled)
sudo ufw enable
Check the firewall status
sudo ufw status verbose
Step 10: Complete Installation via Web Installer
Open your browser and go to:
https://yourdomain
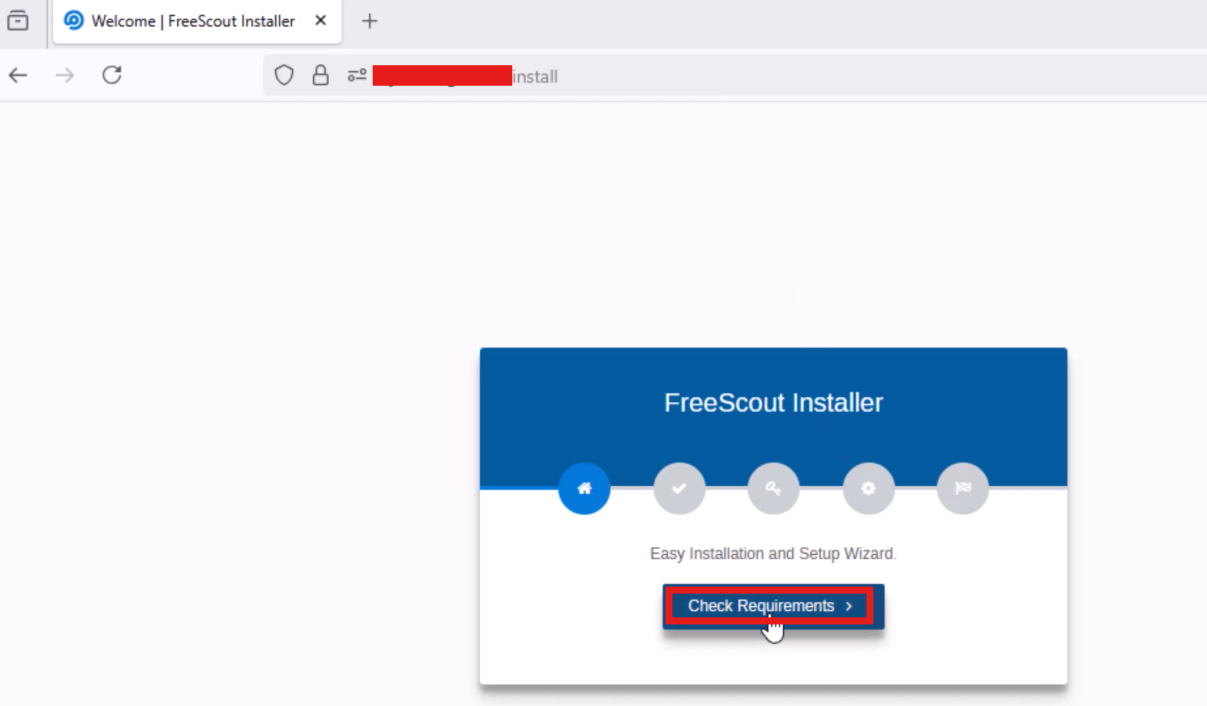
Or use your IP address if no domain is set.
Then:
-
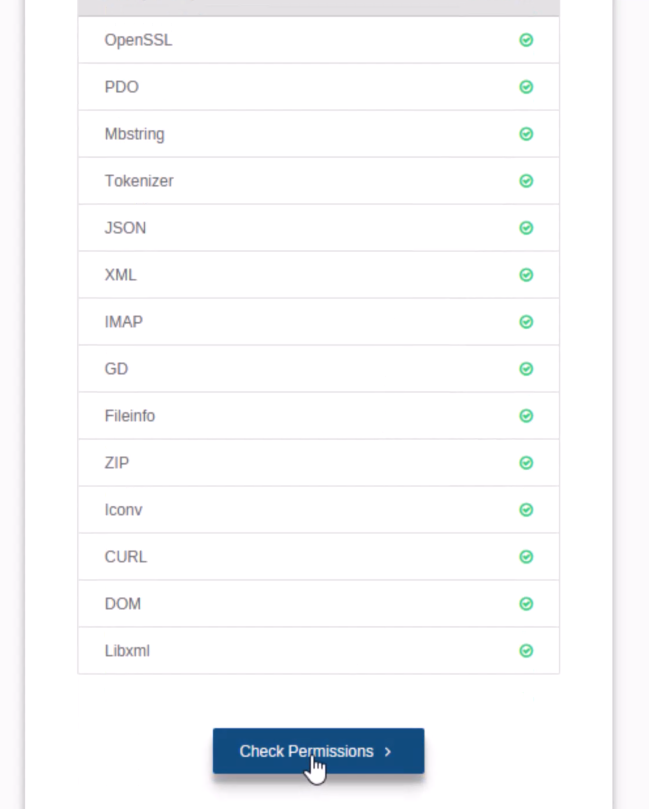
Click Check Requirements
-
Click Check Permissions
-
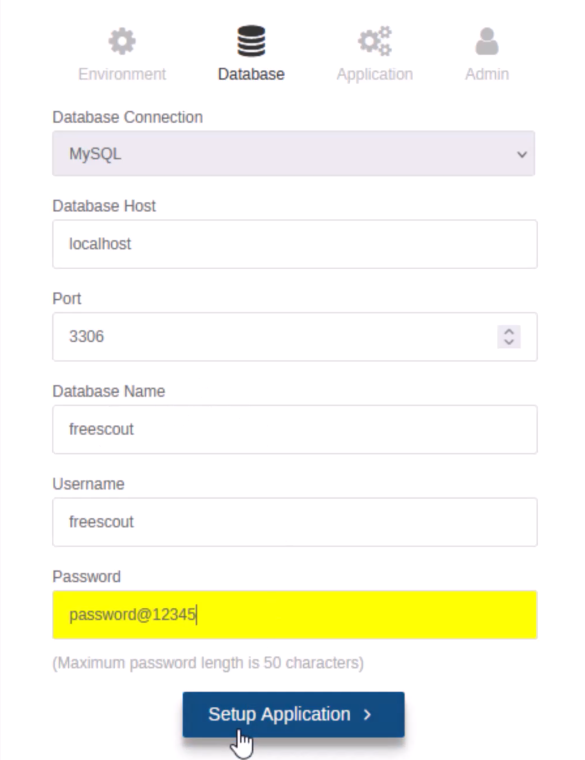
Enter the database credentials you created

-
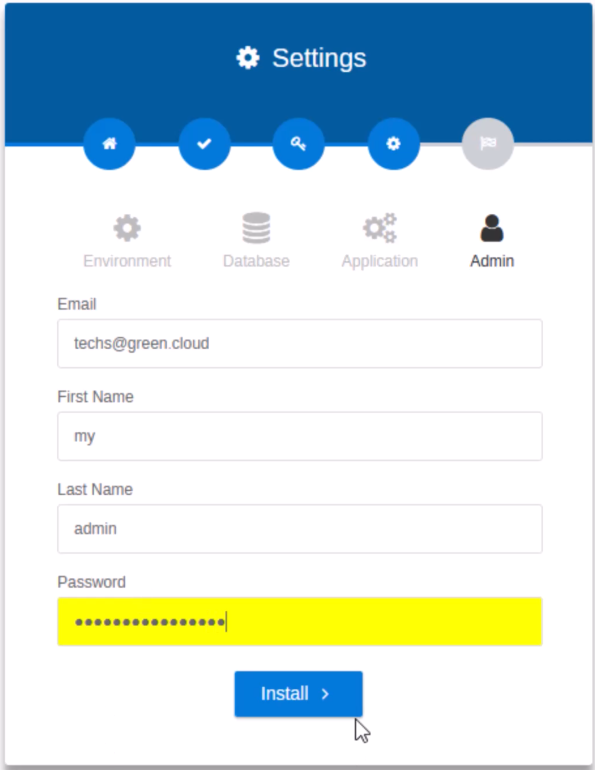
Set your admin user
-
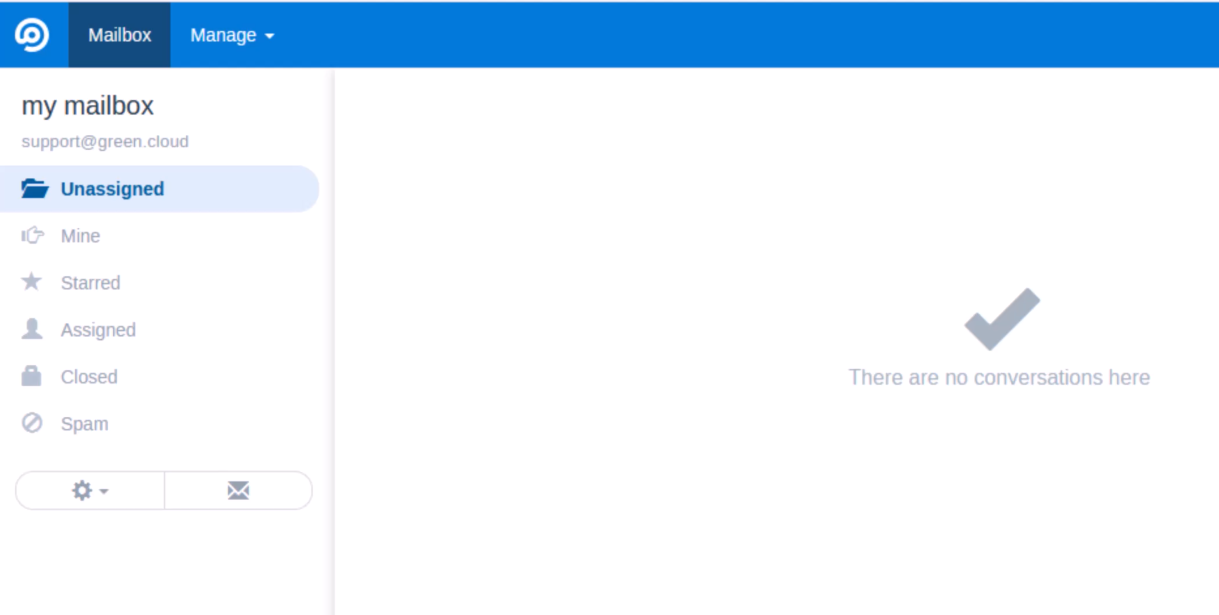
Click Install
Conclusion
That’s it! You’ve successfully installed FreeScout Help Desk on Debian 12 using the LEMP stack.
You can now:
-
Log in to your FreeScout dashboard
-
Configure support mailboxes (IMAP/SMTP)
-
Add agents and teams
-
Install optional modules from the marketplace
