How to Install aaPanel on Ubuntu 20.04

aaPanel is an open-source and lightweight server control panel used for managing a web hosting environment. It is a simple and alternative to other famous control panels including, cPanel, VestaCP, etc. It comes with a simple and user-friendly web UI that makes your job easier for managing web hosting environment. It consumes very low resources and offers an auto-installer that allows you to install multiple apps with one click. It offers a rich set of features including, File manager, SSL, Cron, Firewall, FTP, Mail, Databases, DNS and Web domain.
In this post, we will show you how to install aaPanel on Ubuntu 20.04 VPS.
Before starting, you have to make sure that all Ubuntu OS packages installed on the server are up to date. You can do this by running the following commands:
apt-get update -y
apt-get upgrade -y
Install aaPanel
aaPanel provides an auto-installation script that you can download from the aaPanel website. You can also download it using the following command:
wget -O install.sh http://www.aapanel.com/script/install-ubuntu_6.0_en.sh
After downloading the aaPanel installer script, run it using the following command:
bash install.sh
You will be asked to provide the installation directory
Type y and hit Enter to start the installation. Once the installation has been finished, you should see aaPanel access URL with admin username and password:

By default, aaPanel runs on port 8888. You can check it using the following command:
ss -antpl | grep 8888
Output:

During the installation process, aaPanel enables and configures the UFW firewall and allows necessary ports through the firewall. You can check them with the following command:
ufw status
You should see the following output:

Access aaPanel Web UI
Login aaPanel web UI according to the information you received above . You will be redirected to the aaPanel login page.

Provide your username, password and click on the Login button. You should see the following page:

Install LEMP Stack
Now, select the LEMP stack as shown below:

Then, select the service that you want to install with the LEMP stack and click on the One Click. Once the installation has been finished. You should see the following page:

Now, we will install some PHP extensions to the server.
Click on the App Store => Installed button. You should see the following page:
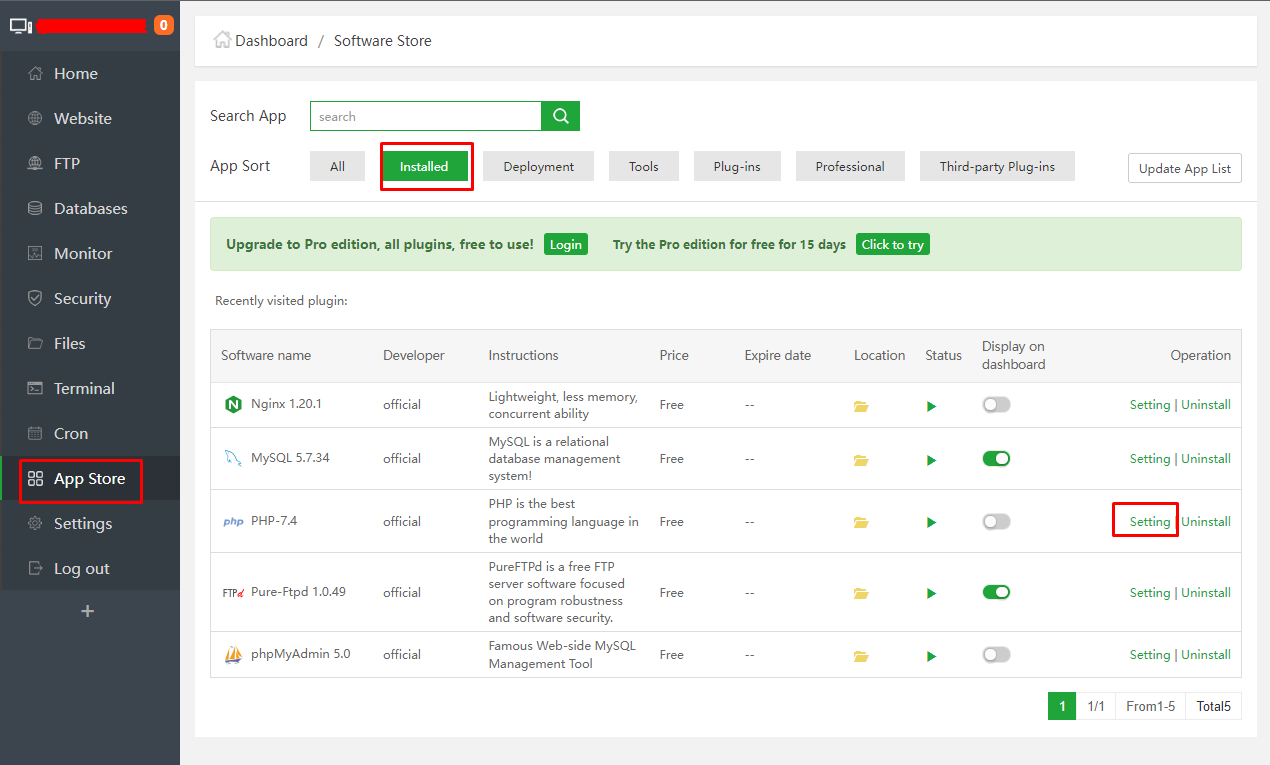
Now, click on the Setting under PHP7.4. You should see the following page:

From here, you can click on the Install extensions and install your required PHP extensions.
Add Your Domain and Create a Website
First, you will need to configure DNS records for your domain. You will need to go to your domain registrar website, create an A record and point your aaPanel server IP to your domain name.
Next, go to the aaPanel, click on the Website. You should see the following page:
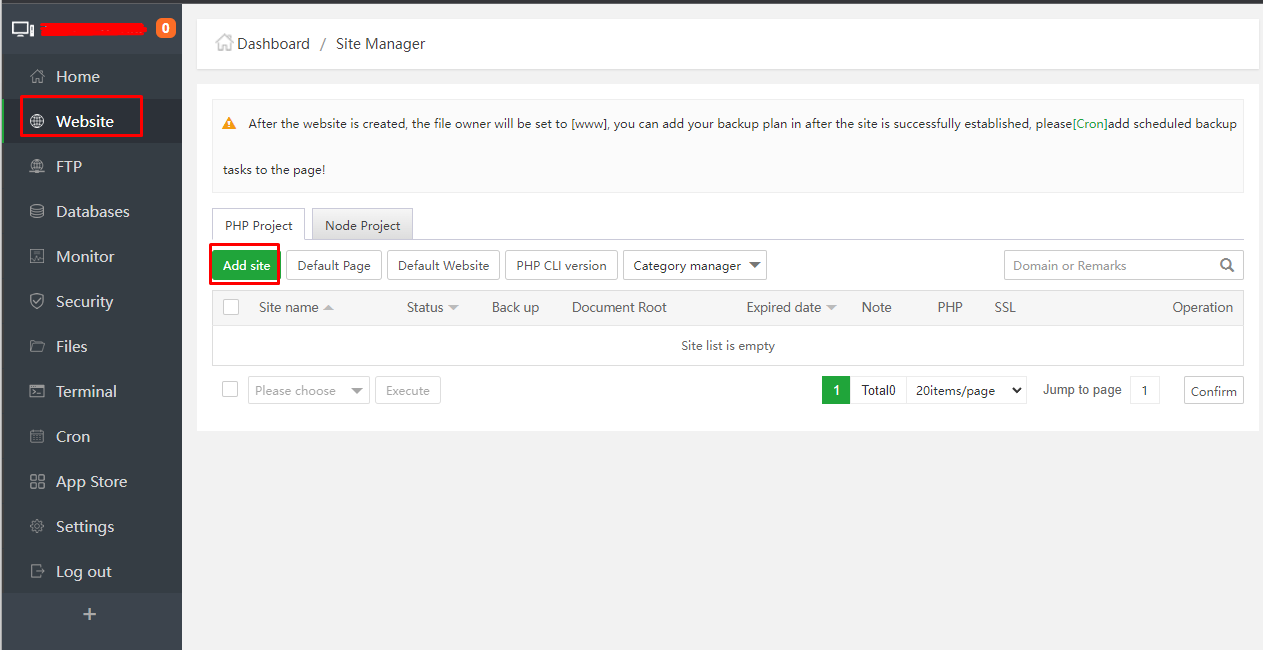
Click on the Add button to add your domain name. You should see the following page:

Provide your domain name, website root directory path and click on the Submit button. You should see the following page:

Now, click on your website => SSL. You should see the following page:

Click on the Let’s Encrypt tab, select your domain name and click on the Apply button to secure your website with Let’s Encrypt SSL.
You can now access your newly created website securely using the URL https://your-domain.com.
Congratulations! you have successfully installed aaPanel on Ubuntu 20.04.

