
How to Set Up BTCPay Server on Ubuntu 22.04 with Docker
BTCPay Server is an open-source, self-hosted payment processor for Bitcoin and other cryptocurrencies. It enables merchants and businesses to accept Bitcoin payments directly without relying on third-party payment processors or intermediaries. BTCPay Server offers merchants a secure, privacy-focused, and customizable payment processing solution for accepting Bitcoin and other cryptocurrencies.
In this tutorial, we will show you how to install the BTCPay server on Ubuntu 22.04.
Step 1 – Install Docker CE
Install the packages necessary to add a new repository over HTTPS:
apt install apt-transport-https ca-certificates git
Add Docker’s official repository and GPG key to your system:
echo "deb [signed-by=/etc/apt/keyrings/docker.gpg.key arch=amd64] https://download.docker.com/linux/ubuntu $(lsb_release -cs) stable" | tee /etc/apt/sources.list.d/docker.list
wget --quiet -O - https://download.docker.com/linux/ubuntu/gpg | tee /etc/apt/keyrings/docker.gpg.key
After adding the repository, update the package index:
apt update
Finally, install the latest version of Docker CE:
apt install docker-ce -y
Step 2 – Install BTCPay
Clone the BTCPay Server repository from GitHub to your server machine:
git clone https://github.com/btcpayserver/btcpayserver-docker.git
Change into the directory where you cloned the BTCPay Server repository:
cd ~/btcpayserver-docker/
Export the environment variables that are necessary for BTCPay installation.
export BTCPAY_HOST="btcpaygreencloud.example.net"
export NBITCOIN_NETWORK="mainnet"
export BTCPAYGEN_CRYPTO1="btc"
export BTCPAYGEN_REVERSEPROXY="empty"
export BTCPAYGEN_EXCLUDE_FRAGMENTS="$BTCPAYGEN_EXCLUDE_FRAGMENTS;nginx-https"
export BTCPAYGEN_LIGHTNING="lnd"
export BTCPAY_ENABLE_SSH=true
Finally, install the BTCPay server using the following script.
. ./btcpay-setup.sh -i
Output:
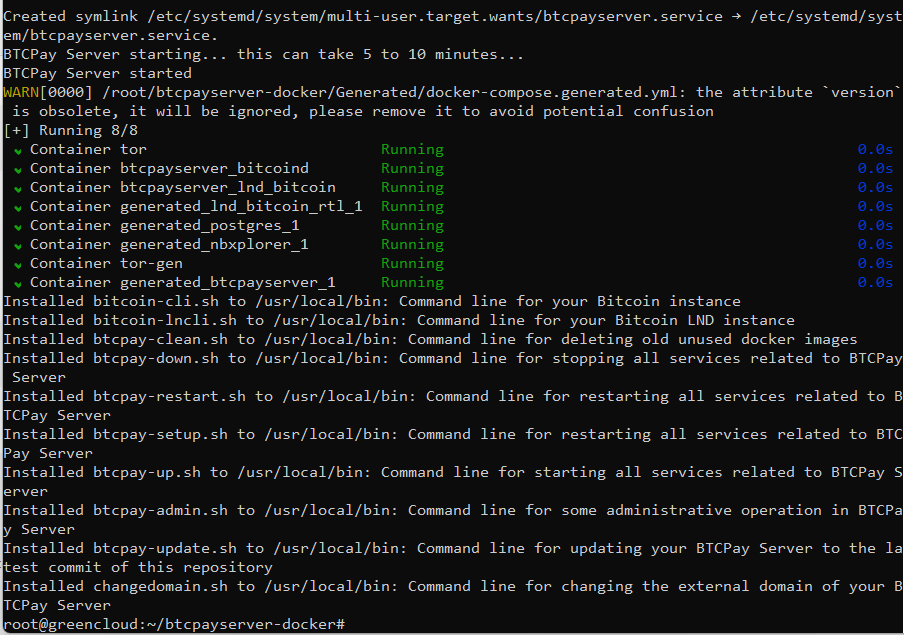
To check the BTCPay server status, run the following command:
systemctl status btcpayserver.service
Output:
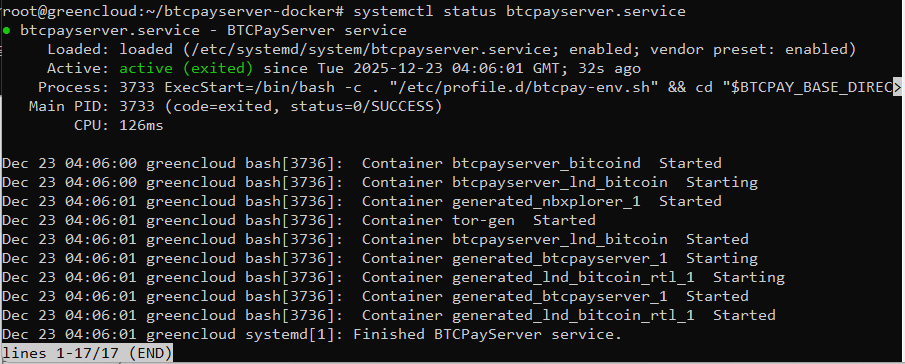
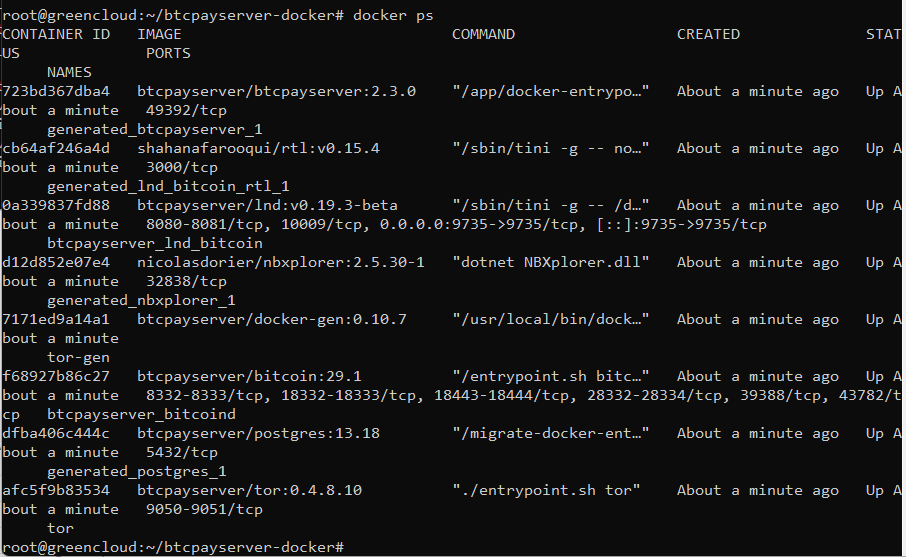
You can also verify all running containers using the following command:
docker ps
Output:
Step 3 – Configure the BTCPay Server
Next, you will need to expose port 49392 for the BTCPay server. To do so, edit the BTCPay server configuration file.
nano ~/btcpayserver-docker/Generated/docker-compose.generated.yml
Add the following lines to the btcpayserver section.
    ports:
    - "49392:49392"
Save and close the file, then restart the BTCPay service to apply the changes.
systemctl restart btcpayserver
Step 4 – Configure Nginx for BTCPay
To configure Nginx as a reverse proxy for the BTCPay Server, you’ll need to create an Nginx server block (also known as a virtual host) to handle incoming requests and forward them to the BTCPay Server instance running on Docker.
If Nginx is not already installed on your system, you can install it using the following command:
apt install -y nginx
Create a new Nginx configuration file for BTCPay Server:
nano /etc/nginx/conf.d/btcpay-server.conf
Add the following configuration.
map $http_x_forwarded_proto $proxy_x_forwarded_proto {
  default $http_x_forwarded_proto;
  ''      $scheme;
}
# If we receive X-Forwarded-Port, pass it through; otherwise, pass along the
# server port the client connected to
map $http_x_forwarded_port $proxy_x_forwarded_port {
  default $http_x_forwarded_port;
  ''      $server_port;
}
# If we receive Upgrade, set Connection to "upgrade"; otherwise, delete any
# Connection header that may have been passed to this server
map $http_upgrade $proxy_connection {
  default upgrade;
  '' close;
}
# Prevent Nginx Information Disclosure
server_tokens off;
# Default dhparam
# Set appropriate X-Forwarded-Ssl header
map $scheme $proxy_x_forwarded_ssl {
  default off;
  https on;
}

gzip_types text/plain text/css application/javascript application/json application/x-javascript text/xml application/xml application/xml+rss text/javascript;
log_format vhost '$host $remote_addr - $remote_user [$time_local] '
                 '"$request" $status $body_bytes_sent '
                 '"$http_referer" "$http_user_agent"';
access_log off;
# HTTP 1.1 support
proxy_http_version 1.1;
proxy_buffering off;
proxy_set_header Host $http_host;
proxy_set_header Upgrade $http_upgrade;
proxy_set_header Connection $proxy_connection;
proxy_set_header X-Real-IP $remote_addr;
proxy_set_header X-Forwarded-For $proxy_add_x_forwarded_for;
proxy_set_header X-Forwarded-Proto $proxy_x_forwarded_proto;
proxy_set_header X-Forwarded-Ssl $proxy_x_forwarded_ssl;
proxy_set_header X-Forwarded-Port $proxy_x_forwarded_port;
proxy_buffer_size          128k;
proxy_buffers              4 256k;
proxy_busy_buffers_size    256k;
client_header_buffer_size 500k;
large_client_header_buffers 4 500k;
http2_max_field_size       500k;
http2_max_header_size      500k;
# Mitigate httpoxy attack (see README for details)
proxy_set_header Proxy "";

server {
        server_name btcpaygreencloud.example.net;
        listen 80;

        access_log /var/log/nginx/btcpay.access;
	error_log /var/log/nginx/btcpay.error;
        client_max_body_size 100M;

        # Here is the main BTCPay Server application
        location / {
                proxy_pass http://127.0.0.1:49392;
        }

        # Include the next two stanzas if and only if you want to expose your lightning gRPC & RPC interfaces to the internet
        #location /lnrpc.Lightning {
        #        grpc_pass grpcs://127.0.0.1:10009;
        #}

        #location /lnd-rest/btc/ {
        #        rewrite ^/lnd-rest/btc/(.*) /$1 break;
        #        proxy_pass https://127.0.0.1:8080/;
        #}

        # Include this stanza if you are planning to set up Ride The Lightning (RTL)
        location /rtl/ {
                proxy_pass http://127.0.0.1:3000/rtl/;
        }
}
Save and close the file, then edit the Nginx main configuration file.
nano /etc/nginx/nginx.conf
Add the following line after the line http{:
server_names_hash_bucket_size 64;
Save the file, then reload the Nginx service to apply the changes.
systemctl reload nginx
Step 5 – Enable SSL for the BTCPay Server
To enable SSL for BTCPay Server using Let’s Encrypt, you can use Certbot, a tool provided by Let’s Encrypt, to obtain and install SSL certificates for your domain.
apt install certbot python3-certbot-nginx
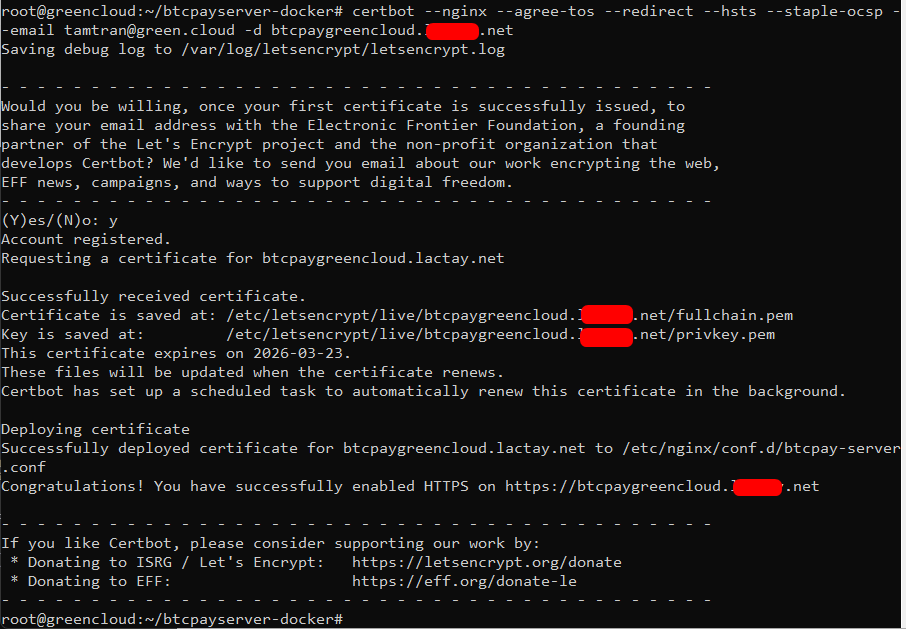
Run Certbot to obtain an SSL certificate for your domain.
certbot --nginx --agree-tos --redirect --hsts --staple-ocsp --email [email protected] -d btcpaygreencloud.example.net
Output:
Step 6 – Access the BTCPay Server
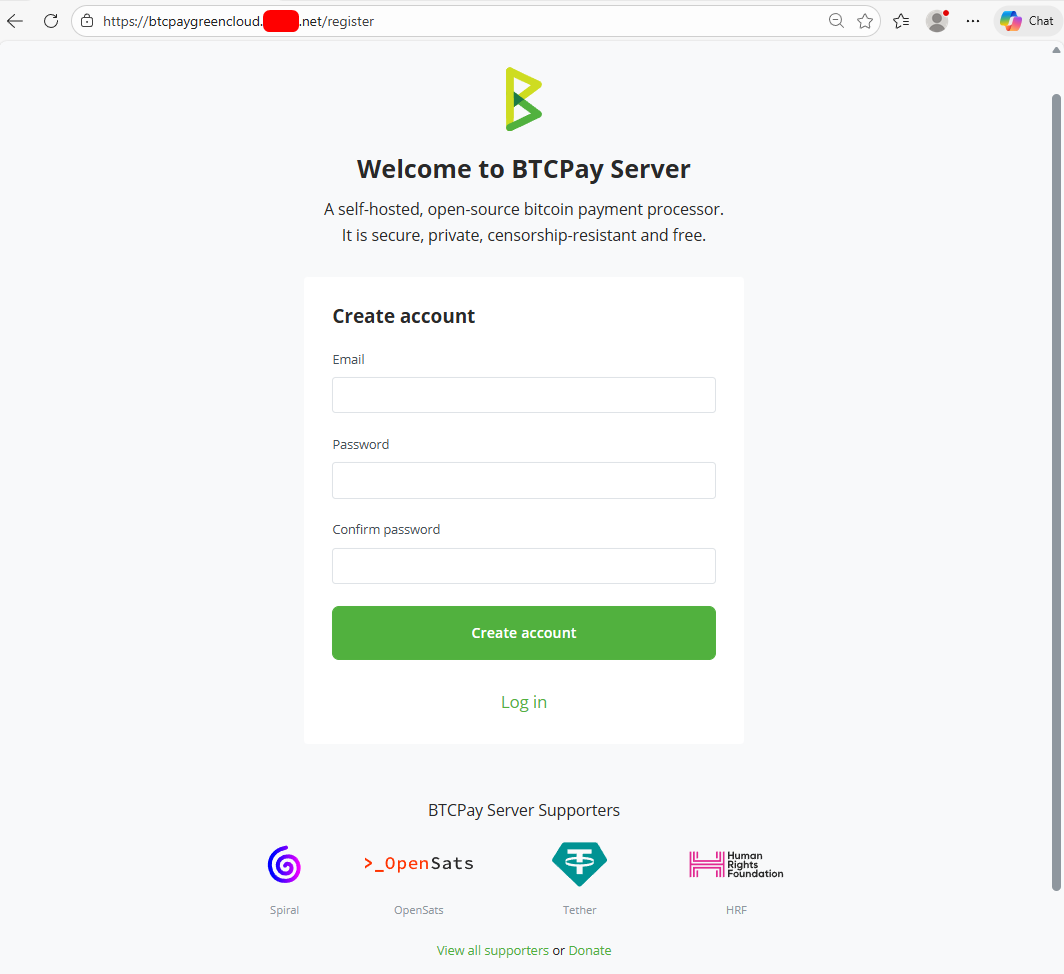
Now, open your web browser and access the BTCPay web interface using the URL btcpaygreencloud.example.net. You will see the BTCPay account creation page.
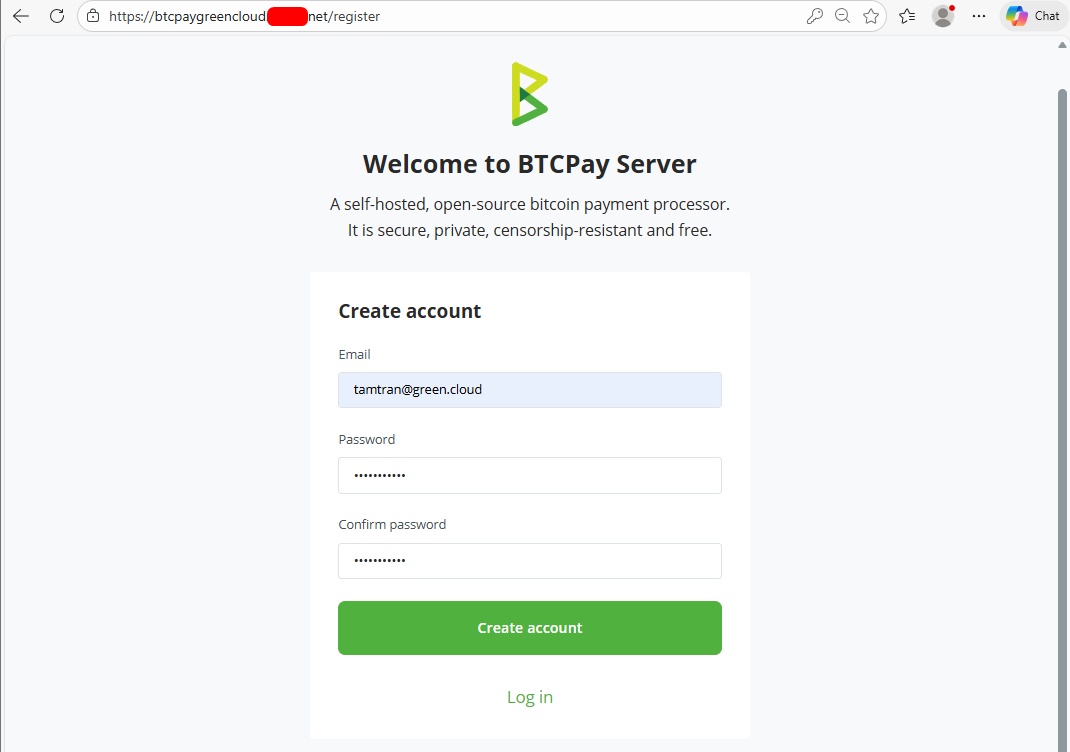
Define your email address and password, and then click ‘Create account’. You will see the store creation page.
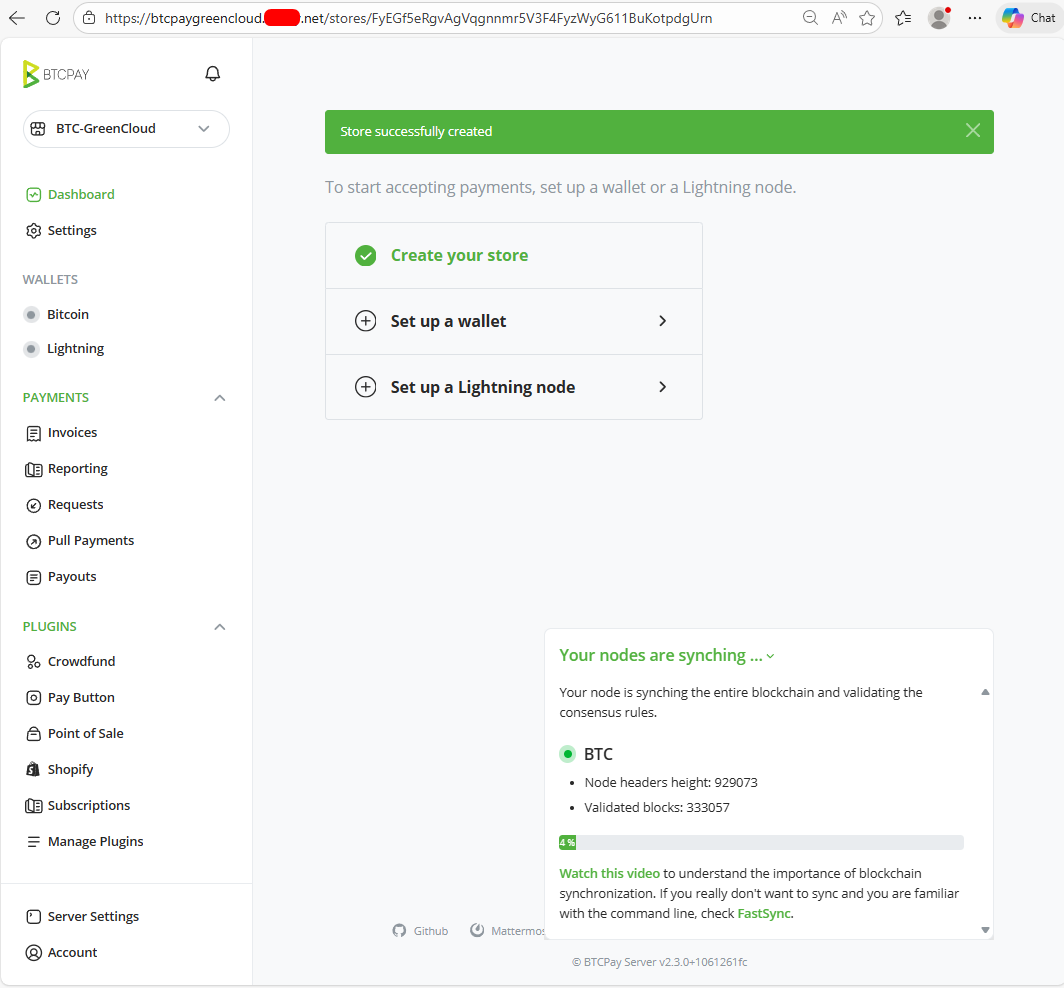
Define your store name, default currency, and price source, then click on Create Store. On the following page, you will see the BTCPay dashboard.
Conclusion
You can now set up your own self-hosted BTCPay Server instance, empowering you to take full control of your payment processing infrastructure. With BTCPay Server, you can leverage the security and transparency of Bitcoin while enjoying the flexibility and customization options provided by a self-hosted solution. By hosting your own BTCPay Server, you can eliminate reliance on third-party payment processors, protect the privacy of your customers’ transactions, and maintain full control over your financial transactions. You can now host your BTCPay server on dedicated hosting from Greencloud!
