
How to Install and Run a Local AI Model on Windows Server Using Ollama
Introduction
Ollama allows users to run AI models locally on a Windows Server without relying on external cloud services. It provides a simple way to download and use modern AI models through an easy-to-use graphical interface.
Requirements
Before getting started, ensure your server meets the following requirements:
- Windows Server (2016 or later)
- At least 8 GB RAM
- 10 GB free disk space
- Internet connection
Step 1: Install Ollama
Download the latest Ollama installer from:
https://ollama.com/download/windows
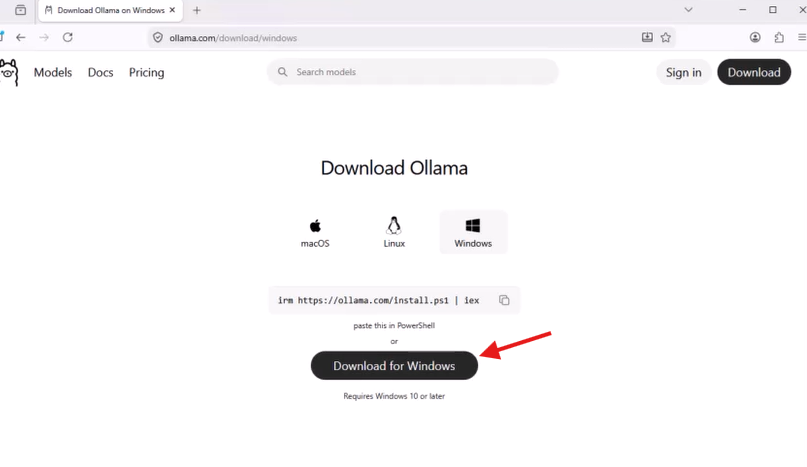
Run the installer and complete the setup process.
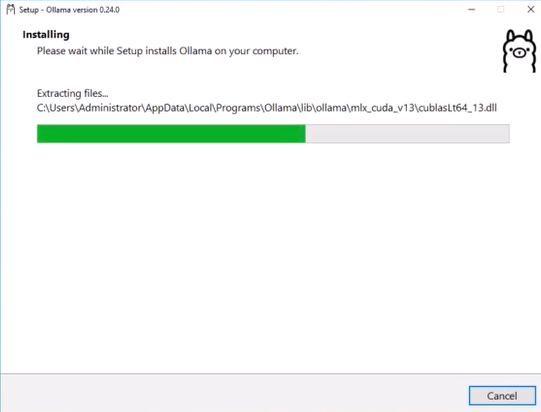
Step 2: Verify Installation
Open PowerShell and run:
ollama --version
If a version number is displayed, Ollama has been installed successfully.
Step 3: Download an AI Model
Use the following command to download the Qwen3 4B model:
ollama run qwen3:4b

The model will be downloaded automatically during the first launch.
Once the download is complete, you may close the PowerShell window.
Step 4: Launch Ollama
Open the Ollama application from the Start Menu.
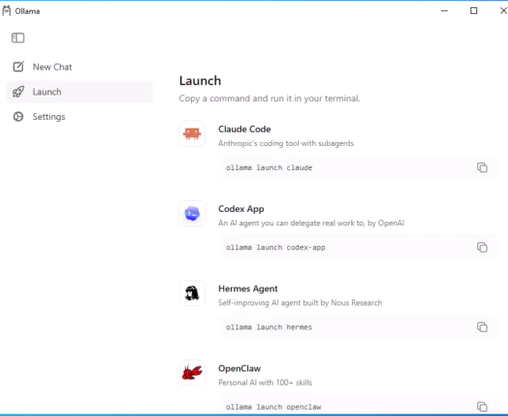
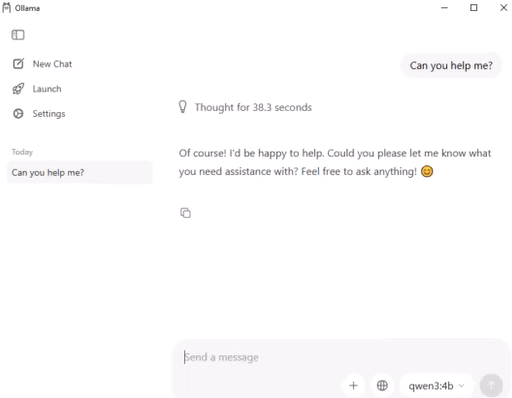
The downloaded model should now be available within the Ollama interface. Select the model and start chatting through the graphical interface.
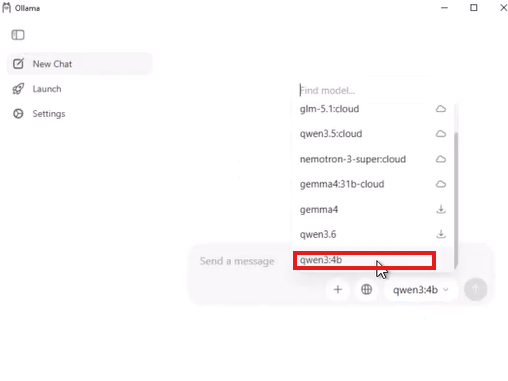
Example prompt:
Can you help me?
Useful Commands
View installed models:
ollama list
View running models:
ollama ps
Remove a model:
ollama rm qwen3:4b
Conclusion
Ollama provides a simple and efficient way to run AI models locally on Windows Server. With minimal setup, administrators and developers can deploy AI models for testing, automation, and general-purpose workloads without requiring external AI services.
