
How to use stress command on linux
Overview
Stress is a command used to apply a load to the system to test its load capacity in practice. It will create processes that use a lot of system resources, such as CPU, RAM, or disk, so that we can test the capacity and threshold at which our system works best. It is also very useful to reproduce the high load state that causes system errors so that we can find a way to handle it.
Installation
To use stress, you need to install stress packages
On CentOS
yum install stress
On Ubuntu
apt-get install stress
Usage
You can stress your system with CPU, memory, I/O, and HDD parameters, or stress multiple parameters simultaneously. Below, I will give some specific examples so you can know how to use it.
Test CPU
To test CPU, use the –cpu or -c option
Command
stress -c 1
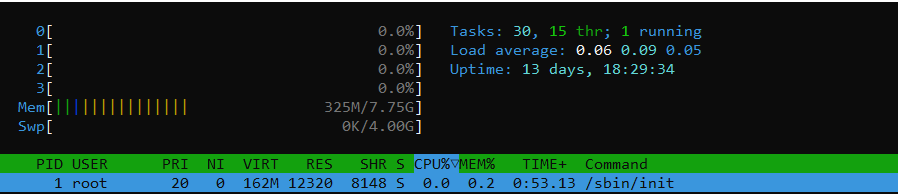
You can see the CPU before using the stress command
I went on a stressful fishing run

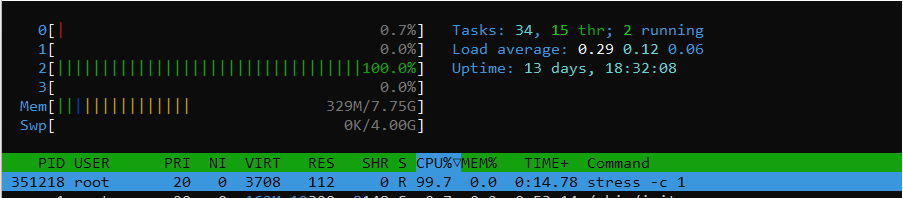
stress --cpu 1 --timeout 30
Then, this command will automatically stop after 30sBecause each sqrt() function pushed in will be a process, it will occupy the entire CPU. So what will happen when the number of processes is more than the number of CPUs we have? Here, I pushed in 2 processes that are twice as large as the number of CPUs in my machine
stress -c 2
And this is the result
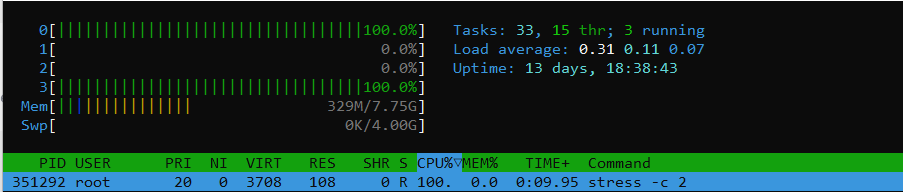
At this time, each process will only use 50% of the CPU, which means the processing speed will be reduced by half
Test memory
To push the load into RAM for testing, we use the -m or –vm option
Command
stress -m 1
This command will use the malloc() function to allocate memory for a process, here, it will be 256M. Or we can indicate the capacity allocated to a process using the –vm-bytes option. For example, allocate 500M to each process
stress -m --vm-bytes 500M
You can see the RAM usage level before using the stress command
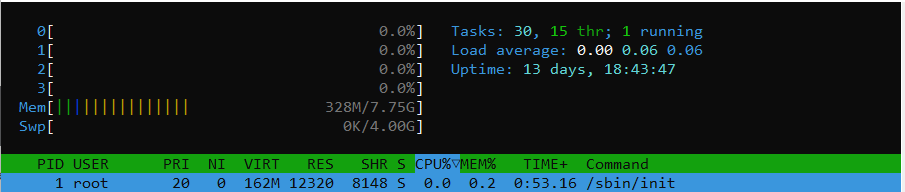
We see that RAM is used less and swap memory is not used. Now we run the stress command
stress -m 1 --vm-bytes 600M
stress: info: [10768] dispatching hogs: 0 cpu, 0 io, 1 vm, 0 hdd
We observe the RAM at this time
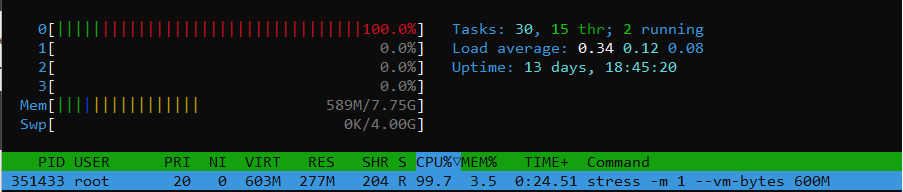
The RAM value changes continuously because this command uses two malloc functions to allocate memory and then the free function to free it.
Test disk
You can also see how your system works when it is constrained by I/O. You use the -i option
Command
stress -i 1
This command will call the sync() function. In addition, you can test the disk’s ability to write data by using the -d option.
stress -d 1 --timeout 10s
The command writes a 1 GB file to the disk. You can specify its capacity by adding the –hdd-bytes option. For example, if you want to write a 2 GB file
stress -d 1 2G --timeout 1m
You don’t have to worry about cleaning up these files after running the command because it will clean up these files for you when the command ends.
Summary
Here are some specific examples of the stress command. This command can help you a lot. There are certainly many shortcomings in the article. I look forward to your comments.
Good luck!
