How to update Windows Server 2012, 2019
Updating your Windows to newer versions will help your operating system become more stable, giving better performance. If you put off the updates, your VPS will get slower, more unstable overtime and you will also experience many unnecessary errors. You can follow the guide below to update your Windows.
For Windows Server 2019
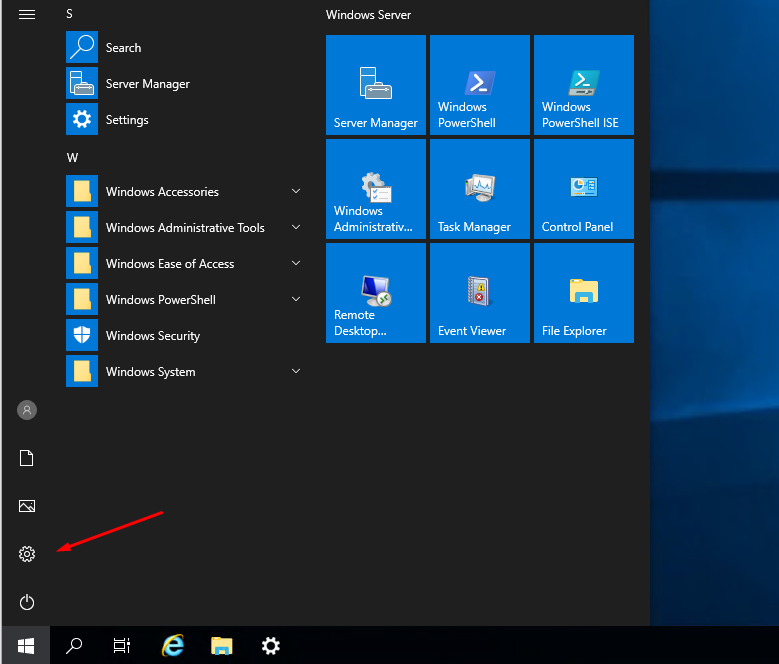
Step 1: To update to the latest version of Windows Server 2019, you need to access the Start Menu and choose Settings
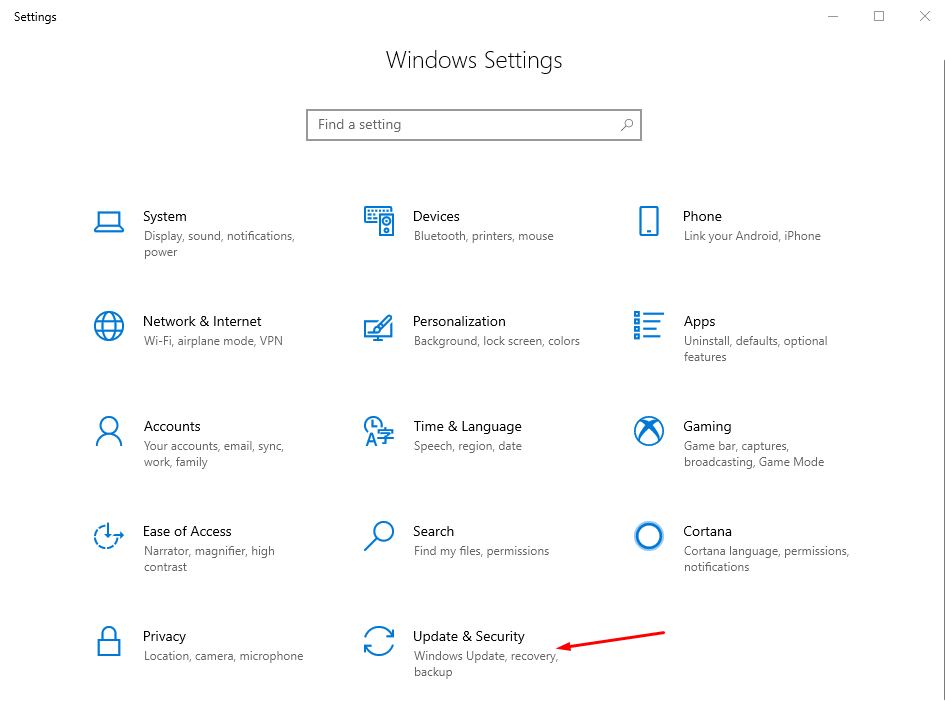
Step 2: Click on Update & Security.
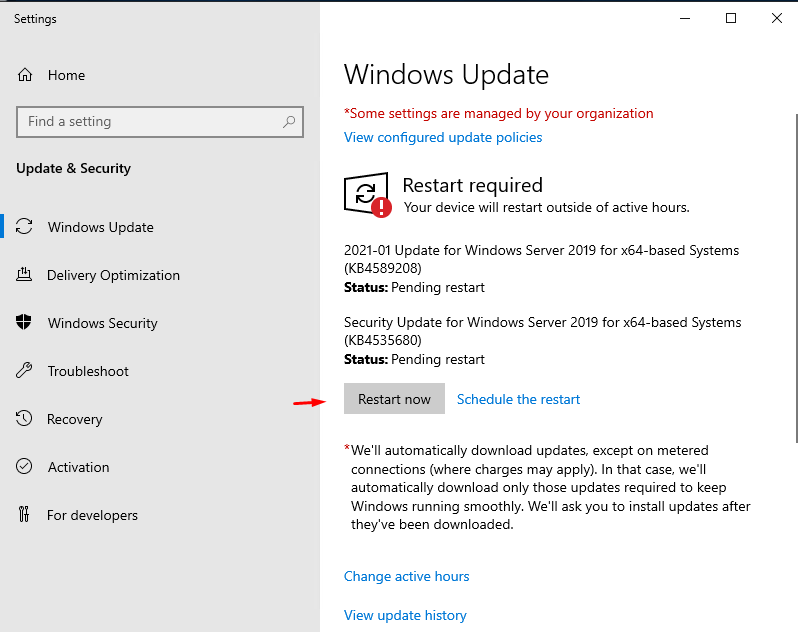
Step 3: Here you choose Check for updates or Update or Resume updates or Restart now for the Windows Server 2019 update process to take place.
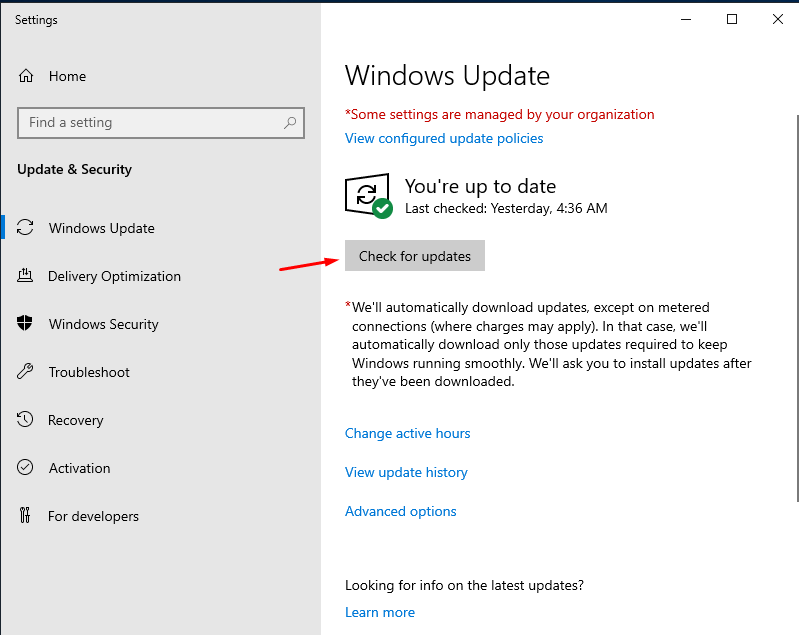
When Windows Server 2019 update process takes place you just need to wait for a few minutes. After the update is finish, you will need to restart your VPS.
You continue to do so until there is no updates available.
For Windows Server 2012
Step1: search for Windows update in the search bar

Step 2: Here you choose Check for updates or Update or Resume updates or Restart now for the Window Server 2012 updates to happen.

Windows Server 2012 updates should take a few minutes. After each update version you will have to restart your VPS.
You continue to run updates until there is none available.

