How to install ReactJS on Ubuntu 20.04
ReactJS is a very powerful front-end open-source JavaScript library used for building the user interface and related components. It is maintained by Facebook and the community of developers. ReactJS can be used in the development of Web Applications or Mobile Apps.
In this tutorial, we will show you how to install ReactJS on your Ubuntu 20.04 server.
Step 1: Update your System
You have to make sure that all Ubuntu OS packages installed on the server are up to date. Run the following commands to upgrade all installed packages on your server:
apt-get update
apt-get upgrade
Step 2. Install Nodejs and NPM
First, you need to install NodeJS since a ReactJS application can only run if NodeJS is installed on your server. Node.js is an open-source and cross-platform JavaScript runtime environment built on Chrome’s V8 JavaScript engine.
The simple and easiest way to install Node.js and npm is to install them from the Ubuntu default repository.
By default, the latest version of Node.js is not available in the Ubuntu 20.04 default repository. So you will need to add the Node.js official repository to your system.
Install the curl with the following command:
apt install curl
Add the Node.js repository with the following command:
curl -sL https://deb.nodesource.com/setup_14.x | bash -
And install the Node.js from the added repositories running the following command:
sudo apt-get install nodejs
Once NodeJS has been installed, you can verify the installed version of Node.js with the following command:
node -v
You should get the following output:

Once Node.js is installed, update the NPM to the latest version using the following command:
npm install npm@latest -g
You can now verify the npm version with the following command:
npm -v
You should get the following output:

Step 3. Install Create-React-App Tool
Now install the create-react-app tool using NPM. This tool helps to set all tools required to create a new project in React.
npm install -g create-react-app
Check the version with:
create-react-app --version
You should get the following output:

Step 4: Create your ReactJS Application
You can create your ReactJS application with the following command:
create-react-app my-project
Once the installation is finished, you should see the following output:

Once your project is created, change the directory to the ReactJS application:
cd my-project
Now you need to start your ReactJS application with the following command:
npm start
You should get the following output:

By default, the ReactJS application starts on port 3000.
Step 5: Create a Systemd Service File for ReactJS App
Next, you need to create a systemd service file to manage the ReactJS service. You can create it with the following command:
nano /lib/systemd/system/reactjs.service
Add the following lines:
[Service]
Type=simple
User=root
Restart=on-failure
WorkingDirectory=/root/my-project
ExecStart=npm start -- --port=3000
Save and close the file, then reload the systemd service with the following command:
systemctl daemon-reload
Next, start the ReactJS service and enable it to start at system reboot with the following command:
systemctl start reactjs
systemctl enable reactjs
You can verify the status of the ReactJS service with the following command:
systemctl status reactjs

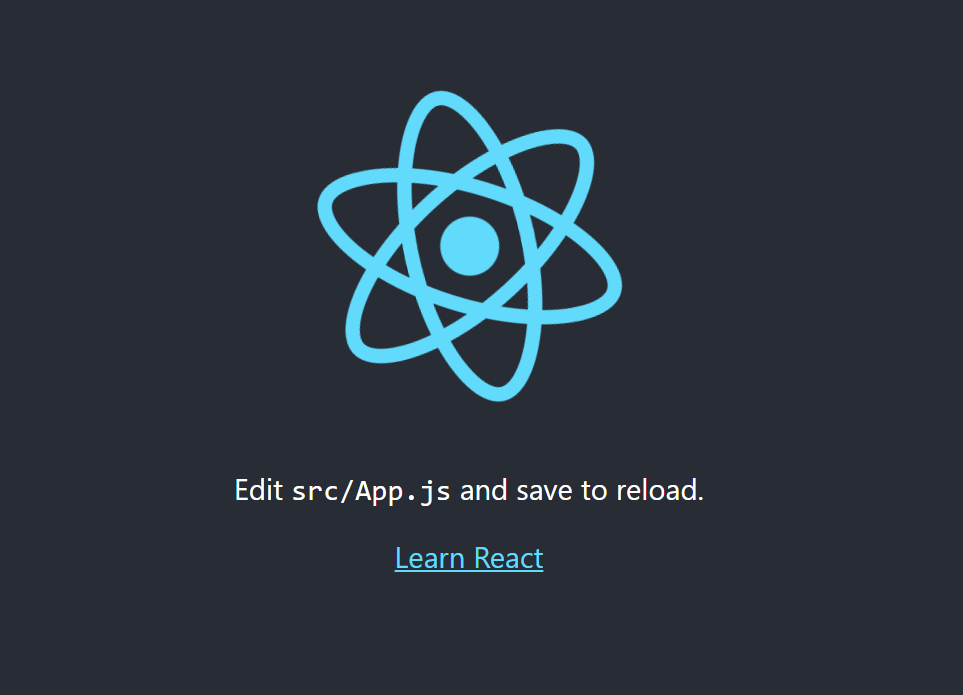
Step 6: Access ReactJS Web UI
Now, open your web browser and type the URL http://your-server-ip-address:3000. You should see your ReactJS Application on the following screen:
Congratulations! you have successfully installed the ReactJS App on Ubuntu 20.04.

