How To Install phpMyAdmin on Ubuntu 20.04
What is PHPMyAdmin? Currently, PHPMyAdmin is used for most operating systems. The main role of this software is to import and export data managed by the MySQL administration system. PHPMyAdmin software is capable of working with many data formats.
PhpMyAdmin was created so that users can interact with MySQL through a web interface. In this guide, we’ll discuss how to install phpMyAdmin so that you can safely use it to manage your databases on an Ubuntu 20.04 system.
Prerequisites
A LAMP (Linux, Apache, MySQL, and PHP) stack installed on your Ubuntu 20.04 server. If this is not completed yet, you can follow this guide on install a LAMP stack on Ubuntu 20.04.
Installing MySQL
apt update
Then install the mysql-server package:
apt install mysql-server
Ensure that the server is running using the systemctl start command:
systemctl start mysql.service
These commands will install and start MySQL, but will not prompt you to set a password or make any other configuration changes. You can check out our guide to set a password for MySQL
Install phpMyAdmin
Run the following command to install these packages onto your system. Please note, though, that the installation process requires you to make some choices to configure phpMyAdmin correctly.
apt install phpmyadmin php-mbstring php-zip php-gd php-json php-curl
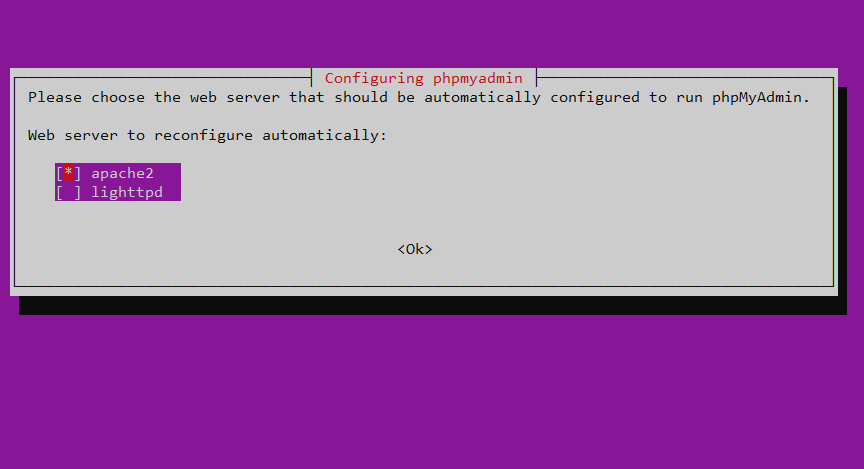
If you are prompted to choose a web server, press SPACE to put a star [*] beside apache2, then press TAB to highlight OK and press ENTER.
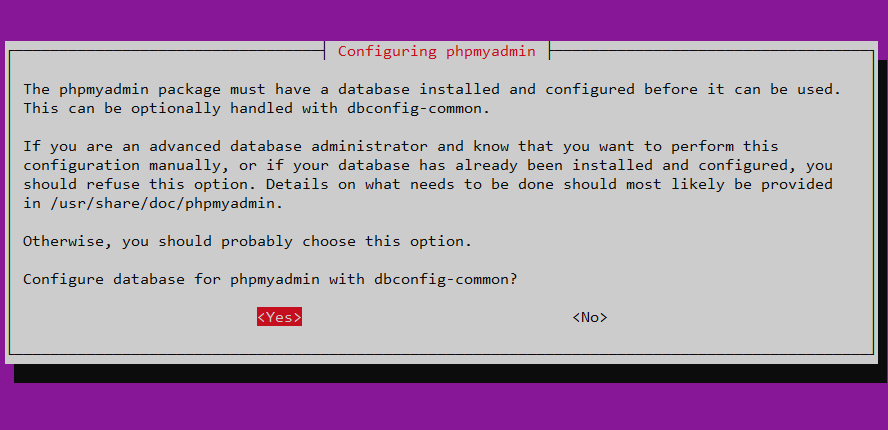
Select Yes and press ENTER to install and configure the database.
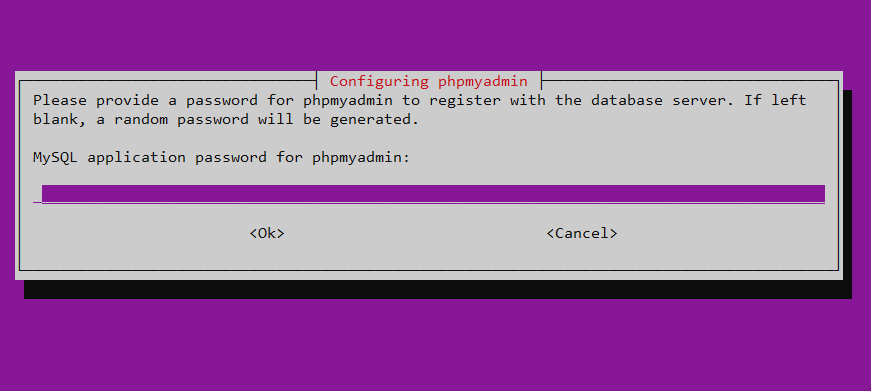
You will then be asked to choose and confirm a MySQL application password for phpMyAdmin
Assuming you installed MySQL, you may have decided to enable the Validate Password plugin. As of this writing, enabling this component will trigger an error when you attempt to set a password for the phpmyadmin user:
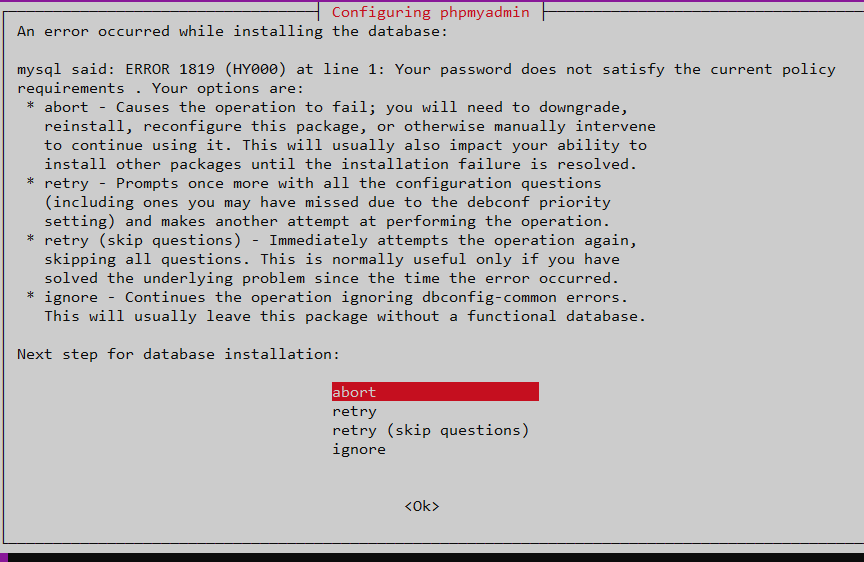
To resolve this, select the abort option to stop the installation process. Then, open up your MySQL prompt:
mysql
Or, if you enabled password authentication for the root MySQL user, run this command and then enter your password when prompted:
mysql -u root -p
From the prompt, run the following command to disable the Validate Password component. Note that this won’t actually uninstall it, but just stop the component from being loaded on your MySQL server:
UNINSTALL COMPONENT "file://component_validate_password";
Following that, you can close the MySQL client:
exit
Then try installing the phpmyadmin package again and it will work as expected:
apt install phpmyadmin
Once phpMyAdmin is installed, you can open the MySQL prompt once again with mysql or mysql -u root -p and then run the following command to re-enable the Validate Password component:
INSTALL COMPONENT "file://component_validate_password";
Finally, enable the mbstring PHP extension and restart Apache.
phpenmod mbstringservice apache2 reload
Configuring Password Access for the MySQL Root Account
In order to log in to phpMyAdmin as your root MySQL user, you will need to switch its authentication method from auth_socket to one that makes use of a password, if you haven’t already done so. To do this, open up the MySQL prompt from your terminal:
mysql -u root -p
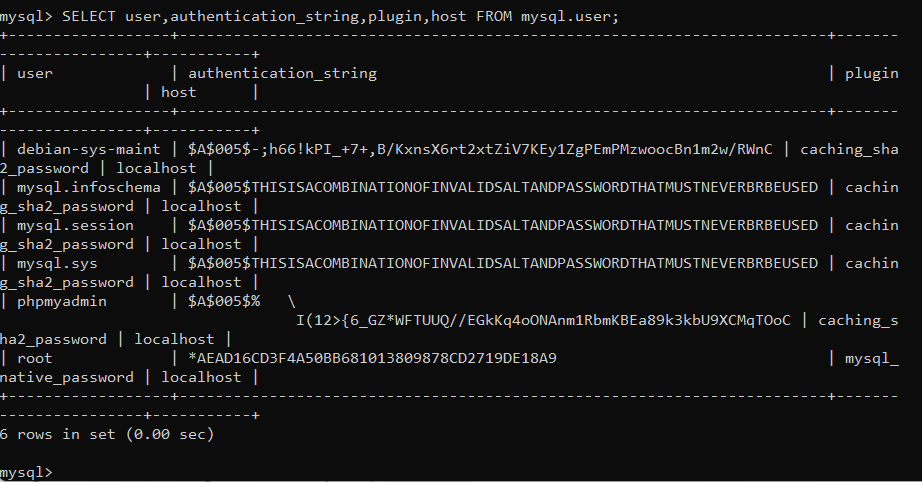
Next, check which authentication method each of your MySQL user accounts use with the following command:
SELECT user,authentication_string,plugin,host FROM mysql.user;
To configure the root account to authenticate with a password, run the following ALTER USER command. Be sure to change password to a strong password of your choosing:
ALTER USER 'root'@'localhost' IDENTIFIED WITH caching_sha2_password BY 'password';
Test phpMyAdmin
You should now be able to access the phpMyAdmin web interface by visiting your public IP address followed by /phpmyadmin
http://your_domain_or_IP/phpmyadmin
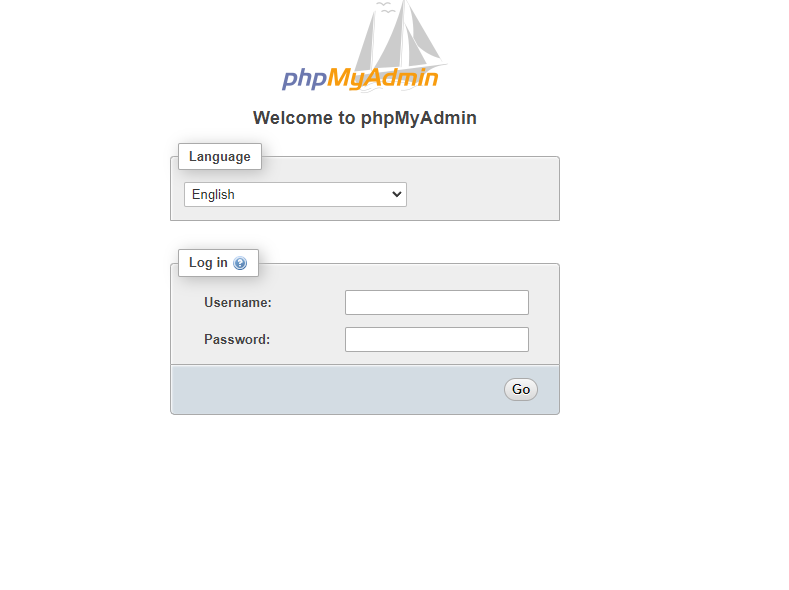
You can log into phpMyAdmin using the root account and previously generated password
Configuring Password Access for a Dedicated MySQL User
Alternatively, some may find that it better suits their workflow to connect to phpMyAdmin with a dedicated user. To do this, open up the MySQL shell once again:
mysql -u root -p
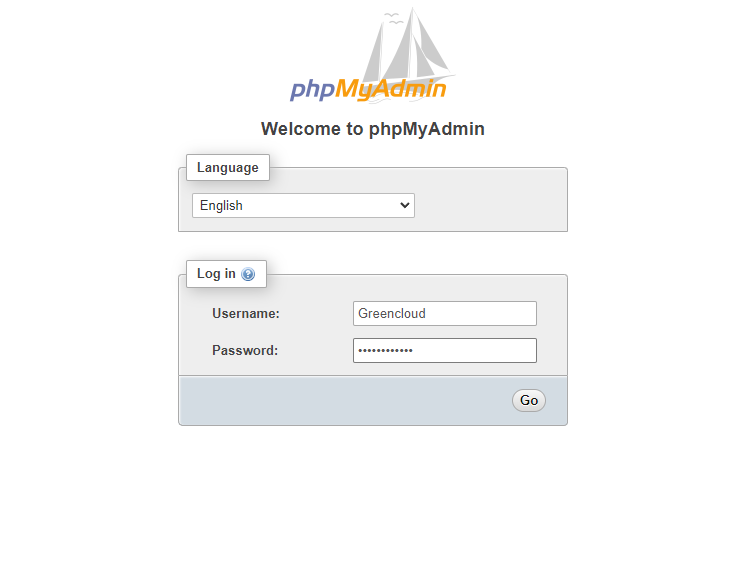
From there, create a new user and give it a strong password, in this example we set user to Greencloud:
CREATE USER 'Greencloud'@'localhost' IDENTIFIED WITH caching_sha2_password BY 'password';
Then, grant your new user appropriate privileges. For example, you could grant the user privileges to all tables within the database, as well as the power to add, change, and remove user privileges, with this command:
GRANT ALL PRIVILEGES ON *.* TO 'Greencloud'@'localhost' WITH GRANT OPTION;Following that, exit the MySQL:
exit
Now you can login again with phpMyAdmin with new user and password:
http: /// your_domain_or_IP / phpmyadmin
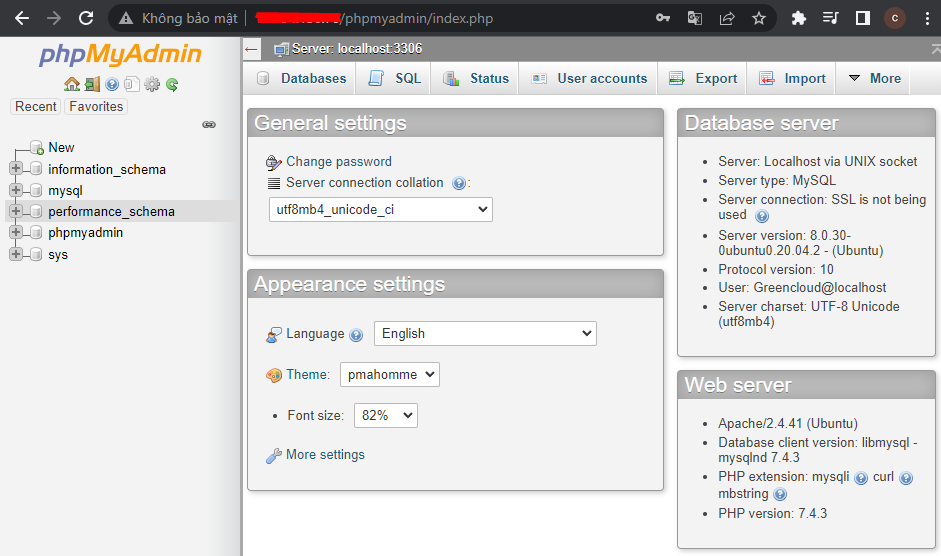
Now that you’re able to connect and interact with phpMyAdmin
Conclusion
You should now have phpMyAdmin configured and ready to use on your Ubuntu 20.04 server. Using this interface, you can create databases, users, and tables, as well as perform the usual operations like deleting and modifying structures and data.

