How to install Maven on Ubuntu
Maven, the product of Apache, is a tool used in project management and comprehensive, mostly java-based projects. It is based on POM (Project Object Model). Maven can simplify the project building process. It looks like Apache ANT but is a lot more advanced than ANT because of the conventions used for Maven build procedures. XML files in Maven describe dependencies, build order, required plug-ins, directories, etc…
- Installation manuals
First, you need to check if your machine has Java installed or not. To install Maven 3.3 you should install JDK 1.4 in your machine. Using SSH, access your VPS and update your package index before installing Java:
apt update
You now have two ways to install Maven on Ubuntu. Either you use Apache Maven official website or use apt. It is much easier to use the latter. however, we will show you how to do both methods and then you can make the right choice.
- Use the official website
Use the following command to install the default open JDK for your Ubuntu:
apt-get update
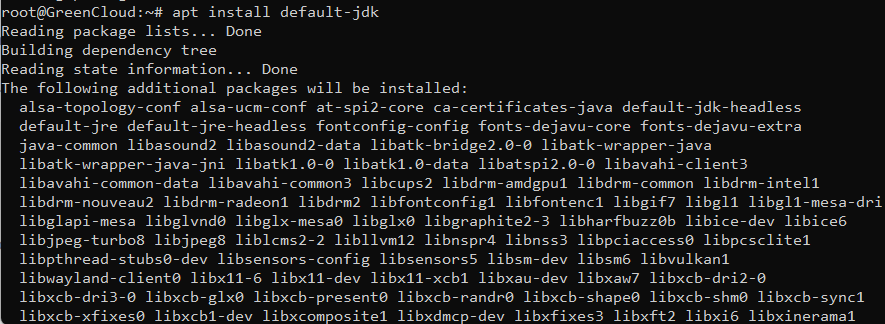
apt install default-jdk
Use the commands to verify and check the version after the installation is complete:
java -version

The following command can be used to download the latest version of Maven from the official website and save it in the /tmp directory:
wget https://www-us.apache.org/dist/maven/maven-3/3.6.0/binaries/apache-maven-3.6.0-bin.tar.gz -P/tmp
Once downloaded, it can be extracted to the /opt directory:
tar xf /tmp/apache-maven-*.tar.gz -C /opt
You have downloaded and extracted Maven successfully. Now all you need is to make sure it can work. Some environment variables like JAVA_HOME, M3_HOME, MAVEN_HOME and PATH need to be configured for Maven to have proper compatibility
nano /etc/profile.d/maven.sh
Add the following configuration to this new file:
<div><br># export JAVA_HOME=/usr/lib/jvm/default-java # export M3_HOME=/opt/maven # export MAVEN_HOME=/opt/maven # export PATH=${M2_HOME}/bin:${PATH}</div>
export JAVA_HOME=/usr/lib/jvm/default-java
export M3_HOME=/opt/maven
export MAVEN_HOME=/opt/maven
export PATH=${M2_HOME}/bin:${PATH}

After adding the configurations, save the file by pressing the esc key on your keyboard, type: wq and enter the following command to give these privileges to the file:
chmod +x /etc/profile.d/maven.sh
Now you will have to refresh and load the environment variables. Use the following command:
source /etc/profile.d/maven.sh

But besides that, you still have another way if you feel the above method is not really suitable for you. Let’s come to this 2 way
2. Use Apt
As we mentioned, this installation method is simpler. The reason is because the current Maven package already defaults in Ubuntu. However you still need to make sure they are the latest packages
First of all you will also have to use the following command to install the default open JDK for Ubuntu:
apt-get update
apt install default-jdk
Use the command to verify and check the version after the installation is complete
java -version

Use the command to update the index in the package
apt-get update
Maven command install in Maven in / usr / share / Maven and / etc / Maven
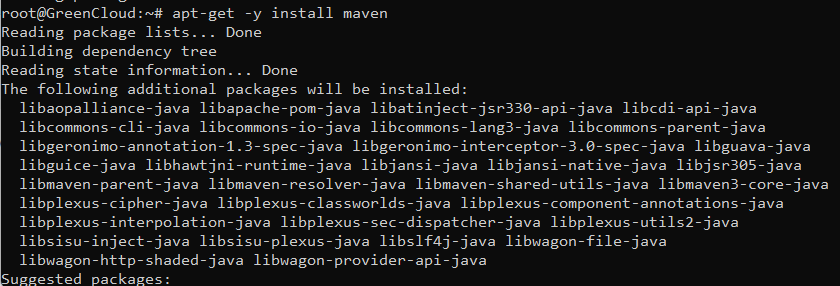
apt-get -y install maven
Use commands to verify installation and check version
mvn -version

So you have finished installing Maven on Ubuntu using Apt.
