How To Install MariaDB on Ubuntu 20.04
MariaDB is one of the most used open source relational databases. It is developed by MySQL developers but made to be totally free unlike MySQL. The development of MariaDB focuses on stability and performance. The other reasons why MariaDB is preferred is it being robust and scalable, new storage engines and comes with various tools and plugins that make it widely applicable. It is the default database in most Linux distributions
In this guide, we are going to look at how to install MariaDB 10.6 on Ubuntu 20.04
Step 1: System upgrade
apt update
apt upgrade -y
Ubuntu repositories already provide MariaDB packages. The installation is straightforward using the PAT package manager as follows.
apt install mariadb-server mariadb-client -y
However, the version of MariaDB provided by Ubuntu repositories is not the latest one. To install the latest version, use the official MariaDB repository.
First, install the prerequisite package.
apt install -y software-properties-common
Next, import the GPG signing key.
apt-key adv --fetch-keys 'https://mariadb.org/mariadb_release_signing_key.asc'
Once the GPG key is in place, add the MariaDB APT repository. The following repository is enabled for the MariaDB version 10.6. You may replace this value with the version that you intend to install.
add-apt-repository 'deb [arch=amd64,arm64,ppc64el] https://mariadb.mirror.liquidtelecom.com/repo/10.6/ubuntu focal main'
Finally, refresh the local repositories and install the MariaDB server and client by using the APT package manager.
apt update && sudo apt install -y mariadb-server mariadb-clientYou can confirm the installed version of MariaDB as shown.
mariadb --version

Step 2: Start And Enable MariaDB
By default, the MariaDB database engine starts automatically upon installation. You can verify this by running the command:
systemctl status mariadb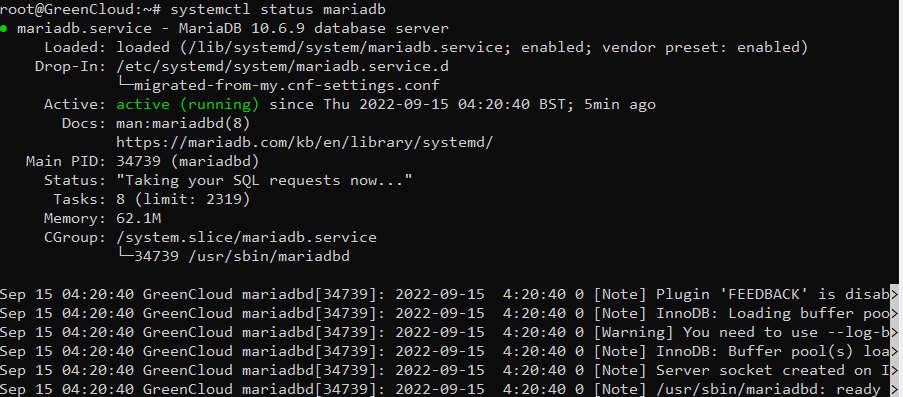
Run the below command to enable MariaDB to automatically start when server is rebooted
systemctl enable mariadbStep 3: Configure MariaDB
MariaDB ships with default settings that are considered weak and present loopholes which can potentially be exploited by nefarious parties leading to data breaches.
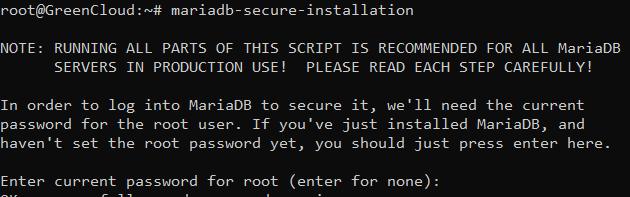
To remediate this issue, you need to go an extra step and harden your MariaDB instance. To improve the security of the MariaDB database engine, you need to run the shell script as shown.
mariadb-secure-installation
The first prompt asks you to provide the current root password, and since none has been set up yet, simply hit ENTER on your keyboard.
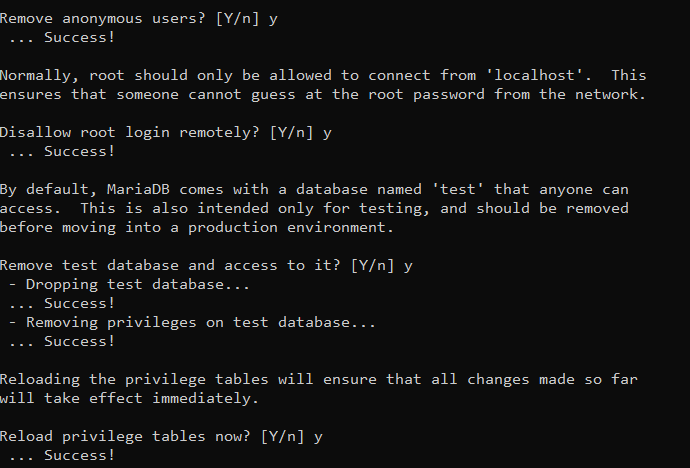
Next, you will be prompted for the database root password. This ensures that no one can log in as the root user without authentication. So, type ‘Y’ and provide the database root password and confirm it.
Then press ‘Y’ for the subsequent prompts in order to configure the database engine according to the best security practices.
At this point, you have successfully completed the initial security configuration for MariaDB.
Step 4: Configure A Password-authenticated Administrative User
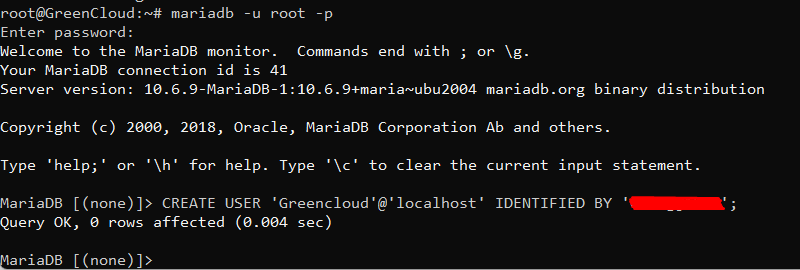
In this section, you are going to create a new user account in the database server with password authentication and later assign administrative privileges to the user. So, login as the root user as follows:
mariadb -u root -pNext, create a regular user. Here, we are creating a user called Greencloud. Be sure to replace secret_password with your preferred user’s password.
CREATE USER 'Greencloud'@'localhost' IDENTIFIED BY 'secret_password';Output:
Next, grant all privileges to Greencloud. This effectively assigns all the database root user’s permissions to the user.
GRANT ALL PRIVILEGES ON *.* TO 'Greencloud'@'localhost';The *.* wildcard notation implies that the user has permission to execute any task on any database in the database server.
To apply the changes, flush the privileges.
FLUSH PRIVILEGES;Finally, exit the database server.
EXIT;Step 5: Test MariaDB
With the MariaDB database server configured, you can now log in and run a few queries. Proceed and log in to the database server using the administrative user that you have just created.
mariadb -u Greencloud -p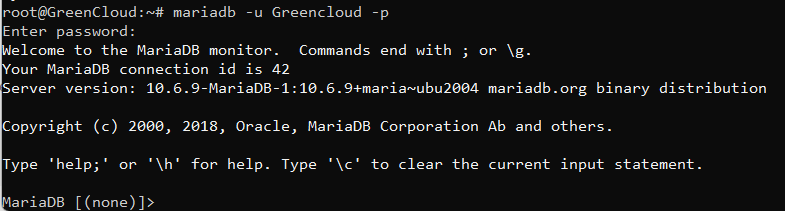
To check the existing databases, run the command:
SHOW DATABASES;Output

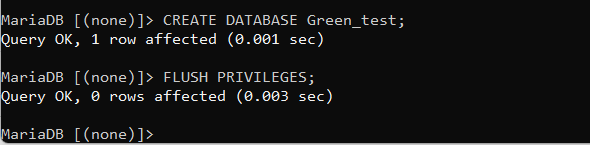
To create a new database, run the following query. In this example, we are creating a database called Green_test.
CREATE DATABASE Green_test;To apply all the changes made without restarting or reloading MariaDB run the query:
FLUSH PRIVILEGES;Output:
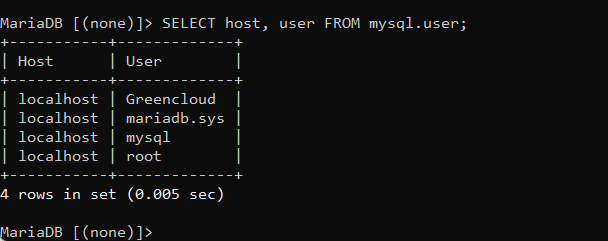
To list all the existing users in your database engine, run the following query.
SELECT host, user FROM mysql.user;Output:
To exit the MariaDB prompt, simply run:
QUITConclusion
This has been a guide n how to install MariaDB 10.6 on Ubuntu 20.04. It is a short and easy installation and we hope that this guide as been helpful.

